Introduction
There used to be this tiny artisanal bakery tucked away on a quiet street in Portland that made the most unforgettable raspberry jam. When they closed down abruptly one rainy November, I was honestly crushed. That jam had this perfect balance—sweet, tangy, and just thick enough without any added pectin. I mean, how could something so simple become such a memory? After about five tries—some messier than others, like the time I spilled a whole batch on my counter at midnight—I finally nailed it.
The secret was trusting the fruit and a bit of patience. Let me tell you, the way the raspberries break down and thicken on their own is kind of magical. Maybe you’ve been there—chasing after a flavor that vanished but won’t leave your mind. That’s exactly why this quick homemade raspberry jam without pectin recipe stayed with me. It’s fast, fuss-free, and the taste is a little nostalgic hug in a jar.
Why You’ll Love This Recipe
After testing countless methods and tweaking along the way, I can say this raspberry jam recipe hits all the right notes. It’s not just any jam; it’s designed for those who want homemade goodness without the wait or complicated ingredients.
- Quick & Easy: Comes together in under 30 minutes, perfect for spontaneous breakfasts or last-minute gifts.
- Simple Ingredients: You only need fresh raspberries, sugar, lemon juice, and a pinch of patience—no pectin or preservatives required.
- Perfect for Beginners: No fancy equipment or special skills needed. Even if you’ve never made jam before, this one’s forgiving.
- Crowd-Pleaser: Kids adore the natural sweetness, and adults rave about the fresh, vibrant flavor.
- Unbelievably Delicious: The texture is just right—spreadable but chunky, with that bright raspberry zing.
What sets this jam apart? It’s all about letting nature do the work. Instead of relying on commercial pectin, the natural pectin in the raspberries shines through, boosted by lemon’s zing. This method not only tastes better but feels more authentic. You get a sense of satisfaction knowing you whipped up something so fresh and wholesome in no time. Honestly, this jam often steals the show at weekend brunches or cozy tea times.
What Ingredients You Will Need
This recipe uses simple, wholesome ingredients to deliver bold flavor and satisfying texture without the fuss. Most are pantry staples or easy to find at your local market.
- Fresh raspberries (4 cups / 600g) – ripe and juicy for natural sweetness and natural pectin.
- Granulated sugar (1 ½ cups / 300g) – balances the tartness; you can adjust slightly depending on raspberry sweetness.
- Fresh lemon juice (2 tablespoons / 30ml) – vital for brightness and helping the jam set without pectin.
- Water (¼ cup / 60ml) – just a splash to help start the cooking process.
Optional:
- Vanilla extract (½ teaspoon) – adds a subtle depth of flavor.
- Pinch of salt – to enhance overall taste.
For best results, I recommend using organic raspberries when possible for that pure, unmasked flavor. If fresh raspberries aren’t in season, frozen ones work fine but thaw and drain excess liquid first. And if you’re curious about sweetness levels, I usually start with less sugar and taste as it cooks—this jam is forgiving, so you can tweak it to your liking.
Equipment Needed
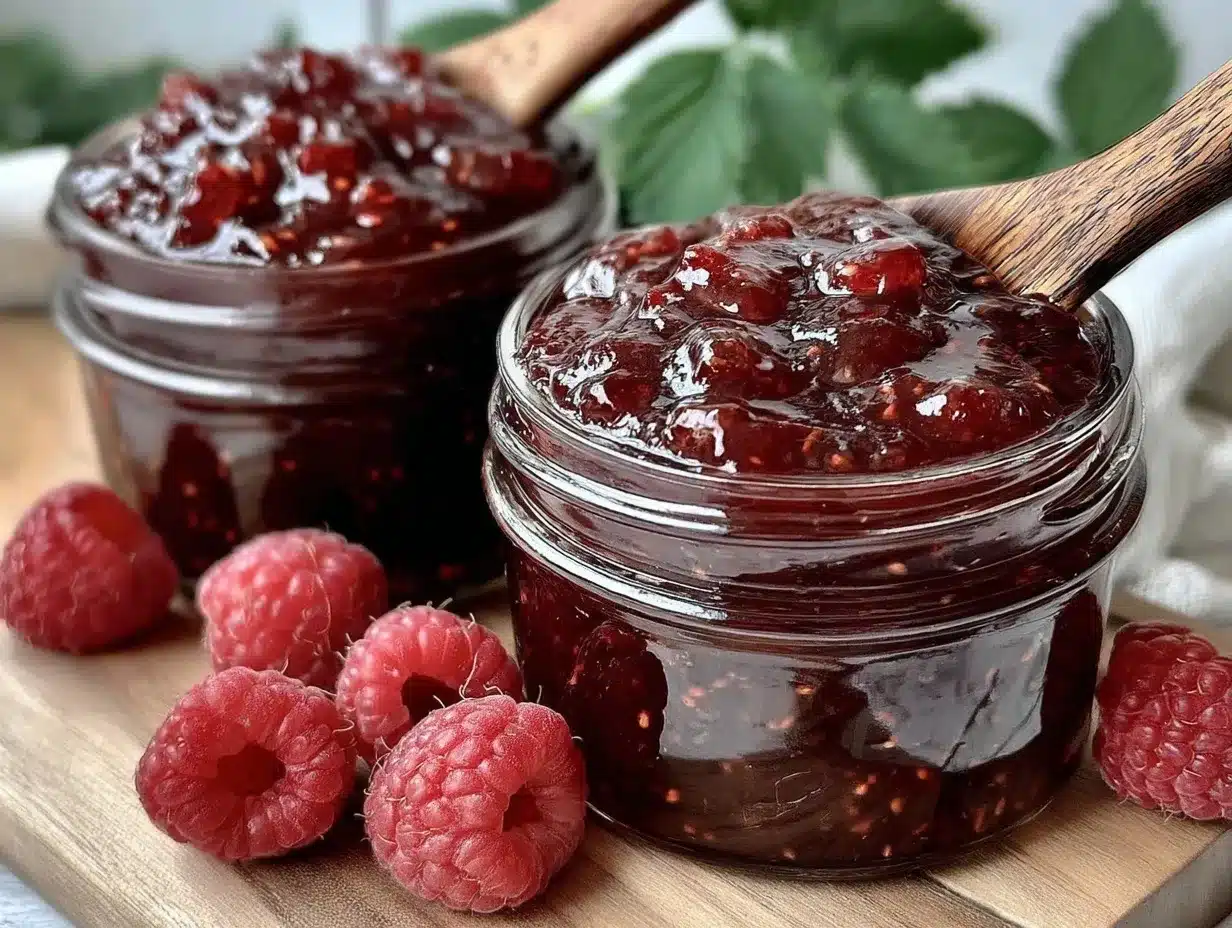
Making this quick homemade raspberry jam without pectin requires just a handful of kitchen tools, which makes it really accessible.
- Medium to large heavy-bottomed saucepan or pot – essential for even heat distribution to prevent burning.
- Wooden spoon or heat-resistant spatula – for stirring without scratching your pan.
- Measuring cups and spoons – accuracy helps with consistency, especially for sugar and lemon juice.
- Fine mesh strainer or sieve (optional) – if you prefer a smoother jam without seeds.
- Clean glass jars with lids – for storing your jam safely.
If you don’t have canning jars, small mason jars or even repurposed jam jars work well. I learned the hard way that a heavy-bottomed pan really makes a difference; thinner pans tend to scorch the fruit. If you want to get fancy, a candy thermometer can help monitor the jam’s setting point, but honestly, visual cues and texture work just as well here.
Preparation Method
- Prepare your workspace. Wash and sterilize your jars by boiling them or running them through the dishwasher. Set aside on a clean towel.
- Rinse the raspberries gently. Remove any stems or damaged berries. This takes about 5 minutes.
- Combine ingredients. In your saucepan, add the raspberries, sugar, lemon juice, and water. Give it a gentle stir to mix everything evenly.
- Cook over medium heat. Bring the mixture to a simmer. As it heats, the raspberries will start breaking down. Stir frequently to avoid sticking or burning. This should take about 10 minutes.
- Break down the fruit. Use the back of your spoon to mash the raspberries gently, helping release their juices and natural pectin. The mixture should begin to thicken.
- Simmer until thickened. Keep simmering and stirring for another 10-15 minutes. You’ll notice the jam coats the back of the spoon and looks glossy. If you want a seedless jam, this is when you can push the mixture through a fine mesh strainer.
- Test the setting point. Place a small spoonful of jam on a chilled plate. Let it cool for a minute, then run your finger through it. If it wrinkles and doesn’t flood back, it’s ready. If not, simmer a few more minutes.
- Remove from heat and let cool slightly. This prevents jars from cracking when filled.
- Pour jam into sterilized jars. Leave about ¼ inch (0.6 cm) headspace. Seal tightly and let cool completely at room temperature.
- Store. Refrigerate after opening. Unopened jars can stay in the fridge for up to 3 weeks or freeze for longer storage.
One time, I got distracted by a phone call mid-cook and almost let my jam scorch—talk about a smoky kitchen! So, I always keep a timer handy now. Also, stirring frequently is the key to keeping the jam smooth and preventing burnt bits. The whole process is pretty quick but rewarding—you get to see the transformation right before your eyes.
Cooking Tips & Techniques
Making jam without pectin can feel tricky, but a few tricks have made all the difference for me over the years.
- Use ripe, high-quality fruit. The natural pectin content and flavor depend a lot on your raspberries’ freshness.
- Don’t rush the simmer. Low and steady heat helps the jam thicken without burning sugars.
- Stir often, but gently. You want to break down the fruit but keep some texture intact for that homemade feel.
- Test the set regularly. The chilled plate test is simple and beats guessing.
- Be patient with cooling. Jam thickens more as it cools, so don’t panic if it seems a bit loose right off the stove.
- Store in clean, sterilized jars. This prevents spoilage and keeps your jam tasting fresh.
Honestly, I’ve burned more than one batch when I got distracted, so I always recommend staying close while cooking. Also, if you like a smoother jam, pushing the cooked mixture through a sieve makes a huge difference. But if you’re like me, a few seeds here and there add character.
Variations & Adaptations
This quick homemade raspberry jam recipe is flexible enough to fit different tastes and dietary needs.
- Lower sugar version: Reduce sugar to 1 cup (200g) and add a tablespoon of chia seeds at the end to help thicken naturally.
- Mixed berry jam: Substitute half the raspberries with blueberries or blackberries for a complex flavor.
- Vegan & refined sugar-free: Use coconut sugar or maple syrup instead of granulated sugar, adjusting to taste.
- Spiced jam: Add a cinnamon stick or a splash of vanilla extract during cooking for a warm twist.
- Chunky vs. smooth: For smoother jam, blend half of the cooked mixture before cooling.
My favorite variation is a lemon-vanilla raspberry jam that I make during winter holidays—it’s a crowd-pleaser and pairs beautifully with warm scones. If you’re looking for a gluten-free companion, this jam goes wonderfully with gluten-free biscuits or even crispy garlic chicken for a sweet contrast.
Serving & Storage Suggestions
This raspberry jam is lovely served slightly chilled or at room temperature. Spread it generously on toasted bread, swirled into yogurt, or spooned over ice cream for an easy dessert upgrade.
- Serving ideas: Try it with cream cheese on bagels or as a topping for pancakes and waffles.
- Pairings: Fresh cheese, like ricotta or mascarpone, complements the jam’s tartness wonderfully.
- Storage: Keep sealed jars refrigerated for up to three weeks. For longer storage, freeze jam in airtight containers for up to six months.
- Reheating: Warm gently on the stove or in the microwave to loosen before using, but avoid boiling after storage to preserve freshness.
- Flavor development: The jam’s flavor deepens after a day or two in the fridge, so if you can wait, it’s worth the patience.
Nutritional Information & Benefits
One tablespoon (about 20g) of this homemade raspberry jam contains approximately:
| Nutrient | Amount |
|---|---|
| Calories | 50 |
| Carbohydrates | 13g |
| Sugar | 11g |
| Fiber | 1.5g |
| Vitamin C | 7% DV |
Raspberries are packed with antioxidants and vitamin C, which support the immune system. Making jam without commercial pectin and preservatives means you avoid additives, keeping it more natural and wholesome. This recipe is naturally gluten-free and can be adapted for low-sugar diets easily. From my experience, enjoying this jam feels like a small wellness boost—comfort food that’s also a bit good for you.
Conclusion
If you’ve ever wanted a quick way to make raspberry jam without the fuss of pectin packets or long cooking times, this recipe is your new best friend. It’s straightforward, forgiving, and yields a fresh, flavorful jam that tastes like it came straight from that little bakery you wish still existed. Honestly, I keep making it because it reminds me that simple things can bring big joy.
Feel free to tweak the sweetness or add your own twist with spices or mixed berries. I’d love to hear how your batch turns out and any creative versions you try! Share your stories and questions below—I’m always here to chat jam and kitchen wins. Happy cooking!
FAQs About Quick Homemade Raspberry Jam Without Pectin
How long does this raspberry jam last in the fridge?
Once opened, it stays fresh for about 3 weeks when stored in a sealed jar in the refrigerator.
Can I use frozen raspberries instead of fresh?
Yes! Just thaw and drain excess liquid before cooking to avoid a watery jam.
Why is lemon juice important in this recipe?
Lemon juice adds acidity that helps the jam set naturally and brightens the flavor.
Is it possible to make this jam without any added sugar?
You can reduce the sugar or substitute with natural sweeteners, but keep in mind that sugar helps with preservation and texture.
Can I store this jam at room temperature?
Since this recipe doesn’t use commercial pectin or preservatives, it’s safer to store unopened jars in the fridge or freezer to prevent spoilage.
Pin This Recipe!
Quick Homemade Raspberry Jam Without Pectin
A fast and easy raspberry jam recipe that requires no pectin, perfect for beginners and ready in 30 minutes. This jam is naturally sweet, tangy, and thickened by the fruit itself.
- Prep Time: 10 minutes
- Cook Time: 20 minutes
- Total Time: 30 minutes
- Yield: About 3 cups (approximately 12 servings of 1 tablespoon each) 1x
- Category: Preserves
- Cuisine: American
Ingredients
- 4 cups fresh raspberries (600g)
- 1 ½ cups granulated sugar (300g)
- 2 tablespoons fresh lemon juice (30ml)
- ¼ cup water (60ml)
- ½ teaspoon vanilla extract (optional)
- Pinch of salt (optional)
Instructions
- Wash and sterilize your jars by boiling them or running them through the dishwasher. Set aside on a clean towel.
- Rinse the raspberries gently and remove any stems or damaged berries (about 5 minutes).
- In a medium to large heavy-bottomed saucepan, combine raspberries, sugar, lemon juice, and water. Stir gently to mix.
- Cook over medium heat, bringing the mixture to a simmer. Stir frequently to avoid sticking or burning, about 10 minutes.
- Use the back of a spoon to gently mash the raspberries, releasing juices and natural pectin. Mixture should start to thicken.
- Simmer and stir for another 10-15 minutes until the jam coats the back of the spoon and looks glossy. For seedless jam, push through a fine mesh strainer now.
- Test the setting point by placing a spoonful on a chilled plate; if it wrinkles when pushed, it’s ready. If not, simmer a few more minutes.
- Remove from heat and let cool slightly to prevent jars from cracking.
- Pour jam into sterilized jars, leaving about ¼ inch (0.6 cm) headspace. Seal tightly and let cool completely at room temperature.
- Store sealed jars in the refrigerator for up to 3 weeks or freeze for longer storage.
Notes
Use ripe, high-quality raspberries for best natural pectin and flavor. Stir frequently to prevent burning. Test jam set with chilled plate method. For smoother jam, strain through a sieve. Store unopened jars in the fridge or freezer to prevent spoilage. Jam thickens more as it cools.
Nutrition
- Serving Size: 1 tablespoon (about
- Calories: 50
- Sugar: 11
- Carbohydrates: 13
- Fiber: 1.5
Keywords: raspberry jam, homemade jam, no pectin jam, quick jam recipe, easy raspberry jam, beginner jam recipe, natural pectin, fruit preserves