I didn’t trust a trifle for a Labor Day cookout. Honestly, I thought it was a dessert that belonged in a glass bowl at a baby shower—delicate, fussy, and likely to turn into a soggy mess the second you set it outside in the August heat. My father-in-law, who smokes the brisket for every holiday, looked at my planned dessert list one year and said, “Why not something cold and layered? Like that English thing with the fruit.” I told him trifles collapse. He shrugged. So I spent the next two weeks testing, failing, and finally figuring out how to make a red, white, and blue berry trifle that could sit on a picnic table for two hours without weeping into a puddle of juice.
The secret, I learned, is all in how you handle the berries and the cream. You can’t just toss everything in and hope for the best. This version uses a stabilized vanilla cream that holds its shape, a simple trick with the berries that keeps them from turning the cake into mush, and store-bought angel food cake because honestly, on a holiday weekend, you have better things to do than bake from scratch. (I tested it with homemade pound cake too, and the angel food won every time for lightness.) It looks like a total showstopper—those red, white, and blue stripes through the glass—but it comes together in about twenty minutes of actual work.
The first time I brought this to the cookout, my father-in-law took a photo before anyone touched it. That’s when I knew it was a keeper. It’s the kind of dessert that makes people pause, then go back for seconds, then ask for the recipe before they’ve finished chewing. And honestly? That feels pretty good for a dessert I once dismissed as impractical.
Why You’ll Love This Recipe
This red, white, and blue berry trifle isn’t just another pretty dessert. It’s built to work for real life—specifically, for a holiday where you’re already juggling a grill, a cooler full of drinks, and a dozen other side dishes. Here’s why it earns a permanent spot on your Labor Day menu:
- No-Bake & Quick to Assemble: You don’t turn on the oven. The whole thing comes together in about 20 minutes of active prep, which means you can make it while the brisket rests and still have time to shower before guests arrive.
- Uses Simple, Grocery-Store Ingredients: Angel food cake from the bakery section, fresh berries, heavy cream, cream cheese, and a little powdered sugar. No obscure extracts, no gelatin packets, no trips to a specialty store.
- Perfect for a Crowd: This recipe fills a large trifle bowl and serves 10–12 people easily. It’s ideal for potlucks, block parties, and family gatherings where you need one dessert to feed everyone.
- Naturally Patriotic: The red strawberries, white cream, and blueberries deliver that holiday look without artificial food coloring. It’s festive without being kitschy.
- Make-Ahead Friendly: You can assemble this trifle up to 8 hours in advance. The stabilized cream and pre-drained berries mean it won’t get soggy or weepy while it sits in the fridge.
I’ve made this for three different Labor Day cookouts now, and it disappears faster than the brownies every single time. The texture is what gets people—light, airy cake, creamy layers, and bursts of fresh fruit that taste like the end of summer. It’s the dessert equivalent of a perfect late-August afternoon: bright, satisfying, and just sweet enough.
What Ingredients You Will Need
This recipe uses straightforward ingredients that you can find at any grocery store. The magic is in how they’re prepared and layered, not in exotic components.
For the Cream Layer
- 2 cups heavy whipping cream (cold, straight from the fridge—this is non-negotiable for proper whipping)
- 8 oz cream cheese, softened to room temperature (full-fat works best; low-fat can make the cream layer too loose)
- ¾ cup powdered sugar, sifted (this dissolves more easily than granulated and keeps the cream smooth)
- 1 teaspoon vanilla extract (use pure vanilla, not imitation, for the cleanest flavor)
For the Berry Layers
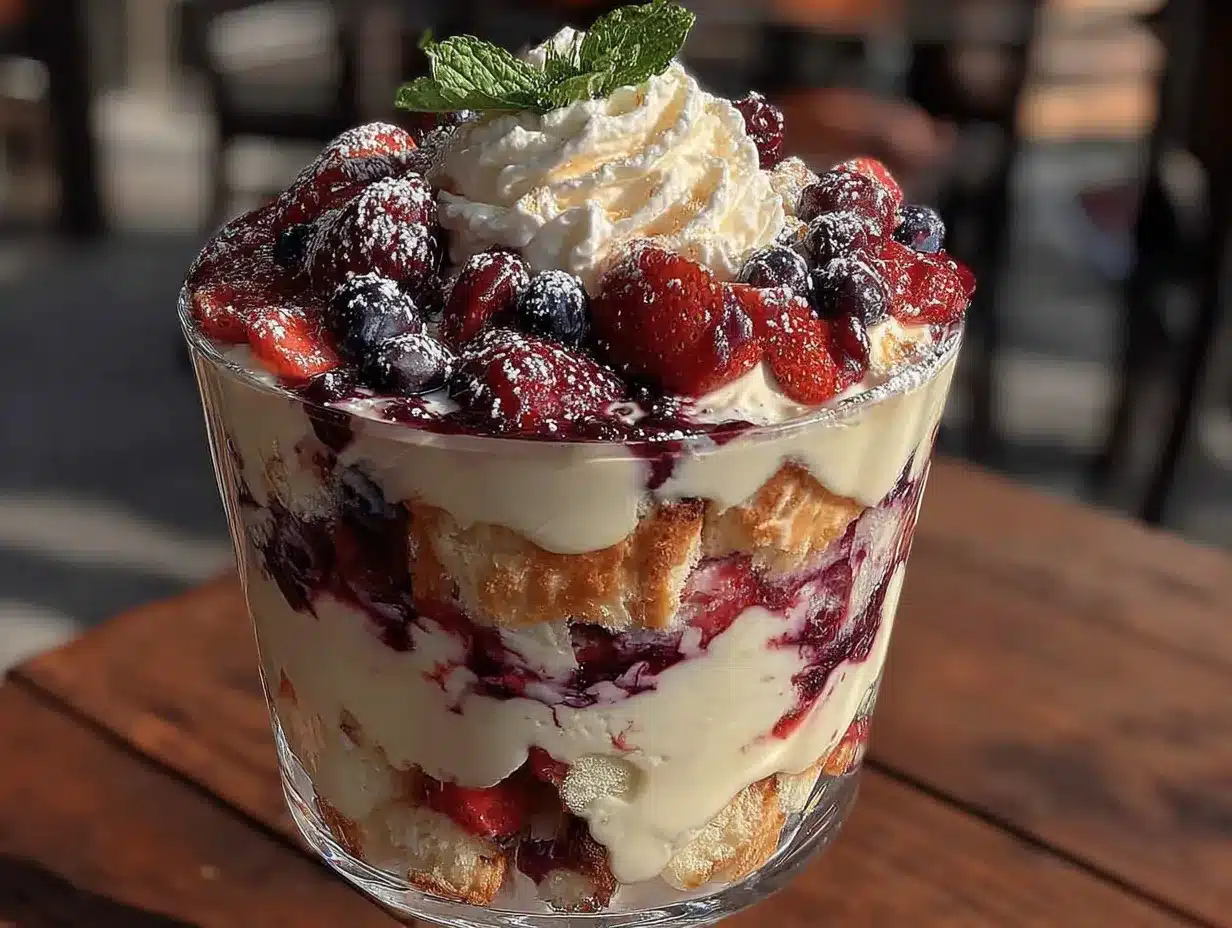
- 2 cups fresh strawberries, hulled and sliced into ¼-inch pieces
- 2 cups fresh blueberries, rinsed and patted completely dry
- 2 tablespoons granulated sugar, divided (1 tablespoon per berry type)
- 1 tablespoon lemon juice, freshly squeezed (this brightens the berries and helps draw out excess moisture)
For the Cake Base
- 1 large store-bought angel food cake (about 16 oz), cut into 1-inch cubes (you can use homemade if you prefer, but the store-bought version holds up better in the layers)
For Garnish (Optional but Recommended)
- Fresh mint sprigs
- Extra whole strawberries (halved, for the top layer)
- Extra blueberries (a small handful for scattering on top)
I recommend using Driscoll’s berries if you can find them—they’re consistently sweet and firm, which matters when you’re layering them into a trifle. For the cream cheese, Philadelphia full-fat block cream cheese is my go-to. The spreadable kind in a tub has too much added water and won’t stabilize the cream properly.
If you’re making this for a crowd that includes someone who can’t have dairy, you can use a stabilized coconut whipped cream and dairy-free cream cheese alternative, but the texture will be slightly less firm. I tested this with a vegan cream cheese once, and it worked okay for a same-day serve but didn’t hold up as well overnight.
Equipment Needed
You don’t need fancy tools for this recipe, but a few specific items make the process smoother.
- Large trifle bowl or glass serving dish (at least 3.5-quart capacity; a clear glass bowl shows off the layers best)
- Electric hand mixer or stand mixer (you can whisk the cream by hand if you’re feeling ambitious, but your arm will thank you for using a mixer)
- Large mixing bowl (for whipping the cream)
- Medium mixing bowl (for tossing the berries with sugar)
- Sharp chef’s knife and cutting board (for hulling and slicing strawberries)
- Rubber spatula (for folding the cream layers and scraping every last bit out of the bowl)
- Fine-mesh strainer (optional, for sifting powdered sugar if it’s lumpy)
- Measuring cups and spoons
If you don’t own a trifle bowl, a large glass salad bowl works fine. I’ve even used a 9×13-inch glass baking dish in a pinch—it doesn’t show the layers as dramatically, but it tastes the same. A clear glass bowl is worth the investment if you make layered desserts often, though. I picked mine up at a thrift store for five dollars, and it’s become my most-used serving piece for holidays.
For the mixer, any electric hand mixer works. I use a KitchenAid stand mixer when I’m making a double batch, but a hand mixer is actually easier for this because you’re whipping a smaller quantity of cream.
Preparation Method
This method breaks down into three simple stages: prep the berries, make the cream, and layer everything. Take your time with the berry prep—it’s the step most people rush, and rushing leads to a watery trifle.
Step 1: Prep the Berries (15 minutes active time)
Start with the berries at least 30 minutes before you plan to assemble the trifle. This resting time is critical.
- Rinse the strawberries and blueberries in a colander under cold water. Pat them dry with a clean kitchen towel or paper towels. Do not skip drying them thoroughly—excess water on the berries will seep into the cake and make it soggy.
- Hull the strawberries and slice them into even ¼-inch pieces. Place them in a medium bowl. Add 1 tablespoon of granulated sugar and ½ tablespoon of lemon juice. Toss gently to coat.
- In a separate medium bowl, add the blueberries, the remaining 1 tablespoon of sugar, and the remaining ½ tablespoon of lemon juice. Toss gently.
- Let both bowls sit at room temperature for 20 minutes. After 20 minutes, you’ll notice some liquid has pooled at the bottom of each bowl. Drain this liquid off completely using a fine-mesh strainer. Discard the liquid. This step removes the excess juice that would otherwise turn your trifle into a soup.
I learned this the hard way my first time making a trifle. I layered undrained berries directly onto the cake, and within an hour, the bottom third of the dessert was a sad, pink sludge. Draining the berries is not optional—it’s the single most important step for a clean, stable trifle.
Step 2: Make the Stabilized Cream (10 minutes active time)
This cream layer is what makes the trifle hold its shape. The cream cheese stabilizes the whipped cream so it doesn’t deflate or separate.
- In a large mixing bowl, beat the softened cream cheese with an electric mixer on medium speed until smooth and fluffy, about 2 minutes. Scrape down the sides of the bowl with a spatula.
- Add the sifted powdered sugar and vanilla extract. Beat on low speed until combined, then increase to medium and beat for another minute until the mixture is creamy and free of lumps.
- In a separate clean bowl (or in the same bowl if you transfer the cream cheese mixture to another container), pour in the cold heavy whipping cream. Using clean beaters, whip the cream on medium-high speed until soft peaks form—this takes about 3-4 minutes with a hand mixer. You’re looking for peaks that hold their shape but are still slightly soft at the tips.
- Gently fold the whipped cream into the cream cheese mixture using a rubber spatula. Use a slow, circular motion from the bottom up. Fold until no white streaks remain. Do not stir vigorously or you’ll deflate the cream.
The cream should be thick, smooth, and spreadable. If it looks loose or runny, your cream cheese wasn’t fully softened, or your heavy cream wasn’t cold enough. Pop the bowl in the fridge for 10 minutes to firm it up before assembling.
Step 3: Assemble the Trifle (10 minutes active time)
Now comes the fun part—building those beautiful red, white, and blue layers.
- Place a single layer of angel food cake cubes in the bottom of your trifle bowl. Use about one-third of the cake cubes, spreading them evenly. Don’t press them down—just let them settle naturally.
- Spoon one-third of the stabilized cream over the cake layer. Use the back of a spoon to spread it gently to the edges. It doesn’t need to be perfect; the next layer will cover any gaps.
- Scatter half of the drained strawberries over the cream layer, followed by half of the drained blueberries. Try to distribute them evenly so every spoonful gets some fruit.
- Repeat the layers: another third of cake cubes, another third of cream, and the remaining strawberries and blueberries.
- Add the final third of cake cubes on top, then spread the remaining cream over the top. Use a spatula to smooth it into an even surface.
- For the garnish, arrange halved strawberries and a handful of fresh blueberries on top of the cream in a decorative pattern. I like to create a ring of strawberries around the edge and pile blueberries in the center. Add a few mint sprigs for a pop of green.
Cover the trifle loosely with plastic wrap and refrigerate for at least 2 hours before serving. This resting time allows the flavors to meld and the cake to absorb just a little bit of berry juice without getting mushy. The trifle is best within 4 to 8 hours of assembly.
Cooking Tips & Techniques
Over the course of testing this recipe about seven times (my neighbors were happy volunteers), I picked up a few tricks that make the difference between a good trifle and a great one.
Use room-temperature cream cheese. This is non-negotiable. Cold cream cheese won’t blend smoothly into the whipped cream, and you’ll end up with little white lumps throughout the cream layer. Let it sit on the counter for at least 30 minutes before you start. If you’re in a rush, cut the cream cheese into small cubes and microwave it in 10-second bursts until softened but not melted.
Don’t over-whip the cream. Soft peaks are your target. If you whip until stiff peaks form, the cream can turn grainy and start to separate when you fold it into the cream cheese. Stop the mixer as soon as the cream holds a soft, droopy peak when you lift the beaters.
Pat the berries dry after washing them. I know I mentioned this already, but it bears repeating. Wet berries = soggy trifle. After rinsing, spread the berries on a clean kitchen towel and gently roll them around to absorb surface moisture. Then proceed with the sugaring and draining step.
Cube the cake, don’t tear it. Angel food cake is soft and crumbly, so use a serrated knife to cut it into cubes. A regular chef’s knife will compress the cake and make it dense. Cut with a gentle sawing motion to keep the cubes light and airy.
Chill the bowl and beaters for the cream. If your kitchen is warm, pop the mixing bowl and beaters in the freezer for 10 minutes before whipping the cream. Cold equipment helps the cream whip faster and hold its structure longer.
I once forgot to drain the berries entirely and assembled the trifle anyway because I was running late for a party. The result was a beautiful dessert that turned into a soupy mess within an hour. Everyone still ate it, but I spent the whole time apologizing. Learn from my mistake—that draining step is the backbone of this whole recipe.
Variations & Adaptations
This red, white, and blue berry trifle is flexible enough to adapt to different tastes, dietary needs, and what you have on hand.
Gluten-Free Version: Angel food cake typically contains wheat flour, but you can find gluten-free angel food cake at some specialty bakeries or make your own using a gluten-free cake flour blend. Alternatively, use gluten-free vanilla cake cubes or gluten-free ladyfingers as the base. I tested this with a gluten-free vanilla loaf cake from a local bakery, and it worked beautifully.
Dairy-Free Version: Substitute the heavy cream with full-fat coconut cream (chilled overnight, then whipped) and use a dairy-free cream cheese alternative. The texture will be slightly less firm, so I recommend assembling this version no more than 4 hours before serving. The flavor is still lovely—the coconut adds a subtle tropical note that pairs well with the berries.
Berry Swap: Not a fan of strawberries or blueberries? Use raspberries in place of strawberries for the red layer, or blackberries in place of blueberries. You can also use a mix of all four berries for a more complex flavor. Just be sure to drain any berries that release a lot of juice—raspberries are especially juicy and need extra draining time.
Lemon Twist: Add the zest of one lemon to the cream layer for a bright, citrusy note that cuts through the sweetness. I tried this variation for a Fourth of July party, and it was a hit. The lemon zest also helps the cream taste fresher and less heavy.
Individual Servings: Instead of one large trifle, layer the components into clear plastic cups or small mason jars for individual servings. This is perfect for parties where people are eating standing up or grazing from a buffet. Layer in the same order, and let them chill for at least an hour before serving.
My personal favorite variation is the lemon zest addition. It feels a little more grown-up and less cloyingly sweet. I’ve also made this with a layer of lemon curd spread between the cake and cream, which was decadent but maybe a little too much sugar for a summer dessert. The simple lemon zest hits the right balance.
Serving & Storage Suggestions
This trifle is best served cold, straight from the refrigerator. The cream should be firm and the cake soft but not mushy. Pull it out of the fridge about 10 minutes before serving to take the chill off slightly—this lets the berry flavors come forward.
Serving Temperature: Cold, not ice-cold. If it’s been in the fridge for more than 6 hours, let it sit at room temperature for 10-15 minutes before digging in.
Presentation: Place the trifle bowl on a cake stand or a large platter to catch any drips. Use a large serving spoon or a ladle to scoop deep into the layers so each serving gets a bit of everything. For individual servings, use a wide-mouthed spoon to transfer the trifle into small bowls or cups.
Complementary Dishes: This trifle pairs beautifully with grilled meats and smoky barbecue flavors. I serve it alongside my patriotic Fourth of July smoked brisket flat with coffee ancho rub for a sweet-and-savory combo that guests rave about. It’s also great after a meal of flavorful grilled honey mustard chicken skewers—the lightness of the trifle balances the rich, tangy chicken. For a drink pairing, iced tea or a crisp Sauvignon Blanc works well.
Storage: Cover the trifle bowl tightly with plastic wrap or a lid and store it in the refrigerator for up to 2 days. After the first day, the cake will have absorbed more berry juice and will be softer, but it’s still delicious. I do not recommend freezing this dessert—the cream will separate and become grainy upon thawing.
Reheating: This is a cold dessert, so no reheating is needed. If you’ve stored it for a day and the cream seems a little firm, just let it sit at room temperature for 15 minutes before serving.
One thing I’ve noticed is that the trifle actually tastes better after 4-6 hours of chilling. The flavors meld together, and the cake absorbs just enough berry juice to become tender without falling apart. If you can make it in the morning for an evening gathering, that’s the sweet spot.
Nutritional Information & Benefits
Here’s an estimated nutritional breakdown for one serving of this red, white, and blue berry trifle (based on 12 servings):
| Nutrient | Amount Per Serving |
|---|---|
| Calories | 285 |
| Total Fat | 18g |
| Saturated Fat | 11g |
| Cholesterol | 65mg |
| Sodium | 210mg |
| Total Carbohydrates | 30g |
| Dietary Fiber | 2g |
| Sugars | 22g |
| Protein | 4g |
This dessert offers some surprising nutritional perks. Strawberries and blueberries are packed with antioxidants, particularly anthocyanins (the compounds that give them their red and blue colors), which support heart health and reduce inflammation. The cream and cream cheese provide calcium and vitamin D for bone health, while the angel food cake is lower in fat than traditional butter-based cakes.
If you’re watching your sugar intake, you can reduce the powdered sugar in the cream layer to ½ cup without sacrificing too much structure. The berries add natural sweetness, so the dessert won’t taste bland. For a lower-fat option, use light cream cheese and swap half the heavy cream for plain Greek yogurt—though the texture will be slightly less luxurious.
This trifle is not gluten-free in its standard form due to the angel food cake, but as mentioned in the variations section, a gluten-free cake substitution works well. It contains dairy, eggs, and wheat, so it’s not suitable for vegan, dairy-free, or gluten-free diets unless modified.
Conclusion
This red, white, and blue berry trifle is the dessert I bring to every Labor Day cookout now, and it never fails. It’s the one that gets photographed, the one that gets asked about, the one that disappears before the pie even gets sliced. And the best part? It’s genuinely easy to make. No baking, no complicated techniques, no last-minute stress. Just simple ingredients layered with a little care and a lot of pride.
I love this recipe because it feels like summer in a bowl—bright, fresh, and meant to be shared with people you care about. It’s forgiving enough for a beginner to pull off and impressive enough to make you look like you spent hours in the kitchen. And honestly, on a holiday weekend when you’d rather be outside with a drink in your hand than hovering over a hot oven, that’s exactly the kind of recipe you need.
If you make this trifle, I’d love to hear how it turns out. Did you try a variation? Add a twist of your own? Serve it alongside your favorite grilled main? Drop a comment below and let me know. And if you’re looking for more festive summer desserts, don’t miss my easy no-bake Fourth of July Rice Krispie treat stars or these fresh patriotic strawberry watermelon popsicles with blueberry layers for more no-fuss holiday treats. Happy Labor Day, and happy layering!
Frequently Asked Questions
Can I make this trifle a day ahead?
Yes, you can assemble the trifle up to 24 hours in advance. The flavors actually improve after 4-8 hours of chilling. Just wait to add the garnish (fresh mint and extra berries on top) until right before serving so they stay fresh and vibrant.
Can I use frozen berries instead of fresh?
I don’t recommend frozen berries for this recipe. They release too much liquid when they thaw, and even after draining, they’ll make the trifle watery. If fresh berries aren’t available, use high-quality freeze-dried berries instead—they rehydrate slightly in the cream without releasing excess juice.
What can I use instead of angel food cake?
Pound cake, vanilla sponge cake, or even shortbread cookies work well as substitutes. Pound cake is denser and will hold up even better than angel food, though the trifle will be heavier. Ladyfingers (the soft, sponge-cake kind, not the hard biscotti type) are also a great option and give the dessert a more traditional English trifle feel.
How do I keep the cream from deflating?
Make sure your heavy cream is very cold (straight from the fridge), your bowl and beaters are chilled, and you don’t over-whip. When folding the whipped cream into the cream cheese mixture, use a gentle hand—fold, don’t stir. If the cream starts to look loose, pop the bowl in the fridge for 10 minutes to firm it up before continuing.
Can I double this recipe for a larger crowd?
Absolutely. Double all ingredients and use a larger trifle bowl or a 9×13-inch glass baking dish. Layer in the same order, but you may need to adjust the number of layers—three layers of cake and cream work well in a larger dish. Just make sure your bowl or dish is deep enough to hold everything without overflowing.
Pin This Recipe!
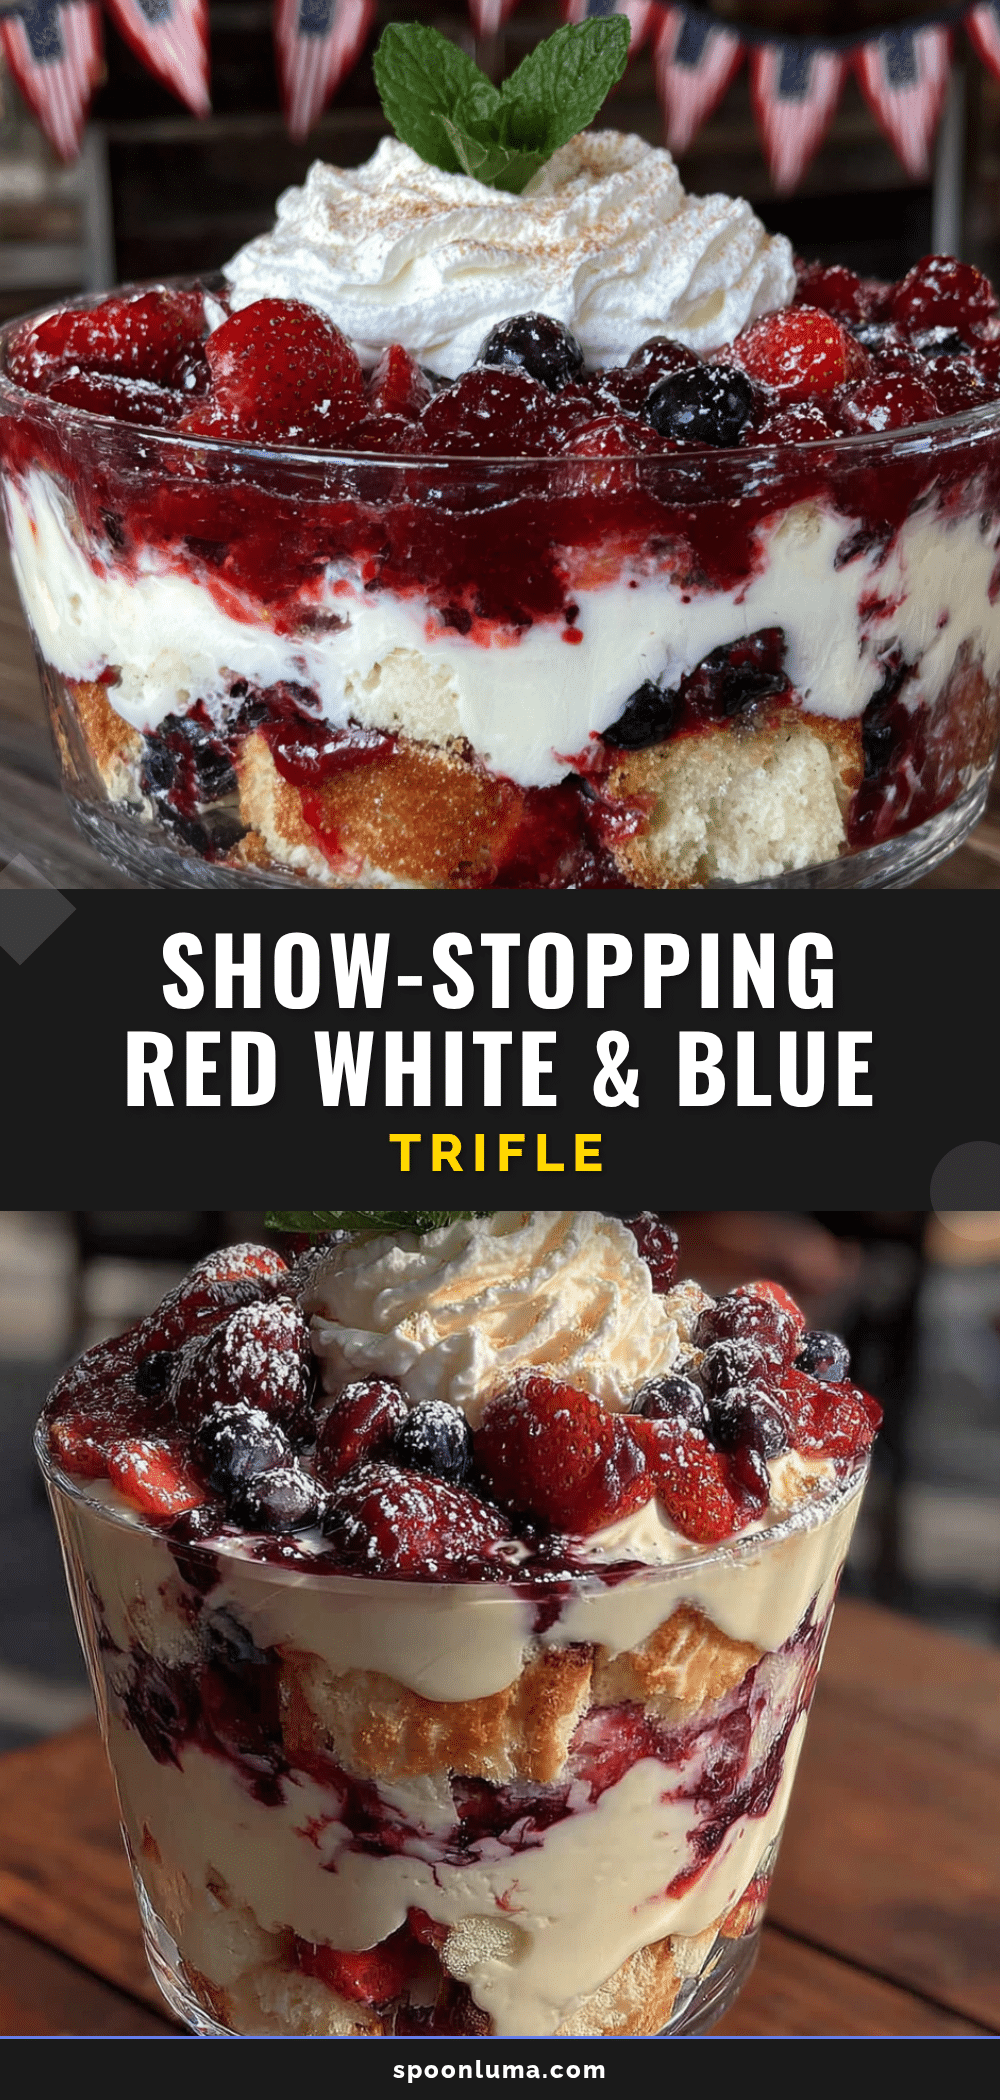
Best Red White & Blue Berry Trifle for Labor Day

A no-bake red, white, and blue berry trifle with stabilized vanilla cream, fresh berries, and angel food cake. Perfect for Labor Day cookouts, this dessert holds its shape and can be made ahead.
- Prep Time: 20 minutes
- Cook Time: 0 minutes
- Total Time: 2 hours 20 minutes (includes chilling)
- Yield: 10-12 servings 1x
- Category: Dessert
- Cuisine: American
Ingredients
- 2 cups heavy whipping cream (cold)
- 8 oz cream cheese, softened
- ¾ cup powdered sugar, sifted
- 1 teaspoon vanilla extract
- 2 cups fresh strawberries, hulled and sliced into ¼-inch pieces
- 2 cups fresh blueberries, rinsed and patted dry
- 2 tablespoons granulated sugar, divided
- 1 tablespoon lemon juice, freshly squeezed
- 1 large store-bought angel food cake (about 16 oz), cut into 1-inch cubes
- Fresh mint sprigs for garnish (optional)
- Extra whole strawberries, halved for garnish (optional)
- Extra blueberries for garnish (optional)
Instructions
- Prep the berries: Rinse strawberries and blueberries in a colander under cold water. Pat dry thoroughly. Hull strawberries and slice into ¼-inch pieces. Place in a medium bowl with 1 tablespoon sugar and ½ tablespoon lemon juice. Toss gently. In a separate bowl, add blueberries, remaining 1 tablespoon sugar, and remaining ½ tablespoon lemon juice. Toss gently. Let both bowls sit at room temperature for 20 minutes. Drain off any pooled liquid using a fine-mesh strainer. Discard liquid.
- Make the stabilized cream: In a large mixing bowl, beat softened cream cheese with an electric mixer on medium speed until smooth and fluffy, about 2 minutes. Scrape down sides. Add sifted powdered sugar and vanilla extract. Beat on low until combined, then increase to medium and beat for 1 minute until creamy. In a separate clean bowl, pour in cold heavy whipping cream. Using clean beaters, whip on medium-high speed until soft peaks form, about 3-4 minutes. Gently fold whipped cream into cream …
- Assemble the trifle: Place a single layer of angel food cake cubes in the bottom of a large trifle bowl (about one-third of the cake). Spoon one-third of the stabilized cream over the cake and spread gently. Scatter half of the drained strawberries and half of the drained blueberries over the cream. Repeat layers: another third of cake, another third of cream, and remaining berries. Add final third of cake on top, then spread remaining cream over the top. Smooth surface with a spatula.
- Garnish: Arrange halved strawberries and a handful of fresh blueberries on top of the cream in a decorative pattern. Add mint sprigs if desired.
- Chill: Cover loosely with plastic wrap and refrigerate for at least 2 hours before serving. Best within 4 to 8 hours of assembly.
Notes
The key to a non-soggy trifle is draining the berries after sugaring. Use room-temperature cream cheese for a smooth cream. Chill the bowl and beaters for best whipped cream results. The trifle can be assembled up to 8 hours in advance.
Nutrition
- Serving Size: 1 serving (based on
- Calories: 285
- Sugar: 22
- Sodium: 210
- Fat: 18
- Saturated Fat: 11
- Carbohydrates: 30
- Fiber: 2
- Protein: 4
Keywords: red white blue trifle, labor day dessert, no bake dessert, berry trifle, patriotic dessert, summer dessert


