I burned the first batch of these gingerbread cheesecake bars so badly that my smoke alarm became a permanent part of the baking soundtrack. Not a little brown around the edges—I mean charcoal crust, weeping cheesecake, the whole sad situation. And honestly? I kept making them wrong for three years before I figured out why. The molasses crust would either crumble into dust or turn into a brick, and the cheesecake layer would crack like a dried-up riverbed every single time. But here’s the thing—I couldn’t stop trying because even my failed versions tasted incredible. That ginger-spiced crust with the creamy tang of cheesecake? It haunted me in the best way.
Then one December afternoon, standing in my messy kitchen with flour on my jeans and molasses sticky all over the counter, I finally cracked it. The trick wasn’t in some fancy technique—it was in letting the crust rest before baking and using room temperature ingredients for the filling. Simple stuff I’d been skipping because I was in a hurry. These bars changed my holiday baking forever. They’re the dessert that makes people close their eyes on the first bite, and I’m not exaggerating. My sister-in-law, who “doesn’t do dessert,” asked for the recipe twice.
So if you’ve ever struggled with layered bars or thought gingerbread cheesecake was too fussy for a regular home kitchen, stick with me. I’ve made every mistake so you don’t have to.
Why You’ll Love This Recipe
These gingerbread cheesecake bars aren’t just another holiday dessert—they’re the one that disappears first from every cookie swap and family gathering. I’ve brought them to three different holiday parties this year, and each time someone asked for the recipe before they’d even finished their first bite.
- Quick & Easy: The whole thing comes together in about 45 minutes of active work. The oven does the rest. Perfect for those December nights when you’re already exhausted from wrapping presents.
- Simple Ingredients: Nothing weird here. Butter, cream cheese, molasses, spices—probably already in your pantry if you do any holiday baking at all.
- Perfect for Holiday Gatherings: These bars travel beautifully, slice cleanly, and look fancy without requiring any piping skills or decorating talent.
- Crowd-Pleaser: I’ve watched kids devour them right alongside grandparents. The gingerbread flavor feels nostalgic, and the cheesecake layer makes it feel special.
- Unbelievably Delicious: That molasses crust gets slightly chewy on the edges and tender in the middle, while the cheesecake stays creamy and tangy. It’s the kind of texture combo that makes you go back for “just one more bite” until the pan’s empty.
What makes these different from every other gingerbread cheesecake recipe out there? It’s the technique of pre-baking the crust just until set, not fully baked, then letting the cheesecake finish the job. Plus I use a touch of brown sugar in the crust alongside the molasses, which gives it this deep, almost caramelized flavor that regular gingerbread crusts never achieve.
This is comfort food reimagined—faster than a full cheesecake, but with the same creamy satisfaction. It’s the dessert you make when you want to impress people without spending all day in the kitchen.
What Ingredients You Will Need
This recipe uses simple, wholesome ingredients to deliver that classic gingerbread-meets-cheesecake flavor. Most of these are pantry staples during the holiday season, and the substitutions are easy if you need them.
For the Molasses Crust
- 2 cups (240g) all-purpose flour – spoon and level for accuracy. I use Gold Medal, but any brand works fine.
- 1/2 cup (100g) packed dark brown sugar – light brown works too, but dark gives deeper flavor.
- 1 teaspoon baking soda
- 2 teaspoons ground ginger
- 1 1/2 teaspoons ground cinnamon
- 1/2 teaspoon ground cloves
- 1/2 teaspoon salt
- 1/2 cup (113g) unsalted butter, cold and cubed – this is important. Cold butter gives you that tender, flaky texture.
- 1/3 cup (112g) unsulphured molasses – not blackstrap. Grandma’s or Brer Rabbit brand work perfectly. Blackstrap is too bitter here.
- 1 large egg yolk – save the white for the cheesecake layer.
For the Cheesecake Filling
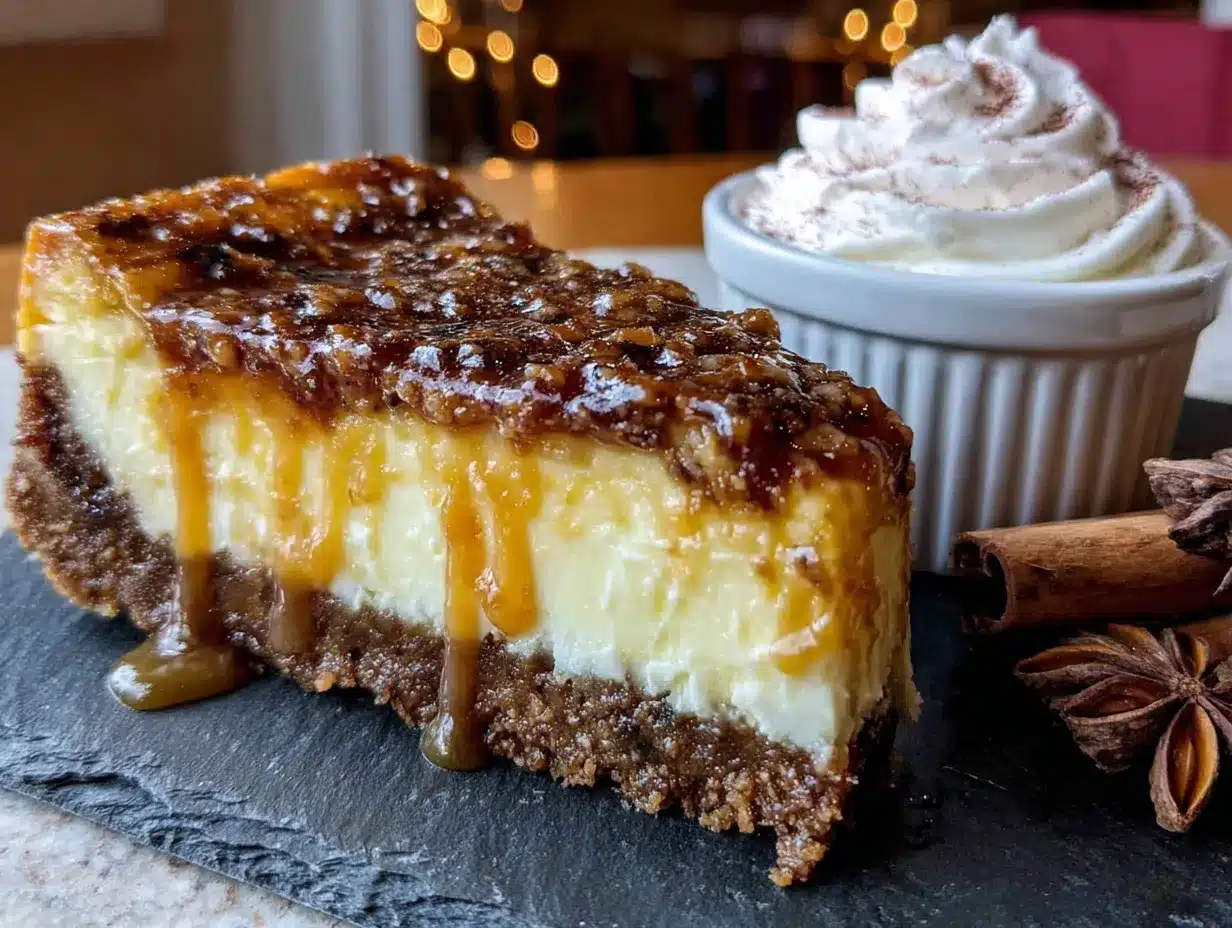
- 16 ounces (452g) full-fat cream cheese, softened – Philadelphia is my go-to. Low-fat will work but the texture won’t be as creamy.
- 1/2 cup (100g) granulated sugar
- 2 tablespoons all-purpose flour – helps stabilize the cheesecake and prevent cracking.
- 2 large eggs, room temperature – cold eggs will make the filling lumpy.
- 1 teaspoon vanilla extract
- 1/2 cup (120ml) sour cream, room temperature – adds tanginess and creaminess. Greek yogurt works as a substitute.
Optional Toppings
- Whipped cream – homemade is best, but store-bought works in a pinch.
- Caramel sauce – for drizzling.
- Candied ginger – finely chopped, for garnish.
Ingredient Selection Tip: Look for molasses that says “unsulphured” on the label. Sulphured molasses has a chemical taste that ruins the whole thing. And please, please use room temperature cream cheese. I learned this the hard way after making lumpy cheesecake filling for years because I was too impatient to wait.
Substitution Guidance: For a gluten-free version, use a 1:1 gluten-free baking flour blend. The texture will be slightly more crumbly but still delicious. Dairy-free? Use vegan butter and dairy-free cream cheese—just know the texture will be softer and the bars need extra chilling time.
Equipment Needed
- 9×13 inch baking pan – metal or glass both work. Glass takes slightly longer to bake.
- Parchment paper – for easy removal. Trust me on this one.
- Electric mixer – hand mixer or stand mixer. You can do this by hand, but your arm will hate you.
- Large mixing bowls – at least two.
- Food processor or pastry cutter – for cutting butter into the flour. Two forks work if you’re patient.
- Rubber spatula
- Measuring cups and spoons
- Cooling rack
I use a metal 9×13 from Nordic Ware, and it gives me the most even baking. My old glass dish always made the edges overbake before the center was done. If you’re using glass, reduce the oven temperature by 25 degrees F.
Preparation Method
Let me walk you through this step by step. I’ve included all the little details that made the difference between my burnt failures and these perfect bars.
Step 1: Prep Your Pan
Preheat your oven to 350 degrees F (175 degrees C). Line your 9×13 pan with parchment paper, leaving about 2 inches of overhang on the long sides. This creates handles for lifting the bars out later. Lightly spray the parchment with non-stick spray.
Step 2: Make the Crust
In a food processor, pulse together the flour, brown sugar, baking soda, ginger, cinnamon, cloves, and salt until combined. Add the cold cubed butter and pulse until the mixture looks like coarse sand with some pea-sized butter pieces remaining. Don’t over-process—those little butter chunks create flaky layers.
In a small bowl, whisk together the molasses and egg yolk. Drizzle this into the food processor and pulse just until the dough comes together when pinched. It should be crumbly but hold together under pressure.
If you don’t have a food processor, use a pastry cutter or two forks to cut the butter into the dry ingredients, then stir in the molasses mixture by hand.
Step 3: Press and Pre-Bake the Crust
Press about two-thirds of the dough evenly into the bottom of your prepared pan. Use the bottom of a measuring cup to really pack it down—this prevents air pockets. Bake for 10 minutes at 350 degrees F. The crust should look set but not browned. Remove from oven and let cool for 10 minutes while you make the filling.
Here’s where I messed up for years: I used to bake the crust until it was fully done, then the second bake would make it rock hard. That 10-minute pre-bake is the sweet spot.
Reserve the remaining one-third of the crust dough for the topping.
Step 4: Make the Cheesecake Filling
In a large bowl, beat the softened cream cheese with an electric mixer on medium speed until smooth and creamy—about 2 minutes. Scrape down the sides and bottom of the bowl.
Add the sugar and flour, beat until combined. Add the eggs one at a time, beating on low after each just until incorporated. Over-beating at this stage adds too much air and causes cracks later.
Mix in the vanilla extract and sour cream until just combined. The mixture should be smooth and silky. Give it one final scrape-down with a spatula.
Step 5: Assemble the Bars
Pour the cheesecake filling over the pre-baked crust and spread it evenly with a spatula. Crumble the reserved crust dough over the top in small pieces—some will sink in, some will stay on top, creating that beautiful texture.
Bake at 350 degrees F for 30-35 minutes. The edges should be set and slightly puffed, and the center should jiggle just slightly when you gently shake the pan. It will continue to set as it cools.
Sensory cue: Your kitchen will smell like Christmas at this point. The ginger, cinnamon, and molasses create this warm, spicy aroma that honestly smells better than any candle.
Step 6: Cool and Chill
Let the bars cool completely on a wire rack—about 1 hour. Then refrigerate for at least 4 hours, preferably overnight. This is non-negotiable. The bars need time to set properly so they slice cleanly.
Once fully chilled, use the parchment handles to lift the entire block out of the pan. Place on a cutting board and slice into squares with a sharp knife. Wipe the knife clean between cuts for neat edges.
Cooking Tips & Techniques
After all those burnt batches and cracked tops, I’ve learned a few things that make these bars foolproof.
Room temperature ingredients are worth the wait. Cold cream cheese creates lumps that no amount of mixing will fix. Cold eggs can seize the batter. Take everything out of the fridge 30-45 minutes before starting. Set a timer—I’ve forgotten and ended up with cold cream cheese more times than I’d like to admit.
Don’t over-mix the cheesecake filling. I know it’s tempting to keep beating until it’s perfectly smooth, but that incorporates too much air. Those air bubbles expand during baking and create cracks. Mix just until combined, then stop.
The water bath trick. If you’re worried about cracking, place a shallow pan of hot water on the oven rack below your cheesecake bars. The steam creates a humid environment that prevents the top from drying out and cracking. I don’t always do this, but it’s a good safety net for beginners.
Letting the crust rest. After pressing the crust into the pan, let it sit at room temperature for 10 minutes before baking. This allows the gluten to relax and prevents the crust from shrinking away from the edges.
Sharp knife, clean cuts. Run your knife under hot water and wipe it dry before each cut. This gives you those beautiful, bakery-style edges that look so professional. I learned this after ruining an entire batch with a dull knife that dragged through the cheesecake.
Patience with chilling. I know you want to eat these immediately—I’ve been there. But cutting them too early results in a mushy mess. That 4-hour minimum chill time is the difference between okay bars and perfect bars.
Variations & Adaptations
Once you’ve mastered the basic recipe, here are some fun ways to change it up. I’ve tried most of these myself, and they’re all delicious.
Pumpkin Gingerbread Cheesecake Bars: Replace the sour cream in the cheesecake filling with 1/2 cup pumpkin puree and add 1 teaspoon pumpkin pie spice. The pumpkin adds moisture and a lovely autumn flavor. Bake for 5-7 minutes longer since pumpkin adds extra moisture.
Chocolate Gingerbread Cheesecake Bars: Add 1/4 cup cocoa powder to the crust mixture and reduce the flour by 2 tablespoons. For the filling, melt 4 ounces of semi-sweet chocolate and swirl it into the cheesecake before baking. The chocolate and gingerbread combo is honestly underrated.
Gluten-Free Version: Use a 1:1 gluten-free baking flour blend in both the crust and the filling. I’ve tested this with Bob’s Red Mill and King Arthur, and both work well. The crust will be slightly more crumbly, so handle gently when slicing.
Vegan Adaptation: Use vegan butter, dairy-free cream cheese, and a flax egg (1 tablespoon ground flaxseed mixed with 3 tablespoons water) in the crust. The texture is softer and requires at least 6 hours of chilling, but the flavor is still fantastic.
Spiced-Up Version: Add 1/4 teaspoon black pepper and 1/8 teaspoon cayenne to the crust for a subtle heat that complements the gingerbread. This sounds weird but trust me—it’s amazing with a cup of coffee.
Individual Mini Bars: Press the crust into a mini muffin tin instead of a 9×13 pan. Reduce baking time to 15-18 minutes for the crust and 12-15 minutes after adding the filling. These are perfect for cookie exchanges or party platters.
If you enjoy creative baking variations, you’ll love our fudgy chocolate zucchini brownies with cream cheese swirl—they use a similar layering technique with a completely different flavor profile.
Serving & Storage Suggestions
These bars are incredibly versatile when it comes to serving. Here’s what I’ve learned from bringing them to countless holiday events.
Serving Temperature: Serve chilled or at room temperature. I prefer them straight from the fridge because the cheesecake layer is firmer and the gingerbread crust has this amazing snappy texture. If you want them softer, let them sit at room temperature for 15-20 minutes before serving.
Presentation Ideas: Dust with powdered sugar right before serving for a snowy effect. Add a dollop of whipped cream and a drizzle of caramel sauce for extra decadence. During the holidays, I top each bar with a single candied ginger piece and a tiny sprig of rosemary for that festive look.
What to Serve With: These bars pair beautifully with hot coffee, spiced tea, or even a glass of cold milk. For dessert after a holiday dinner, serve alongside vanilla ice cream or eggnog. The creamy, cold dairy balances the warm spices perfectly.
Storage Instructions: Store in an airtight container in the refrigerator for up to 5 days. Layer parchment paper between the bars to prevent sticking. The flavors actually develop and deepen after a day in the fridge—they taste even better on day two.
Freezing Instructions: These freeze beautifully for up to 3 months. Wrap individual bars tightly in plastic wrap, then place them in a freezer-safe bag. To thaw, transfer to the refrigerator overnight or let sit at room temperature for about 30 minutes. I always keep a stash in my freezer for unexpected guests during the holiday season.
Reheating: If you prefer warm bars, microwave individual servings for 10-15 seconds. This softens the cheesecake slightly and warms the spices, making them incredibly aromatic. Don’t overheat or the cheesecake will become runny.
Flavor Development: Here’s something interesting—the molasses flavor becomes more pronounced after a day or two in the fridge. The spices meld together and mellow out, creating a more complex, rounded flavor. So if you can resist eating them immediately, they’ll reward your patience.
For another holiday dessert that travels well and disappears fast, check out our easy no-bake rice krispie treat stars—they’re completely different but equally crowd-pleasing.
Nutritional Information & Benefits
Let’s be real—these are a treat, not a health food. But that doesn’t mean they’re completely without redeeming qualities.
Estimated Nutritional Values (per bar, based on 16 servings):
- Calories: 285
- Total Fat: 17g
- Saturated Fat: 10g
- Cholesterol: 80mg
- Sodium: 220mg
- Total Carbohydrates: 30g
- Dietary Fiber: 1g
- Sugars: 18g
- Protein: 5g
Health Benefits of Key Ingredients: Molasses contains iron, calcium, and magnesium—more than refined sugar. Ginger has anti-inflammatory properties and can help with digestion. Cinnamon may help regulate blood sugar. Cream cheese provides calcium and protein. So while this isn’t a health food, there are some nutritional bright spots.
Dietary Considerations: This recipe contains gluten, dairy, and eggs—so it’s not suitable for those with allergies to those ingredients. For a gluten-free option, see the variations section above. For dairy-free, use vegan substitutions. This recipe is not low-carb or keto-friendly due to the sugar and flour content.
Potential Allergens: Wheat (gluten), dairy (milk), eggs.
My Personal Perspective: I believe in balance. These bars are a once-in-a-while treat, not an everyday snack. They’re worth every calorie because they bring genuine joy to holiday gatherings. I’d rather eat one perfect gingerbread cheesecake bar than a dozen mediocre cookies any day.
If you’re looking for a lighter dessert option that still feels indulgent, try our moist healthy lemon blueberry zucchini bread—it’s oil-free and naturally sweetened.
Conclusion
These gingerbread cheesecake bars have become my signature holiday dessert, and I think they’ll become yours too. They’re forgiving enough for beginners but impressive enough for experienced bakers. The combination of that spiced molasses crust with the creamy, tangy cheesecake filling is genuinely one of the best flavor pairings I’ve ever created in my kitchen.
Don’t be afraid to make them your own. Add more ginger if you like it spicy, swap in different spices, or top them with whatever you have on hand. The recipe is a starting point, not a rigid set of rules. Some of my best batches came from experiments that went slightly off-script.
I’d love to hear how these turn out for you. Drop a comment below and let me know if you tried any variations, what you served them with, or if you had any questions along the way. And if you share a photo on social media, tag me—I absolutely love seeing your baking wins.
Here’s to burnt batches, sticky counters, and the perfect bar that makes it all worth it. Happy baking, friend.
Frequently Asked Questions
Can I use blackstrap molasses instead of unsulphured?
I wouldn’t recommend it. Blackstrap molasses has a much stronger, bitter flavor that can overwhelm the other spices. It also has a different sugar content, which can affect the texture of the crust. Stick with unsulphured molasses for the best results.
Why did my cheesecake layer crack?
Cracking usually happens from over-mixing the filling (too much air), over-baking, or sudden temperature changes. Make sure your ingredients are room temperature, mix just until combined, and let the bars cool gradually on the counter before refrigerating. The water bath trick mentioned in the tips section also helps prevent cracks.
Can I make these bars ahead of time for a party?
Absolutely. In fact, they taste better the next day. You can make them up to 3 days in advance and store them in the refrigerator. Just wait to add any toppings like whipped cream or caramel sauce until right before serving.
How do I get clean, neat slices?
Use a sharp knife and run it under hot water, wiping it dry between each cut. This prevents the cheesecake from sticking to the blade. Also, make sure the bars are fully chilled—at least 4 hours, preferably overnight. Cutting them too early is the number one cause of messy slices.
Can I freeze these gingerbread cheesecake bars?
Yes! Wrap individual bars tightly in plastic wrap, then place them in a freezer-safe bag or container. They’ll keep for up to 3 months. To thaw, transfer to the refrigerator overnight or let sit at room temperature for about 30 minutes. I always keep a stash in my freezer for unexpected holiday visitors.
For another make-ahead dessert that freezes beautifully, take a look at our perfect Leo birthday mini cheesecakes with gold mirror glaze—they’re individual portions that are perfect for parties.
Pin This Recipe!
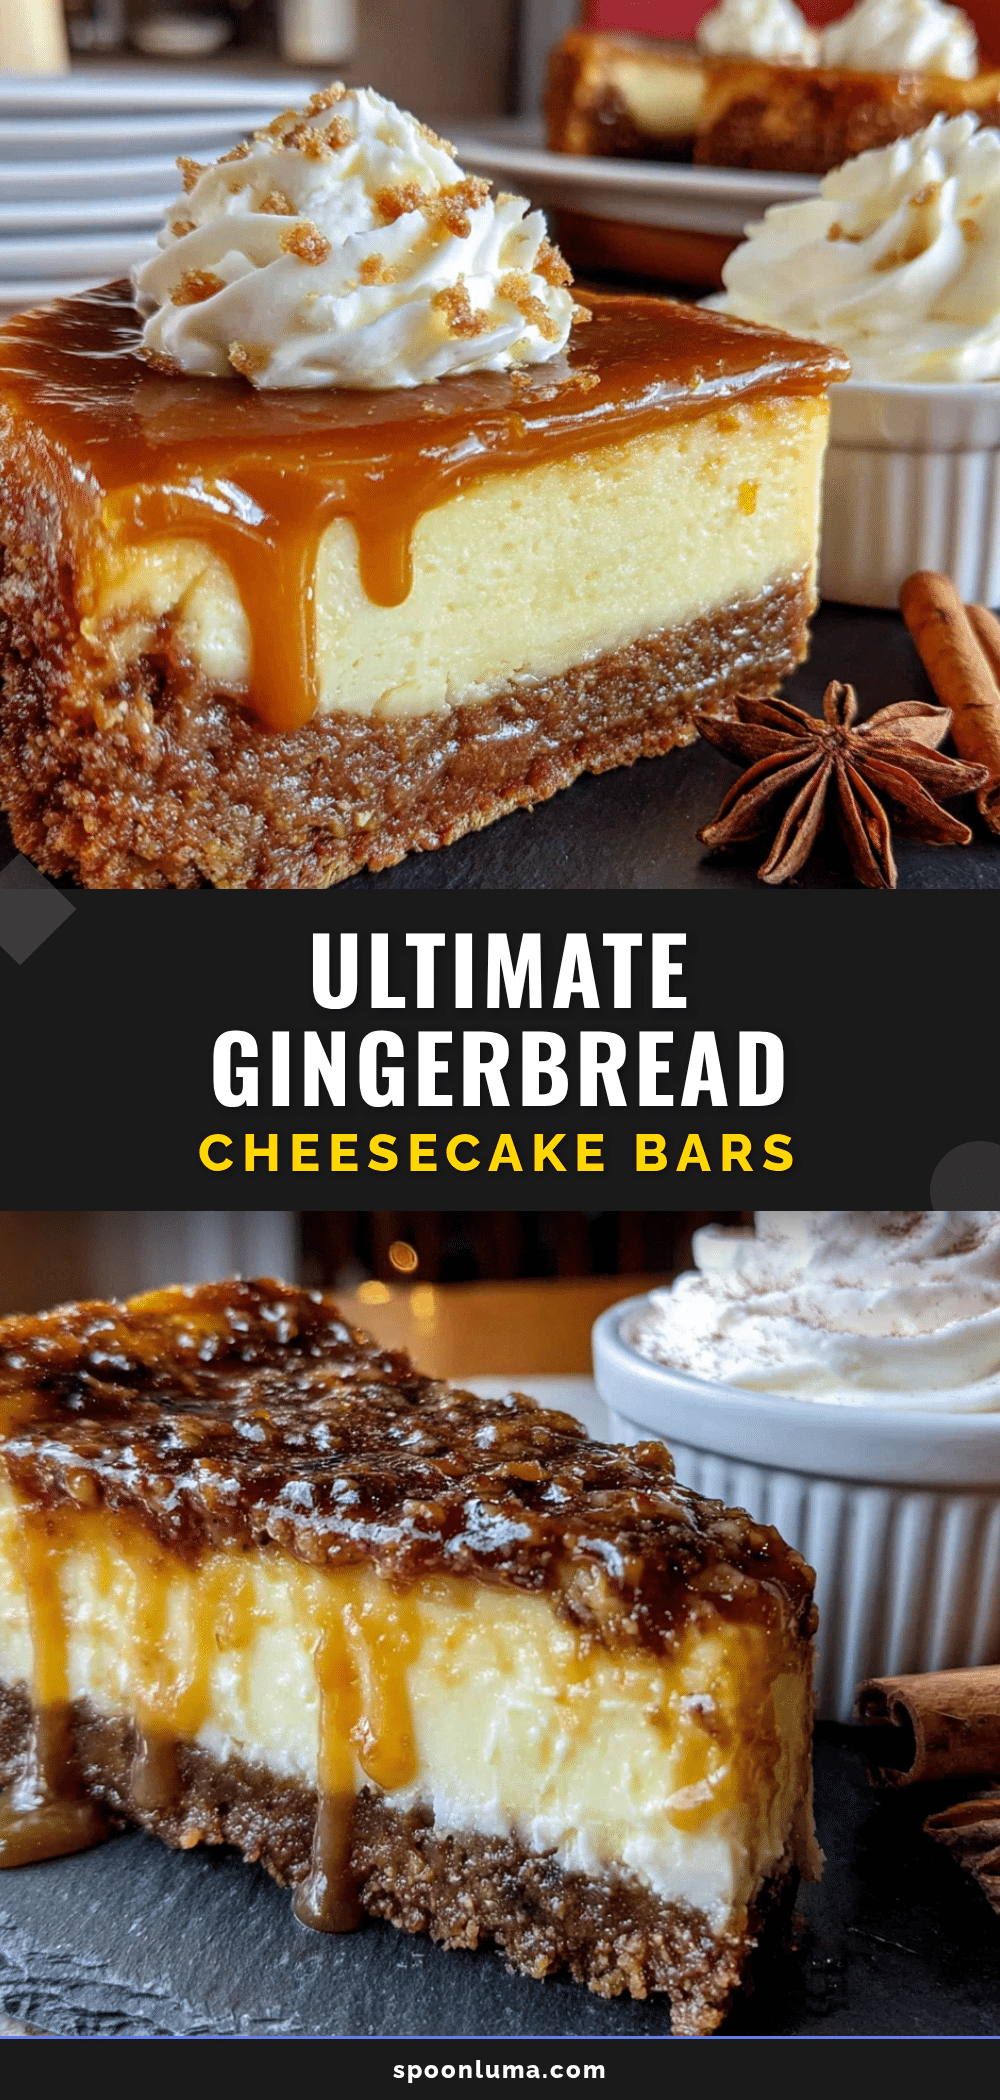
Perfect Gingerbread Cheesecake Bars: Easy Holiday Dessert
These gingerbread cheesecake bars feature a spiced molasses crust and a creamy, tangy cheesecake filling. They’re the perfect make-ahead holiday dessert that disappears first at every gathering.
- Prep Time: 45 minutes
- Cook Time: 35 minutes
- Total Time: 5 hours 20 minutes (includes chilling)
- Yield: 16 servings 1x
- Category: Dessert
- Cuisine: American
Ingredients
- 2 cups (240g) all-purpose flour
- 1/2 cup (100g) packed dark brown sugar
- 1 teaspoon baking soda
- 2 teaspoons ground ginger
- 1 1/2 teaspoons ground cinnamon
- 1/2 teaspoon ground cloves
- 1/2 teaspoon salt
- 1/2 cup (113g) unsalted butter, cold and cubed
- 1/3 cup (112g) unsulphured molasses
- 1 large egg yolk
- 16 ounces (452g) full-fat cream cheese, softened
- 1/2 cup (100g) granulated sugar
- 2 tablespoons all-purpose flour
- 2 large eggs, room temperature
- 1 teaspoon vanilla extract
- 1/2 cup (120ml) sour cream, room temperature
- Whipped cream (optional, for topping)
- Caramel sauce (optional, for drizzling)
- Candied ginger (optional, for garnish)
Instructions
- Preheat oven to 350°F (175°C). Line a 9×13-inch baking pan with parchment paper, leaving 2 inches of overhang on the long sides. Lightly spray with non-stick spray.
- Make the crust: In a food processor, pulse together flour, brown sugar, baking soda, ginger, cinnamon, cloves, and salt. Add cold cubed butter and pulse until mixture resembles coarse sand with some pea-sized butter pieces. In a small bowl, whisk together molasses and egg yolk. Drizzle into food processor and pulse just until dough comes together when pinched.
- Press about two-thirds of the dough evenly into the prepared pan. Use the bottom of a measuring cup to pack it down. Bake for 10 minutes. The crust should look set but not browned. Remove from oven and let cool for 10 minutes. Reserve remaining one-third of dough for topping.
- Make the cheesecake filling: In a large bowl, beat softened cream cheese with an electric mixer on medium speed until smooth and creamy, about 2 minutes. Add sugar and flour, beat until combined. Add eggs one at a time, beating on low after each just until incorporated. Mix in vanilla extract and sour cream until just combined.
- Pour cheesecake filling over pre-baked crust and spread evenly. Crumble reserved crust dough over the top in small pieces.
- Bake at 350°F for 30-35 minutes. Edges should be set and slightly puffed, center should jiggle slightly when shaken.
- Let bars cool completely on a wire rack, about 1 hour. Then refrigerate for at least 4 hours, preferably overnight.
- Once fully chilled, use parchment handles to lift the entire block out of the pan. Slice into squares with a sharp knife, wiping the knife clean between cuts.
Notes
Use room temperature ingredients for the cheesecake filling to prevent lumps. Don’t over-mix the filling to avoid cracks. For a water bath trick, place a shallow pan of hot water on the rack below the bars to prevent cracking. Let bars chill at least 4 hours before slicing for clean cuts. Store in an airtight container in the refrigerator for up to 5 days. Freeze individual bars wrapped in plastic wrap for up to 3 months.
Nutrition
- Serving Size: 1 bar
- Calories: 285
- Sugar: 18
- Sodium: 220
- Fat: 17
- Saturated Fat: 10
- Carbohydrates: 30
- Fiber: 1
- Protein: 5
Keywords: gingerbread cheesecake bars, holiday dessert, Christmas dessert, cheesecake bars, gingerbread dessert, easy holiday baking


