It was a Thursday night, around 9 PM, and the only thing I wanted was something salty, crunchy, and cheesy—but not a full bowl of it. I had already changed into my sweatpants, you know, the comfy ones that signal the day is officially over. I didn’t want to commit to a whole bag of chips, and I definitely didn’t want to dirty a mixing bowl. I just wanted a handful of something good. I stared into my pantry, willing a snack to materialize. That’s when I saw the box of Chex cereal, a forgotten packet of ranch seasoning, and a bag of shredded cheddar that was nearing its expiration date. Honestly, it felt like a small miracle. I grabbed three little zip-top bags—the kind you use for packing lunch—and I just started tossing things in. No measuring spoons, no fuss. Just a shake, a stir, and a quick zap in the microwave. And let me tell you, that accidental little batch of cheddar ranch Chex mix was the best thing I’d eaten all week. It hit that exact spot—salty, savory, and totally satisfying without making me feel stuffed. I sat there on the couch, bag in hand, and realized I had stumbled onto something that needed to be shared. This isn’t a complicated recipe. It’s a life hack, a snack-time secret, and honestly, it might just change the way you think about Chex mix forever.
Why You’ll Love This Recipe
I’ve tested this recipe about a dozen times now—sometimes with more butter, sometimes with less ranch, and once with way too much cayenne (don’t ask). This version is the one I keep coming back to. It’s the one my friends text me about after game nights. It’s the one that disappears from the snack table before anything else. Here is why you are going to absolutely love making these Easy Cheddar Ranch Chex Mix Snack Bags.
- Quick & Easy: This recipe comes together in under 5 minutes. Seriously. If you can shake a bag, you can make this. It is perfect for last-minute cravings, unexpected guests, or when you just need a snack right now.
- Simple Ingredients: You probably already have everything in your kitchen. No fancy grocery trips, no weird ingredients you’ll never use again. Just cereal, butter, cheese, and a seasoning packet.
- Perfect for Parties: These individual snack bags are a game-changer for potlucks, movie nights, road trips, and lunchboxes. Everyone gets their own bag, so there is no double-dipping or fighting over the last handful.
- Crowd-Pleaser: Kids love them, adults love them, and even picky eaters can’t resist that cheddar ranch flavor. I have literally watched people eat these in the car before they even got home from a party.
- Unbelievably Delicious: The texture is perfect—crunchy, buttery, and coated in just the right amount of cheesy, ranch-y goodness. It is next-level comfort snacking, and it feels way more indulgent than it actually is.
What makes this recipe different from every other Chex mix out there is the portion control and the method. You are not making a giant, messy bowl that goes stale after a day. You are making personalized, portable snack bags that stay fresh and crunchy for over a week. Plus, the microwave method is faster than using the oven and gives you that same irresistible buttery crunch without heating up your whole kitchen. This isn’t just another version of Chex mix—it is the most convenient, most snackable, best version I’ve ever made. It is the kind of snack that makes you close your eyes after the first bite, because it tastes exactly like what you were craving.
What Ingredients You Will Need
This recipe uses simple, everyday ingredients to deliver bold, cheesy flavor and that perfect satisfying crunch. You don’t need anything fancy here—just a few pantry staples and a packet of seasoning. Let’s break it down so you know exactly what to grab.
- Rice Chex Cereal (3 cups): This is the base of our snack. Rice Chex holds up well to the coating without getting soggy. It is light, crunchy, and has a neutral flavor that soaks up the butter and seasoning beautifully. Corn Chex or Wheat Chex work great too, but Rice Chex is my go-to for the best texture.
- Unsalted Butter (3 tablespoons, melted): Butter is the glue that holds everything together. It adds richness and helps the seasoning stick to every single piece of cereal. I use unsalted so I can control the salt level, but if you only have salted butter, just skip the extra pinch of salt at the end.
- Ranch Seasoning Mix (1 tablespoon): This is the flavor powerhouse. A good quality ranch mix, like Hidden Valley or a store brand, adds that tangy, herby, savory punch. I have tried making my own blend from scratch, but honestly, the packet is just easier and tastes perfect every time.
- Finely Shredded Cheddar Cheese (1/4 cup): This is the secret ingredient that takes this snack over the top. Use a sharp cheddar for the most flavor. The fine shreds melt slightly into the butter and create a light, cheesy crust on the cereal. Pre-shredded cheese works fine, but freshly shredded melts a little more evenly.
- Garlic Powder (1/2 teaspoon): A little extra garlic never hurt anyone, right? This adds a subtle depth that rounds out the ranch flavor. If you are a garlic lover like me, you can even bump it up to a full teaspoon.
- Onion Powder (1/2 teaspoon): This is optional, but I love the savory background it adds. It makes the snack taste more “complex” without any extra effort.
- Cayenne Pepper (1/4 teaspoon, optional): This is for those of us who like a tiny kick. It doesn’t make the snack spicy—it just wakes up your taste buds. Leave it out if you are serving kids or if you prefer a milder flavor.
- Salt (a pinch, to taste): Only add this at the very end if you feel it needs it. The ranch seasoning and cheese both have salt, so taste first before adding more.
Ingredient Tips: For the best results, use a block of sharp cheddar and shred it yourself. It melts into the butter more smoothly than the pre-shredded stuff, which has anti-caking agents. I recommend Tillamook or Cabot for a consistently great flavor. If you are out of ranch seasoning, you can use a mix of dried dill, parsley, garlic powder, onion powder, and a little buttermilk powder, but the packet really is the easiest route. For a gluten-free option, make sure your Chex cereal is labeled gluten-free (Rice Chex is naturally gluten-free). And if you want to swap the butter for a dairy-free alternative, use a good quality vegan butter—it works surprisingly well.
Equipment Needed
You don’t need much to make these snack bags, which is honestly my favorite part. Here is what you will need to get the job done.
- Small Snack-Size Zip-Top Bags (3-4 bags): These are the star of the show. Use the standard sandwich or snack size bags. They are the perfect portion for one person, and they make cleanup a breeze. I like the ones with a zipper seal, but press-to-close works fine too.
- Microwave (or an Oven): The microwave is the fastest method. If you don’t have one, you can easily use a toaster oven or a regular oven at 350°F for about 5-7 minutes. Just keep an eye on it so the butter doesn’t burn.
- Measuring Spoons: You will need these for the ranch seasoning, garlic powder, and cayenne. Honestly, I have eyeballed it many times and it still works, but measuring spoons help you get consistent results.
- A Small Bowl (optional): If you prefer to melt your butter before adding it to the bag, use a small microwave-safe bowl. But honestly, you can just toss the butter in the bag and microwave it with the cereal—it melts as it heats up.
Personal Note: I have made these bags using both the microwave and the oven method. The microwave is faster and results in a slightly softer crunch, while the oven gives you a more traditional, toasted texture. I use the microwave 9 times out of 10 because I am impatient. Just make sure your zip-top bags are microwave-safe—most are, but double-check the box. And never seal the bag completely when microwaving; leave it slightly open to let steam escape. I learned that the hard way when a bag puffed up like a balloon and almost popped!
Preparation Method
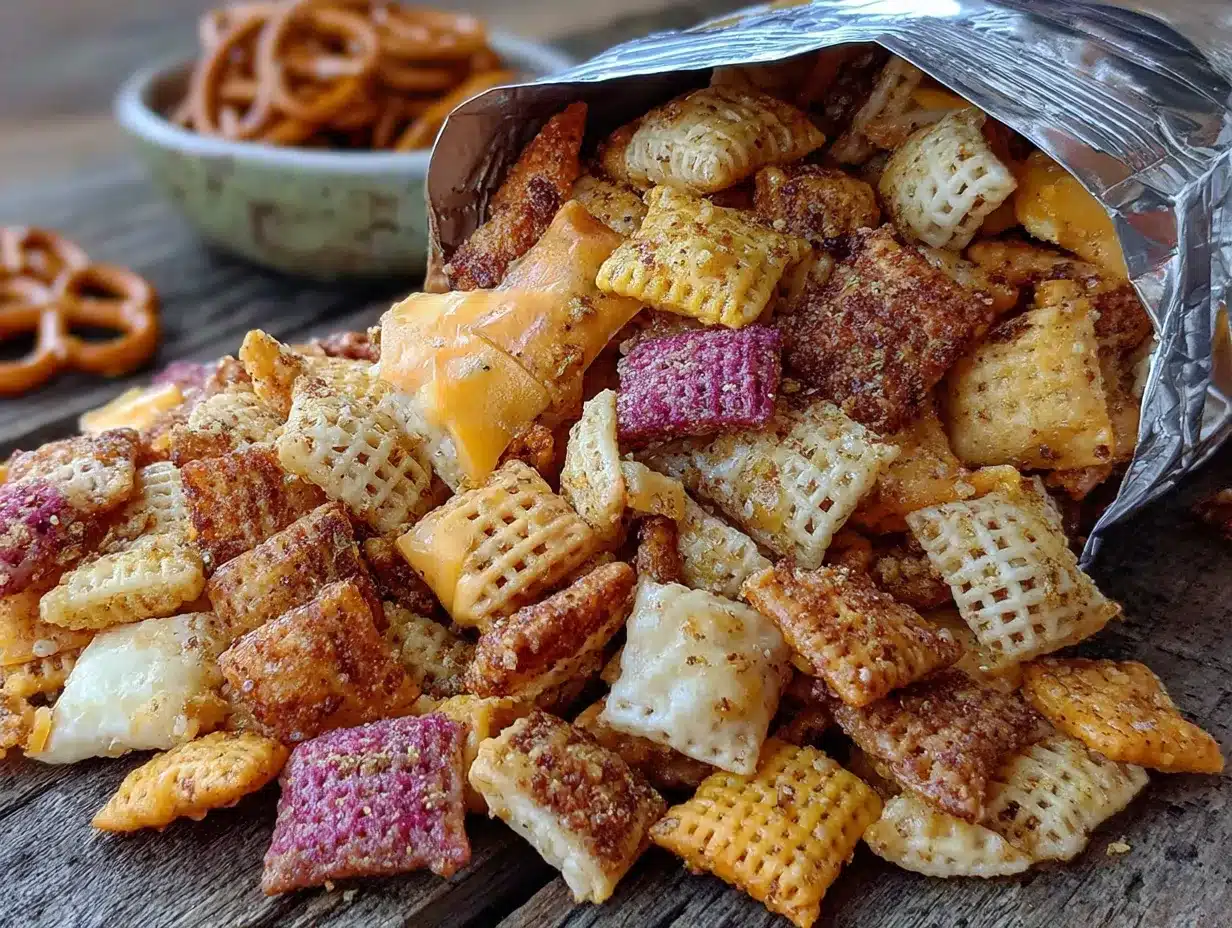
This is where the magic happens. Follow these simple steps, and you will have the best snack bags ready in no time. I promise, it is almost too easy.
- Prepare Your Bags: Take your small snack-size zip-top bags and lay them out on the counter. You will be making one bag at a time, so decide how many you want to make. This recipe makes about 3-4 generous snack bags.
- Add the Cereal: Into each bag, pour about 1 cup of Rice Chex cereal. Don’t pack it down—just let it sit loosely in the bag. If you want bigger bags, use a little more cereal, but keep the proportions of the other ingredients the same.
- Add the Butter: Add about 1 tablespoon of unsalted butter (cut into small pieces) directly into the bag on top of the cereal. If your butter is cold, that is fine—it will melt in the microwave. Just make sure it is evenly distributed over the cereal.
- Add the Seasonings: Now it is time for the flavor. Add 1 teaspoon of ranch seasoning mix, 1 heaping tablespoon of finely shredded cheddar cheese, a pinch of garlic powder, a pinch of onion powder, and a tiny pinch of cayenne pepper (if using). Do not add salt yet. Just sprinkle everything right on top of the cereal and butter.
- Seal and Shake: Seal the bag almost all the way, leaving a small opening for steam to escape. Then, hold the top of the bag and give it a good shake. You want the butter pieces and seasonings to start coating the cereal. Don’t worry if it looks messy—it will all come together in the next step.
- Microwave: Place the bag flat in the microwave. Microwave on high for 20-30 seconds. The butter should be mostly melted. Carefully remove the bag (it will be warm, not hot) and give it another good shake. If the butter isn’t fully melted, microwave for another 10 seconds.
- Second Shake and Heat: After the butter is melted, seal the bag completely (or just fold the top over) and shake vigorously for about 15 seconds. You want every piece of cereal to be coated. Then, open the bag slightly again and microwave for another 15-20 seconds. This second blast helps the cheese melt slightly and sets the coating.
- Final Shake and Cool: Remove the bag from the microwave and give it one last shake. Open the bag and let the steam escape. Let the bag sit open for about 2-3 minutes to cool and let the coating set. This is important—if you eat it right away, the coating will be a little soft. Waiting a few minutes gives you that perfect crunchy texture.
- Repeat: Repeat the process with your remaining bags. It takes about 90 seconds per bag, so you can easily make a whole batch in under 5 minutes.
- Serve or Store: Once the bags have cooled, you can seal them up and eat them right away, or store them for later. The snack bags will stay fresh and crunchy for up to a week if you keep them sealed.
Pro Tip: If you are making a larger batch for a party, you can do this in a big bowl instead of individual bags. Just mix everything in a large microwave-safe bowl, microwave for 1 minute, stir, then microwave for another 30 seconds. Then portion the mix into individual bags after it cools. It is a little faster if you are making 6+ servings.
Cooking Tips & Techniques
I have made this recipe more times than I can count, and I have definitely made my share of mistakes along the way. Here are the tips and tricks I have learned so you can get it perfect on your first try.
- Don’t Overcrowd the Bag: Stick to about 1 cup of cereal per snack bag. If you put too much in, the coating won’t distribute evenly, and you will end up with some pieces that are drenched in butter and others that are bone dry. Trust me, I tried to make a “jumbo” bag once and it was a mess.
- Shake, Shake, Shake: The shaking step is not optional. You really need to agitate the bag to get the melted butter and seasonings to coat every nook and cranny of the cereal. I shake it like I am trying to win a lottery ticket. It makes a difference.
- Let It Cool: I know it is tempting to rip the bag open and dig in immediately. But the coating needs a few minutes to set. If you eat it hot, the cheese and butter are still liquid, and the texture will be soft and greasy. After 3 minutes of cooling, it transforms into a crunchy, cheesy cluster of goodness.
- Watch the Microwave: Microwaves vary wildly in power. My microwave is 1200 watts, so 20 seconds is plenty. If your microwave is older or lower wattage, you might need 30-40 seconds. Start with less time and add more as needed. Burnt butter smells awful and tastes even worse.
- Use Finely Shredded Cheese: This is a big one. Pre-shredded cheese from a bag is coated in starch to prevent clumping, which means it doesn’t melt as smoothly. If you use a block of sharp cheddar and shred it yourself on the fine side of a box grater, it will melt into the butter and create a much better coating. It is a small extra step that makes a huge difference.
- Double the Ranch if You Are a Ranch Lover: The recipe as written gives you a nice, balanced ranch flavor. But if you are someone who puts ranch on everything, feel free to add an extra half teaspoon of the seasoning mix. It won’t be too salty, I promise.
My Biggest Failure: The first time I made this, I sealed the bag completely before microwaving. The bag puffed up like a balloon, and I was terrified it was going to explode in my microwave. It didn’t, but it was a close call. Always leave a tiny opening for steam to escape. You have been warned.
Variations & Adaptations
One of the best things about this recipe is how easy it is to change it up. Here are some of my favorite variations that I have tried over the years.
- Spicy Buffalo Ranch: Add 1 teaspoon of buffalo wing sauce (like Frank’s RedHot) along with the butter. It gives you that tangy, spicy kick that pairs perfectly with the coolness of the ranch. I made this for a game day party and it was gone in 10 minutes.
- Everything Bagel Chex Mix: Swap the cheddar cheese for 1 teaspoon of everything bagel seasoning. The sesame seeds, poppy seeds, garlic, and onion create an addictive, savory snack that is perfect for road trips. I like to add a little extra dried minced garlic for good measure.
- Smoky BBQ Chex Mix: Replace the ranch seasoning with 1 tablespoon of your favorite BBQ rub or seasoning blend. Use smoked paprika instead of cayenne for a deeper, smokier flavor. This version is great for summer cookouts or if you are making a batch of BBQ chicken thighs for a party.
- Gluten-Free & Dairy-Free: This recipe is naturally gluten-free if you use Rice Chex. For a dairy-free version, swap the butter for a vegan butter stick (like Miyoko’s or Earth Balance) and use a dairy-free shredded cheddar. The texture will be slightly different, but it is still delicious.
- Sweet & Salty Chex Mix: For a dessert-style version, skip the ranch and cheese. Instead, add 1 tablespoon of melted butter, 1 teaspoon of brown sugar, and a pinch of cinnamon. Microwave and shake the same way. It tastes like a buttery, cinnamon-sugar pretzel—but way easier.
Personal Variation: My absolute favorite version is the “Loaded Baked Potato” style. I add a little bit of dried chives, a pinch of bacon bits (the real ones, not the fake crunchy stuff), and an extra sprinkle of cheddar. It tastes exactly like the topping of a loaded baked potato, and it is dangerously addictive. I have to hide the bags from myself when I make this version.
Serving & Storage Suggestions
These snack bags are designed to be portable and convenient, but there are a few ways to serve and store them that make them even better.
- Serving Temperature: These are best served at room temperature. The coating sets perfectly as they cool, giving you that satisfying crunch. If you serve them warm, they will be a little softer, which is still good—just different.
- Presentation: For parties, I like to put the individual bags in a big bowl or a decorative basket. It makes for a fun, self-serve snack station. You can also dump the contents of a bag into a small bowl if you want a more traditional presentation. For a BBQ pulled pork slider party, these snack bags are the perfect sidekick.
- Complementary Dishes: These snack bags pair beautifully with anything grilled or smoky. They are great alongside burgers, hot dogs, or a loaded hot dog bar. They also go well with soups and salads for a crunchy contrast. For a movie night, serve them with a bowl of s’mores dip for a sweet-and-salty combo.
- Storage: Store the sealed bags in a cool, dry place like your pantry or a kitchen cabinet. Do not refrigerate them—the moisture in the fridge will make the cereal soft. They will stay fresh and crunchy for up to 7 days. I have kept some for 10 days and they were still good, but after a week, the crunch starts to fade slightly.
- Reheating: If your snack bags lose a little crunch after a few days, you can revive them. Just open the bag and microwave for 10-15 seconds. Let them cool for a minute, and they will be almost as good as fresh. Do not overheat, or the butter can burn.
- Flavor Development: Honestly, these are best on the first day. The flavor is brightest and the crunch is at its peak. However, I have noticed that the ranch flavor becomes more mellow and integrated after a day or two, which some people actually prefer. It is a matter of personal taste.
Nutritional Information & Benefits
While this is definitely a treat-yourself snack, it is not as bad for you as you might think. Here is a rough breakdown for one snack bag (using the recipe as written).
- Calories: Approximately 220-250 calories per bag
- Fat: 12-14g (mostly from butter and cheese)
- Carbohydrates: 28-30g
- Protein: 4-5g
- Fiber: 1-2g
- Sodium: 350-450mg (varies by ranch seasoning brand)
Health Benefits of Key Ingredients: Rice Chex is made from whole grain rice and is fortified with iron and B vitamins. It is also naturally gluten-free, making this snack accessible for those with celiac disease or gluten sensitivity. The cheddar cheese provides a small amount of calcium and protein. While this is not a health food, it is a much better option than a bag of greasy potato chips. It satisfies that savory, crunchy craving with a bit more substance and less oil.
Dietary Considerations: This recipe is naturally nut-free and egg-free. As mentioned, it is gluten-free if you use Rice Chex. It is not low-carb or keto-friendly due to the cereal, but you could try making it with pork rinds or cheese crisps for a low-carb version (I have not tested that, so let me know if you try it!). The main allergens to be aware of are dairy (butter and cheese) and wheat (if you use Wheat Chex).
Personal Wellness Perspective: I believe in balance. I eat salads and lean proteins most of the time, but I also believe that a good snack is essential for mental health. These snack bags allow me to have a controlled portion of something delicious without feeling like I am depriving myself. It is the perfect middle ground between eating healthy and enjoying life.
Conclusion
So there you have it—the easiest, most delicious snack bags you will ever make. These Easy Cheddar Ranch Chex Mix Snack Bags are proof that you don’t need a complicated recipe or a lot of time to create something truly satisfying. They are perfect for busy weeknights, lazy weekends, road trips, lunchboxes, and parties. They are customizable, portable, and dangerously addictive in the best possible way.
I love this recipe because it reminds me that the best things in life are often the simplest. It is a recipe born from a late-night craving and a pantry full of odds and ends. It is a recipe that has saved me from hunger, impressed my friends, and become a staple in my kitchen. I hope it becomes a staple in yours too.
Now I want to hear from you! Have you tried making these snack bags? Did you add any fun twists or variations? Drop a comment below and let me know how they turned out. And if you loved this recipe, please share it with a friend who needs a quick snack win. Happy snacking, friend!
Frequently Asked Questions
Can I use a different type of cereal?
Absolutely! While Rice Chex is my go-to for its light, crunchy texture, you can use Corn Chex, Wheat Chex, or even a mix of all three. You can also add in some mini pretzels, bagel chips, or cheese crackers for extra variety. Just keep the total amount of dry ingredients to about 1 cup per bag so the coating distributes evenly.
Can I make this in the oven instead of the microwave?
Yes, you can. If you prefer a more traditional, toasted texture, spread the coated cereal on a baking sheet lined with parchment paper and bake at 350°F for 5-7 minutes, stirring halfway through. Let it cool completely before bagging it up. This method takes a little longer, but it gives you a more even, crunchy result.
How do I keep the snack bags from getting soggy?
The key to preventing sogginess is making sure the coating is fully set before you seal the bags. After microwaving, let the bags sit open for 2-3 minutes to let the steam escape. If you seal them while they are still warm and steamy, the moisture will soften the cereal. Also, store them in a cool, dry place—not the refrigerator.
Can I make a big batch for a party?
Definitely! To make a large batch, mix all the ingredients together in a large microwave-safe bowl. Use 4 cups of cereal, 4 tablespoons of melted butter, 4 tablespoons of ranch seasoning, and 1 cup of shredded cheddar. Microwave for 1 minute, stir, then microwave for another 30 seconds. Let it cool, then portion it into individual snack bags. It is a great time-saver for parties.
What if I don’t have ranch seasoning mix?
No problem! You can make your own ranch seasoning blend at home. Mix together 1 teaspoon of dried dill, 1 teaspoon of dried parsley, 1/2 teaspoon of garlic powder, 1/2 teaspoon of onion powder, 1/4 teaspoon of black pepper, and a pinch of salt. This homemade version is actually a little less salty than the store-bought packets, which some people prefer.
Pin This Recipe!
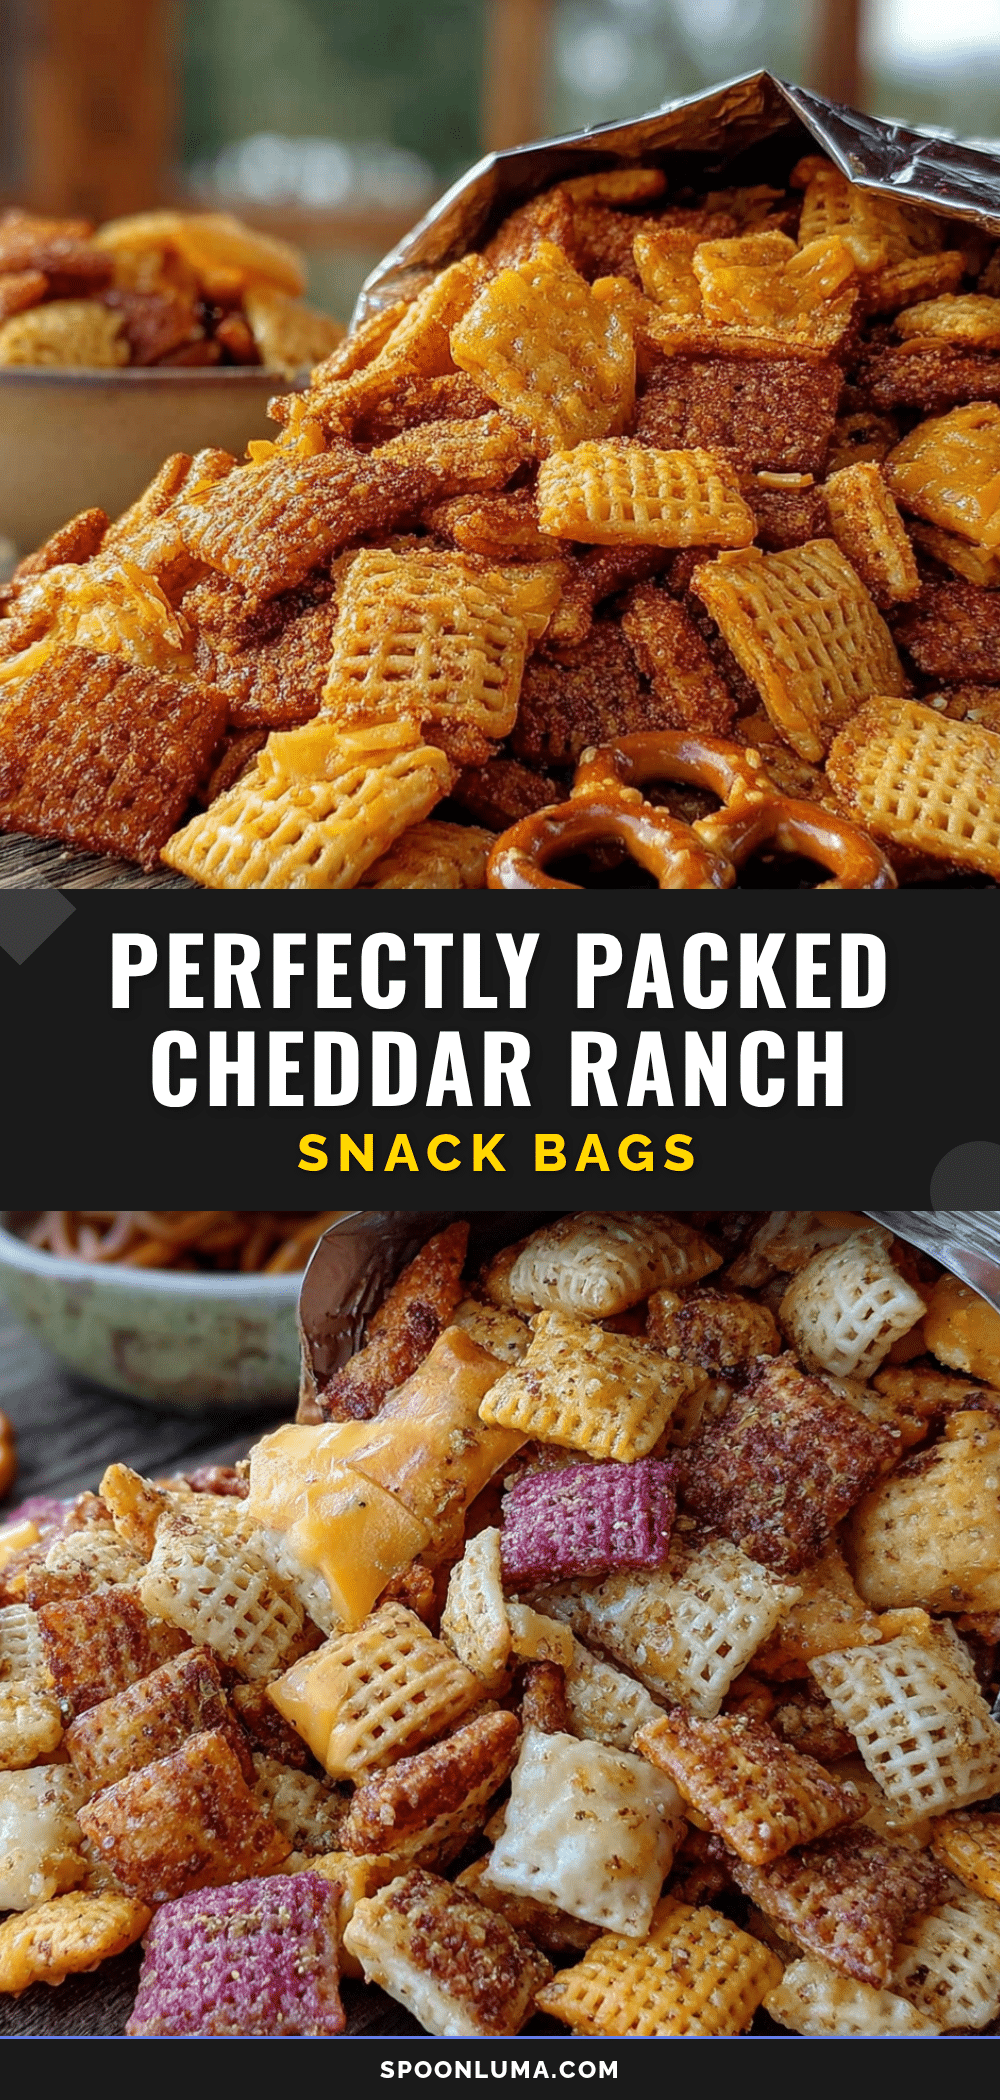
Easy Cheddar Ranch Chex Mix Snack Bags: Best 5-Minute Recipe

These Easy Cheddar Ranch Chex Mix Snack Bags are the ultimate quick and satisfying snack. Made in under 5 minutes with simple pantry ingredients, they are perfect for parties, road trips, or a late-night craving.
- Prep Time: 2 minutes
- Cook Time: 3 minutes
- Total Time: 5 minutes
- Yield: 3-4 servings 1x
- Category: Snack
- Cuisine: American
Ingredients
- 3 cups Rice Chex Cereal
- 3 tablespoons unsalted butter, melted
- 1 tablespoon ranch seasoning mix
- 1/4 cup finely shredded cheddar cheese
- 1/2 teaspoon garlic powder
- 1/2 teaspoon onion powder
- 1/4 teaspoon cayenne pepper (optional)
- Pinch of salt (to taste)
Instructions
- Prepare your bags: Lay out 3-4 small snack-size zip-top bags.
- Add the cereal: Pour about 1 cup of Rice Chex cereal into each bag.
- Add the butter: Add about 1 tablespoon of unsalted butter (cut into small pieces) directly into each bag on top of the cereal.
- Add the seasonings: To each bag, add 1 teaspoon of ranch seasoning mix, 1 heaping tablespoon of finely shredded cheddar cheese, a pinch of garlic powder, a pinch of onion powder, and a tiny pinch of cayenne pepper (if using). Do not add salt yet.
- Seal and shake: Seal the bag almost all the way, leaving a small opening for steam to escape. Shake the bag to coat the cereal with the butter and seasonings.
- Microwave: Place the bag flat in the microwave. Microwave on high for 20-30 seconds until the butter is mostly melted. Carefully remove the bag and shake again. If needed, microwave for another 10 seconds.
- Second shake and heat: After the butter is melted, seal the bag completely and shake vigorously for about 15 seconds. Open the bag slightly and microwave for another 15-20 seconds.
- Final shake and cool: Remove the bag from the microwave and give it one last shake. Open the bag and let the steam escape. Let the bag sit open for about 2-3 minutes to cool and let the coating set.
- Repeat: Repeat the process with the remaining bags.
- Serve or store: Once cooled, seal the bags and serve immediately or store for later.
Notes
For best results, use a block of sharp cheddar and shred it yourself. Pre-shredded cheese contains anti-caking agents that prevent smooth melting. Always leave a small opening in the bag when microwaving to allow steam to escape. Let the bags cool for 2-3 minutes after microwaving to allow the coating to set and become crunchy. Store sealed bags in a cool, dry place for up to 7 days.
Nutrition
- Serving Size: 1 snack bag
- Calories: 220250
- Sugar: 23
- Sodium: 350450
- Fat: 1214
- Saturated Fat: 79
- Carbohydrates: 2830
- Fiber: 12
- Protein: 45
Keywords: Chex mix, cheddar ranch, snack bags, 5-minute recipe, easy snack, party snack, gluten-free snack