My neighbor, Carol, had been making icebox cakes for forty years. She brought one to every block party, every potluck, every summer gathering. It was always the same—chocolate wafers and whipped cream, stacked and chilled until it turned into something magical. I loved it. But I kept thinking, what if it looked like the Fourth of July? Not just tasted good, but actually looked like the holiday itself. I started playing around in my kitchen one June afternoon, layering vanilla wafers with a cream cheese filling that felt richer than the usual stuff. Then I added blueberries. Then strawberries. It took three tries before I got the layers to hold their shape without sliding everywhere. The first version was a beautiful mess. The second one was better. The third one? Carol asked for the recipe. That was the moment I knew I had something worth sharing.
This easy red white and blueberry icebox cake isn’t complicated. It doesn’t require baking, special equipment, or even a lot of patience. It just needs a little time in the fridge and a willingness to layer things in the right order. And honestly—it’s the kind of dessert that makes people stop and stare before they even take a bite. The stripes are that clean. The colors are that bold. And the flavor? It’s cool, creamy, and just sweet enough without being overwhelming. Perfect for a summer barbecue, a birthday party, or a Tuesday when you need something pretty to look at.
Why You’ll Love This Recipe
I’ve made a lot of icebox cakes over the years, and this one is the version I keep coming back to. Here is why it works so well:
- No Oven Required: It is 90 degrees outside and you do not want to turn on your oven. I get it. This cake comes together completely in the fridge. No heat, no sweat, no problem.
- Simple Ingredients: You need heavy cream, cream cheese, powdered sugar, vanilla wafers, strawberries, and blueberries. That is it. No weird extracts or hard-to-find items.
- Perfect for the Fourth of July: The red, white, and blue layers are naturally patriotic without needing food coloring or fancy decorations. It looks impressive with almost zero effort.
- Crowd-Pleaser: I brought this to a neighborhood cookout last summer and three people asked for the recipe before the cake was even half gone. Kids love it. Adults love it. It disappears fast.
- Make-Ahead Friendly: You can assemble this cake the day before your party and just pull it out when you are ready to serve. The flavors actually get better after a full night in the fridge.
What makes this different from other icebox cakes is the cream cheese filling. Most versions use just whipped cream, which can feel a little one-note. Adding cream cheese gives the filling structure and a slight tang that balances the sweetness of the berries and cookies. It holds its shape better too, so your layers stay clean and defined. I tested this with regular whipped cream first, and the cake was delicious but messy. The cream cheese version? It slices like a dream.
This is the kind of dessert that makes you feel like you pulled off something fancy without actually doing much work. It is comfort food dressed up in its holiday best.
What Ingredients You Will Need
This recipe uses simple, wholesome ingredients that come together to create something that tastes far more complicated than it actually is. The magic is in the layering and the chilling, not in the ingredient list.
- Heavy Cream (2 cups / 480 ml): You want heavy cream or heavy whipping cream with at least 36% milk fat. It whips up thick and stable. I do not recommend half-and-half or milk here—they will not hold the structure of the cake.
- Cream Cheese (8 ounces / 226 g), softened: Use full-fat block cream cheese for the best texture. Let it sit on the counter for about 30 minutes before you start so it blends smoothly. I have used reduced-fat cream cheese before, and the filling was slightly looser—still tasty, but not as firm.
- Powdered Sugar (1 cup / 120 g): This sweetens the filling without making it grainy. Sift it if your powdered sugar is clumpy. I learned this the hard way after finding tiny sugar lumps in my first batch.
- Vanilla Extract (1 teaspoon): Pure vanilla extract adds warmth and depth. Imitation vanilla works in a pinch, but the flavor is noticeably less rich.
- Vanilla Wafers (about 60 cookies / one 12-ounce box): Nilla Wafers are my go-to brand. They soften perfectly in the fridge without turning into complete mush. You could also use shortbread cookies or graham crackers if you want a different texture.
- Fresh Strawberries (2 cups / about 300 g), sliced: Look for strawberries that are deep red and fragrant. Slice them about 1/4-inch thick so they lay flat in the layers. If your strawberries are very large, you may need extra.
- Fresh Blueberries (1 1/2 cups / about 200 g): Small to medium blueberries work best here. Giant blueberries can make the layers bumpy and uneven. Rinse and dry them thoroughly before using.
- Lemon Zest (1 teaspoon, optional): A tiny bit of lemon zest in the cream cheese filling brightens everything up. It is not essential, but it adds a nice lift that complements the berries.
I recommend using fresh berries for the best texture and color. Frozen berries release too much liquid as they thaw, which can make the cake soggy and stain the white layers. If you absolutely must use frozen berries, thaw and drain them well, then pat them dry with paper towels before layering.
Equipment Needed
You do not need much for this recipe. That is part of the appeal. Here is what you will want on hand:
- Electric Mixer (hand or stand): Whipping the cream and cream cheese by hand is technically possible, but your arm will hate you. A hand mixer works perfectly. A stand mixer with the whisk attachment is even easier.
- Large Mixing Bowls: You will need one bowl for the cream cheese filling and another for whipping the cream. Glass or stainless steel works best because they stay cooler than plastic.
- 8×8-inch Baking Dish or Loaf Pan: An 8×8 square dish gives you nice, tall layers and clean slices. A 9×5 loaf pan also works if you want a narrower cake. I have used both, and the 8×8 is easier for layering.
- Spatula: A rubber spatula helps you scrape every bit of filling out of the bowl. A small offset spatula is great for smoothing the top layer.
- Sharp Knife and Cutting Board: For slicing the strawberries. A dull knife will squish them.
- Plastic Wrap or Parchment Paper: You will need to cover the cake while it chills. Plastic wrap works fine, but parchment paper laid directly on the surface prevents the wrap from sticking to the filling.
If you do not have an electric mixer, you can use a whisk and a lot of elbow grease. Just make sure your cream is very cold, and take breaks if your arm gets tired. I have done it once when my mixer broke mid-recipe, and honestly, it was a workout.
Preparation Method
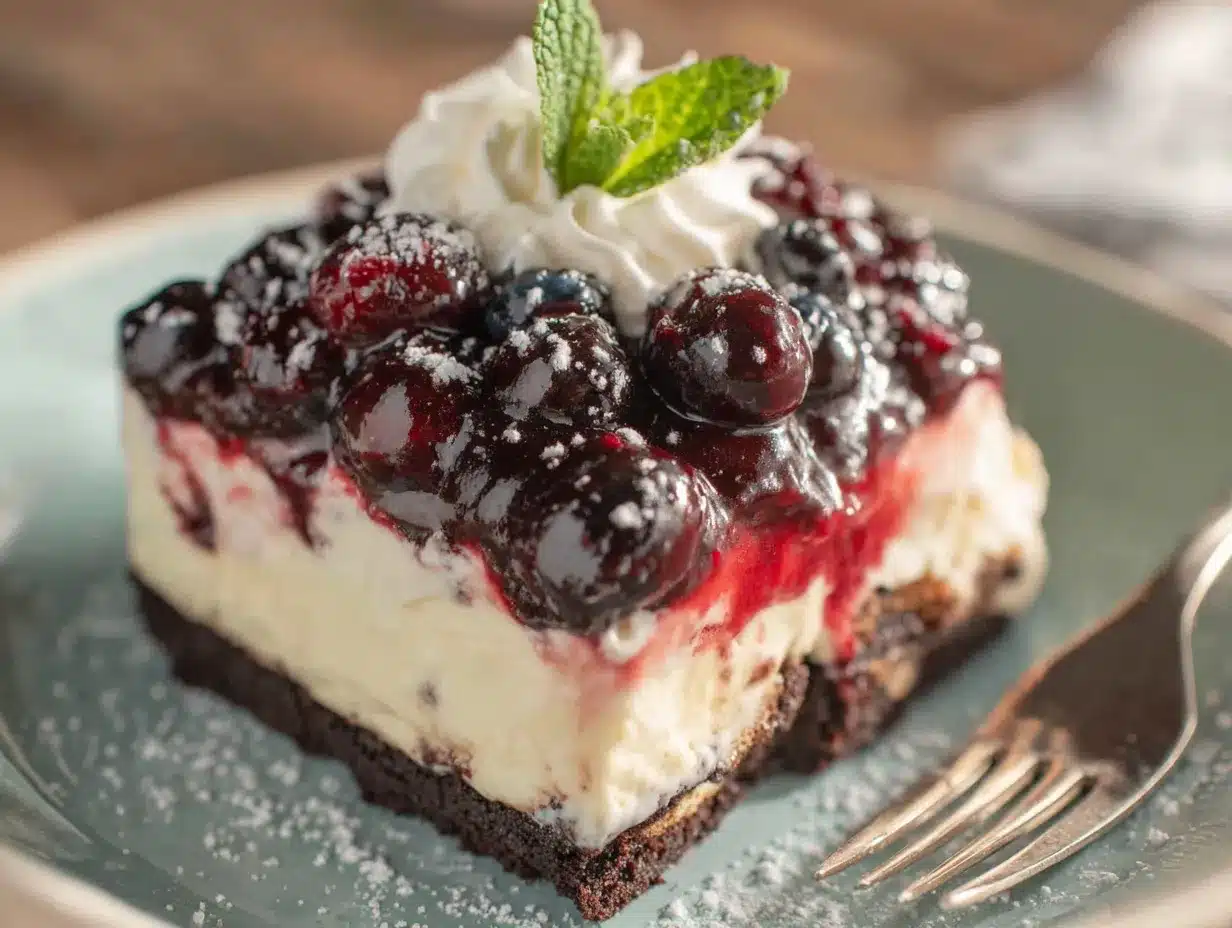
This recipe comes together in about 20 minutes of active work, plus at least 6 hours of chilling. The waiting is the hardest part.
- Whip the Cream: Pour 2 cups of cold heavy cream into a large mixing bowl. Beat on medium-high speed until soft peaks form—this takes about 3 to 4 minutes. The cream should look billowy and hold its shape when you lift the beaters. Do not over-whip, or you will end up with butter. Set the whipped cream aside in the refrigerator while you make the cream cheese base.
- Make the Cream Cheese Filling: In another large bowl, beat 8 ounces of softened cream cheese on medium speed until it is smooth and fluffy, about 2 minutes. Add 1 cup of powdered sugar and 1 teaspoon of vanilla extract. Beat until combined, scraping down the sides of the bowl as needed. If you are using lemon zest, add it now.
- Fold in the Whipped Cream: Take the whipped cream out of the fridge. Add about one-third of it to the cream cheese mixture and fold gently with a spatula until mostly combined. Add the remaining whipped cream and fold until the mixture is uniform and smooth. Do not stir vigorously—you want to keep the air in the cream so the filling stays light. The final mixture should be thick, creamy, and spreadable.
- Layer the Cookies: Spread a thin layer of the cream cheese filling (about 2 tablespoons) on the bottom of your 8×8 dish. This helps the first layer of cookies stay in place. Arrange a single layer of vanilla wafers over the filling, covering the bottom completely. Break a few cookies in half to fill gaps if needed. Do not overlap them—one even layer is what you are after.
- Add the Strawberry Layer: Spread about one-third of the remaining cream cheese filling over the cookies. Smooth it gently with a spatula. Arrange sliced strawberries evenly over the filling, pressing them in slightly. They should cover the surface in a single layer. You want every bite to have a piece of strawberry.
- Repeat the Layers: Add another layer of vanilla wafers on top of the strawberries. Spread another third of the filling over the cookies. Arrange blueberries evenly over the filling. Press them in gently. The blueberries will look like little jewels scattered across the white cream.
- Finish with the Final Layers: Add a third layer of vanilla wafers. Spread the remaining cream cheese filling over the top, smoothing it all the way to the edges. This top layer should be even and clean—it is what people will see when you serve the cake. Cover the dish tightly with plastic wrap or parchment paper.
- Chill: Refrigerate the cake for at least 6 hours, but overnight is better. The cookies need time to soften and absorb moisture from the filling. If you cut into it too soon, the cookies will still be crunchy and the layers will slide apart. Patience pays off here.
- Serve: When you are ready to serve, take the cake out of the fridge. Slice it into squares or rectangles. You can garnish with extra fresh berries and a sprig of mint if you want to get fancy. Serve cold.
One thing I learned the hard way: if your strawberries are very juicy, they can release liquid as the cake sits. To avoid this, slice your strawberries and lay them on a paper towel for a few minutes before layering. It absorbs some of the excess moisture and keeps the cake from getting watery around the edges.
Cooking Tips & Techniques
I have made this cake about a dozen times now, and I have picked up a few tricks along the way. Here are the things I wish someone had told me before my first attempt:
Soften the cream cheese properly. Cold cream cheese does not blend smoothly. You will end up with little white lumps in your filling, which look unappetizing and feel weird in your mouth. Leave the cream cheese on the counter for 30 to 45 minutes before you start. If you forget, you can microwave it in 10-second bursts on low power, but be careful—melted cream cheese will not whip properly.
Keep your cream cold. Warm cream will not whip into stiff peaks. It will stay soupy and sad. Keep your heavy cream in the fridge until the moment you are ready to whip it. If your kitchen is hot, you can set your mixing bowl in a larger bowl of ice water while you whip.
Do not skip the thin base layer of filling. That first little smear on the bottom of the dish is not optional. It anchors the first layer of cookies so they do not slide around when you spread the filling on top. I skipped this once and ended up with cookies floating in cream. It was not pretty.
Press the berries in gently. You want them to be slightly embedded in the filling so they stay put when you add the next layer of cookies. But do not mash them. Just a gentle press with your fingertips is enough.
Use a sharp knife to slice. A dull knife will drag through the cream and berries and make a mess. Run your knife under hot water, wipe it dry, then slice. Clean the blade between cuts for the prettiest slices.
Let it chill fully. I know it is tempting to dig in after a few hours, but trust me—the texture is completely different after a full overnight chill. The cookies soften into a cake-like consistency, and the flavors meld together beautifully. If you cut it too early, you will be disappointed.
Variations & Adaptations
This recipe is flexible. Here are some ways to change it up depending on what you have on hand or who you are feeding:
Gluten-Free Version: Use gluten-free vanilla wafers or shortbread cookies. Most brands work well, though the texture may be slightly different. I have tried this with Schär cookies and the result was excellent—no one noticed the difference.
Dairy-Free Version: Substitute the heavy cream with full-fat coconut cream (chilled overnight and whipped) and use a dairy-free cream cheese alternative. Miyoko’s brand works beautifully. The flavor will be slightly different but still delicious.
Berry Swap: Not a fan of strawberries? Use raspberries or sliced peaches instead. In the fall, I have made this with sliced apples and a sprinkle of cinnamon. The red, white, and blue theme works best for summer, but the base recipe is year-round friendly.
Lemon Twist: Add 2 tablespoons of fresh lemon juice to the cream cheese filling along with the zest. It makes the cake taste brighter and more refreshing. I tried this on a whim one July and it became my new favorite version.
Individual Servings: Instead of making one big cake, layer the cookies, filling, and berries in small mason jars or clear cups. These are perfect for parties because everyone gets their own little dessert. Plus, they look adorable on a dessert table.
Chocolate Version: Swap vanilla wafers for chocolate wafer cookies or chocolate graham crackers. The chocolate pairs surprisingly well with the strawberries and cream cheese. My husband prefers this version, so I make it for his birthday every year.
Serving & Storage Suggestions
This cake is best served cold, straight from the fridge. The texture is firm but creamy, and the cookies have softened into a cake-like consistency. I like to let it sit at room temperature for about 5 minutes before slicing—just enough to take the chill off without losing the structure.
For presentation, I arrange extra fresh berries on top in a little cluster and add a few mint leaves for color. If I am feeling fancy, I dust the top with a light sprinkle of powdered sugar right before serving. It makes the cake look like something from a bakery.
This cake pairs beautifully with a cold glass of lemonade, iced tea, or a simple fruit sangria. For a brunch spread, I serve it alongside a fresh patriotic strawberry watermelon popsicle for a double dose of summer fruit.
Storage: Cover the cake tightly with plastic wrap or transfer it to an airtight container. It will keep in the refrigerator for up to 3 days. The texture is best on day 1 and day 2. By day 3, the cookies are very soft and the berries may release a bit of juice. It is still delicious, just less photogenic.
Freezing: You can freeze this cake for up to 1 month. Wrap it tightly in plastic wrap, then a layer of aluminum foil. Thaw it overnight in the refrigerator before serving. The texture after freezing is slightly softer, but the flavor holds up well.
Reheating: Do not reheat this cake. It is meant to be served cold. If you want a warm dessert, make a cast iron s’mores dip instead.
Nutritional Information & Benefits
This cake is a treat, not a health food, but it does have some redeeming qualities. Here is an approximate nutritional breakdown per serving (based on 9 servings):
- Calories: 380
- Fat: 24g
- Carbohydrates: 38g
- Protein: 5g
- Fiber: 2g
- Sugar: 26g
Strawberries and blueberries are rich in antioxidants and vitamin C. The cream cheese and heavy cream provide calcium and protein, though they also add saturated fat. If you are watching your sugar intake, you can reduce the powdered sugar to 3/4 cup without sacrificing much sweetness.
This recipe is vegetarian and can be made gluten-free and dairy-free with the substitutions mentioned above. It contains dairy and gluten in its standard form.
I do not claim this is a healthy dessert. But it is made with real ingredients, no artificial colors or preservatives, and it brings people together around the table. That counts for something, right?
Conclusion
This easy red white and blueberry icebox cake is the dessert you will make every Fourth of July and probably a few times in between. It is simple enough for a beginner baker, impressive enough for a party, and delicious enough to become a family tradition. The layers of creamy filling, soft vanilla wafers, and juicy berries create something that tastes like summer in a dish.
I love this recipe because it reminds me of Carol’s icebox cake, but with my own twist. It is the kind of dessert that makes people ask for the recipe, and the kind that you will be proud to share. Whether you make it for a backyard barbecue, a potluck, or just because you want something cold and sweet on a hot day, it will not disappoint.
If you try this recipe, I would love to hear how it turned out. Leave a comment below and let me know what variations you tried. Did you add lemon zest? Swap the berries? Make it in individual jars? Share your version. And if you are looking for more easy no-bake desserts, check out our no-bake Rice Krispie treat stars for another fun holiday option.
Happy Fourth of July, friends. Go make something delicious.
Frequently Asked Questions
Can I use frozen berries instead of fresh?
You can, but I recommend fresh berries for the best texture. Frozen berries release a lot of liquid as they thaw, which can make the cake soggy and stain the white layers. If you must use frozen, thaw them completely, drain off the excess liquid, and pat them dry with paper towels before layering.
How far in advance can I make this cake?
You can make this cake up to 2 days ahead of time. The texture is actually best after a full overnight chill. Just keep it covered in the refrigerator until you are ready to serve. I would not recommend making it more than 3 days in advance, as the berries may start to break down.
Can I use a different type of cookie?
Absolutely. Shortbread cookies, graham crackers, or chocolate wafers all work well. If you use a larger cookie, you may need to adjust the number of layers to fit your dish. Keep in mind that different cookies soften at different rates, so the texture may vary.
Why is my filling runny?
Several things can cause a runny filling. Your cream cheese may not have been softened properly, your cream may have been over-whipped, or your kitchen may have been too warm. Make sure your cream is very cold before whipping, and fold the whipped cream into the cream cheese gently to preserve the air bubbles. If your filling is still runny, chill it for 30 minutes before layering.
Can I double this recipe?
Yes, you can double the recipe and use a 9×13-inch baking dish. The layering process is the same, but you will need more cookies and berries. The chilling time remains the same. This is a great option if you are serving a large crowd—just make sure your dish fits in your refrigerator.
Pin This Recipe!
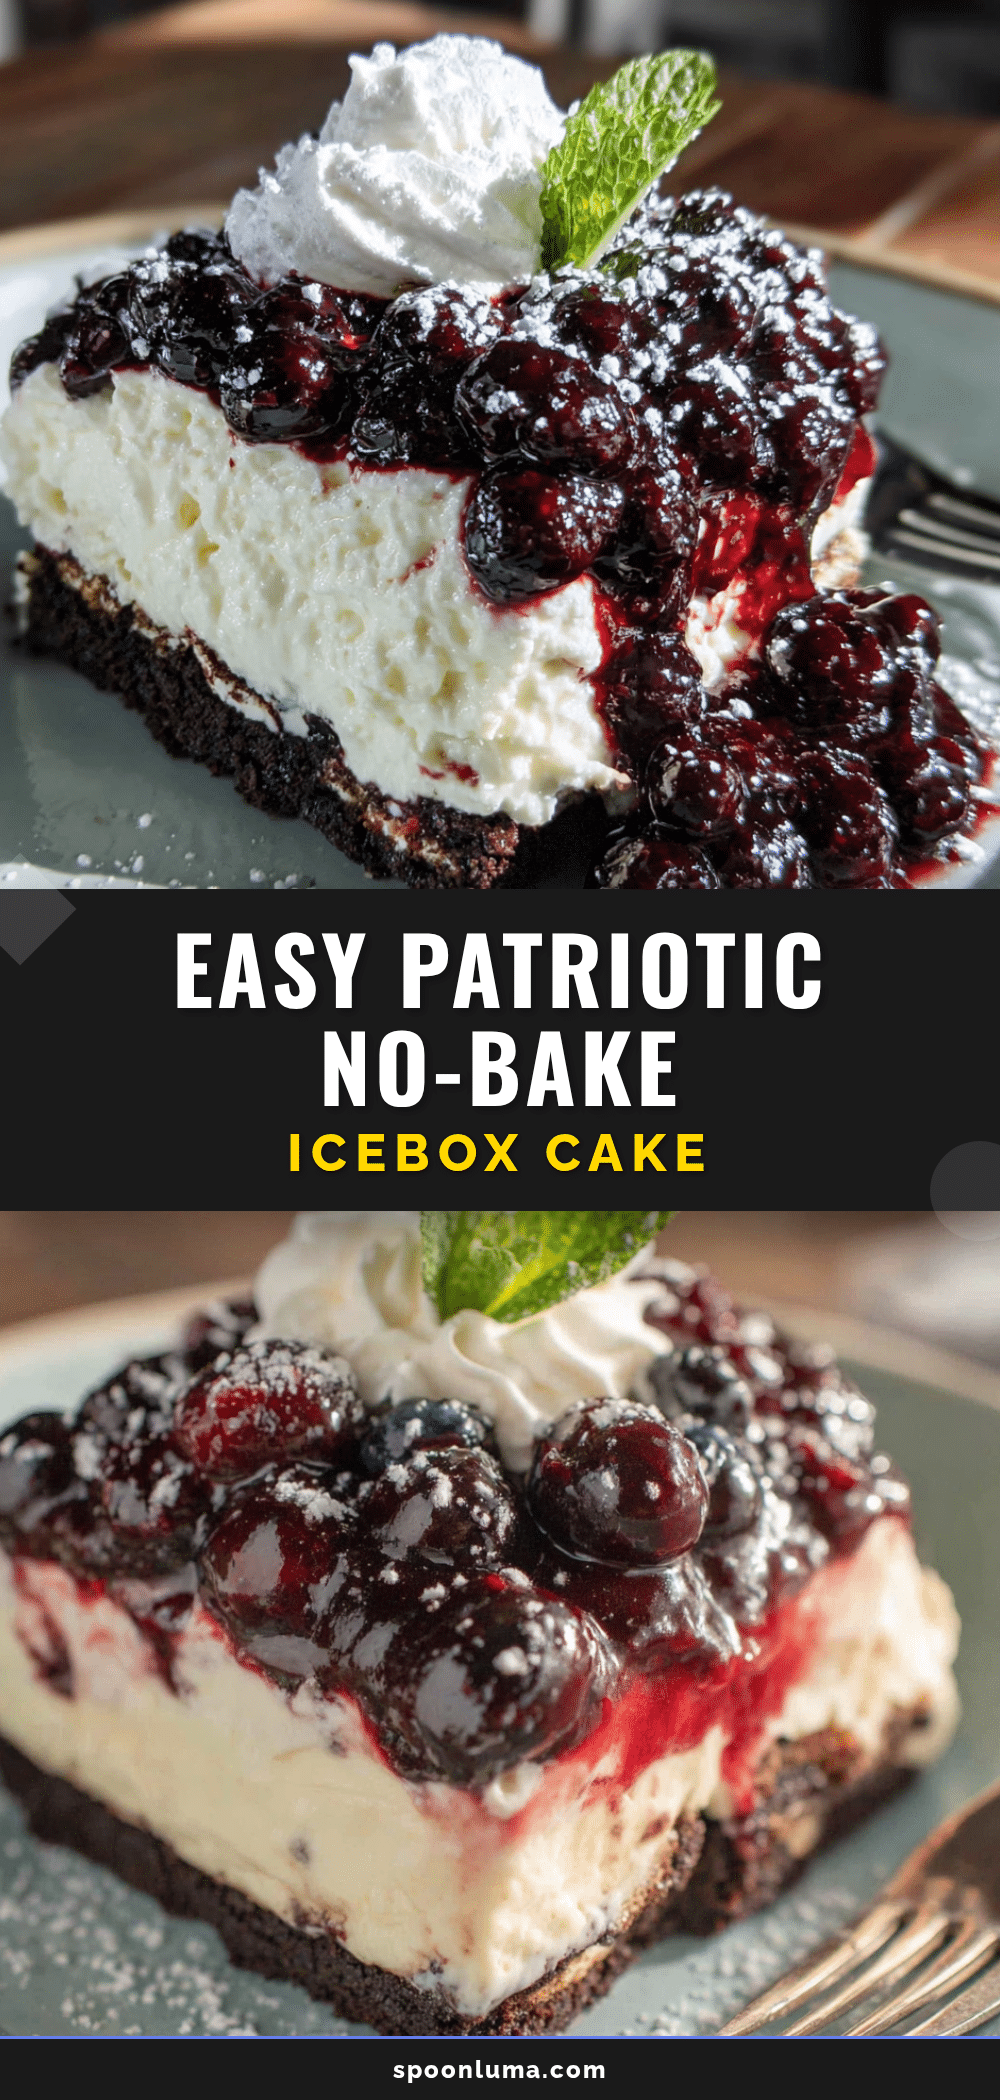
Best Easy Red White and Blueberry Icebox Cake
This easy red white and blueberry icebox cake is a no-bake dessert with layers of vanilla wafers, cream cheese filling, strawberries, and blueberries. It’s perfect for the Fourth of July or any summer gathering.
- Prep Time: 20 minutes
- Cook Time: 0 minutes
- Total Time: 6 hours 20 minutes (includes chilling)
- Yield: 9 servings 1x
- Category: Dessert
- Cuisine: American
Ingredients
- 2 cups (480 ml) heavy cream
- 8 ounces (226 g) cream cheese, softened
- 1 cup (120 g) powdered sugar
- 1 teaspoon vanilla extract
- 1 teaspoon lemon zest (optional)
- 60 vanilla wafers (one 12-ounce box)
- 2 cups (300 g) fresh strawberries, sliced
- 1 1/2 cups (200 g) fresh blueberries
Instructions
- Whip the cream: Pour 2 cups of cold heavy cream into a large mixing bowl. Beat on medium-high speed until soft peaks form, about 3 to 4 minutes. Set aside in the refrigerator.
- Make the cream cheese filling: In another large bowl, beat 8 ounces of softened cream cheese on medium speed until smooth and fluffy, about 2 minutes. Add 1 cup of powdered sugar and 1 teaspoon of vanilla extract. Beat until combined. Add lemon zest if using.
- Fold in the whipped cream: Add one-third of the whipped cream to the cream cheese mixture and fold gently. Add the remaining whipped cream and fold until uniform and smooth.
- Layer the cookies: Spread a thin layer of the cream cheese filling (about 2 tablespoons) on the bottom of an 8×8-inch dish. Arrange a single layer of vanilla wafers over the filling, covering the bottom completely.
- Add the strawberry layer: Spread about one-third of the remaining filling over the cookies. Arrange sliced strawberries evenly over the filling, pressing them in slightly.
- Repeat the layers: Add another layer of vanilla wafers. Spread another third of the filling over the cookies. Arrange blueberries evenly over the filling, pressing them in gently.
- Finish with the final layers: Add a third layer of vanilla wafers. Spread the remaining filling over the top, smoothing it to the edges. Cover tightly with plastic wrap or parchment paper.
- Chill: Refrigerate for at least 6 hours, preferably overnight.
- Serve: Slice into squares or rectangles. Garnish with extra fresh berries and mint if desired. Serve cold.
Notes
For best results, use fresh berries. If using frozen berries, thaw and drain well, then pat dry. Soften cream cheese properly and keep cream cold. Do not skip the thin base layer of filling. Let the cake chill fully for at least 6 hours, preferably overnight.
Nutrition
- Serving Size: 1 square (1/9 of cak
- Calories: 380
- Sugar: 26
- Sodium: 180
- Fat: 24
- Saturated Fat: 14
- Carbohydrates: 38
- Fiber: 2
- Protein: 5
Keywords: icebox cake, no-bake dessert, Fourth of July, red white and blue, summer dessert, berry dessert