I figured a cookie recipe was a cookie recipe — flour, butter, sugar, chips, bake. It took about three batches of flat, greasy disks that spread into one sad, crispy pancake for that assumption to fall apart completely. I was staring down a baking sheet of cookies that looked nothing like the pillowy, thick ones from the bakery, and I was honestly out of butter. That’s when I stopped following the instructions like a robot and actually started looking at the dough. It was too warm, for starters. And I realized I had been skipping the chill time because who has time for that? (Spoiler: you do, actually.)
This wasn’t about some secret, fancy technique. It was about paying attention to what the dough was telling me. That first perfect cookie — the one with the crackly top, the soft center, and the edges that were just barely golden — came from a batch I made for myself on a random Tuesday. No audience, no pressure. Just me, a half-stick of butter, and the stubborn belief that I could get it right. The best small-batch chocolate chip cookies are the ones that treat you like the only person in the room. They don’t need a crowd. They just need a little patience and a cold dough.
So this is the recipe I landed on. It’s the one that finally made me stop searching.
Why You’ll Love This Recipe
Let’s be real — most cookie recipes make two dozen cookies. That’s great for a party, but not so great for a Tuesday night when you just want two warm cookies and a glass of milk without committing to a week’s worth of dessert. This recipe solves that exact problem.
- Truly Small Batch : This makes just 6 to 8 cookies. No more, no less. Perfect for when you want a treat without the temptation of an entire Tupperware full.
- Simple Pantry Ingredients : You don’t need anything weird. Butter, sugar, an egg (you’ll use just the yolk), flour, baking soda, salt, and chocolate chips. That’s it.
- No Stand Mixer Required : A bowl and a whisk (or a fork) is all you need. Less cleanup, more cookies.
- That Bakery-Style Texture : Crispy edges, soft and chewy centers, and a slightly underbaked middle that stays tender for days. This is the texture everyone fights over.
- Ready in Under 30 Minutes : Including the chill time (yes, you have to chill it, but it’s a short one), you’re looking at about 25 minutes from craving to cookie.
I’ve tested this recipe with different butter temperatures, different flours, and different chill times. This version is the one that works every single time. It’s not just another cookie recipe — it’s the one I now use when I need a guaranteed win. The first time I made these for a friend, she asked for the recipe before she even finished the first cookie. That’s the kind of reaction you can expect.
Honestly, there’s something about making a small batch that makes the cookies taste better. Maybe it’s because you’re not rushing. Maybe it’s because you’re making them just for yourself, or just for one other person. Either way, these cookies feel special.
What Ingredients You Will Need
This recipe uses simple, everyday ingredients to create something that tastes anything but ordinary. The key is in the proportions and the technique, not in fancy additions.
- Unsalted butter (4 tablespoons, 57g, softened but still cool) : Butter is the backbone here. I prefer unsalted so I can control the salt level. Let it sit out for about 15 minutes — it should be soft enough to dent with your finger but not greasy or melted. If it’s too soft, your cookies will spread too much.
- Granulated sugar (3 tablespoons, 37g) : This adds sweetness and helps create those crispy edges. Don’t be tempted to reduce it — the sugar is crucial for the texture.
- Light brown sugar (3 tablespoons, 42g, packed) : Brown sugar brings moisture and a hint of molasses flavor. This is what gives the cookies their chewy center. I use light brown sugar, but dark brown sugar works too and will give a deeper flavor.
- Egg yolk (1 large yolk, about 18g) : Just the yolk. The white would add too much moisture and make the cookies cakey. Save the white for scrambled eggs or an omelet.
- Vanilla extract (1/2 teaspoon) : Pure vanilla extract makes a difference here. Imitation vanilla works in a pinch, but the pure stuff adds a warmth that really shines in a small batch.
- All-purpose flour (1/2 cup plus 1 tablespoon, 75g) : Measure it correctly! Spoon the flour into your measuring cup and level it off with a knife. Scooping directly from the bag packs in too much flour and gives you dry cookies.
- Baking soda (1/4 teaspoon) : This helps the cookies spread just enough and gives them a little lift. Make sure it’s fresh — old baking soda won’t work as well.
- Salt (1/4 teaspoon) : Salt balances the sweetness and enhances the chocolate flavor. I use fine sea salt.
- Semi-sweet chocolate chips (1/3 cup, 60g) : I’m partial to Ghirardelli or Guittard chips for their flavor and meltability. You can also chop up a good quality chocolate bar for bigger puddles of chocolate. Milk chocolate or dark chocolate both work — just adjust based on your preference.
- Flaky sea salt (optional, for finishing) : A tiny sprinkle on top right when they come out of the oven takes these from great to unforgettable. Maldon is my go-to.
Equipment Needed
You don’t need a lot of fancy gear for these cookies, which is part of the appeal. Here’s what you’ll need:
- Mixing bowl : A medium-sized bowl is perfect. I use a glass or ceramic bowl because it doesn’t retain heat.
- Whisk or fork : For creaming the butter and sugar. A fork works surprisingly well if you don’t have a whisk handy.
- Rubber spatula or wooden spoon : For folding in the flour and chocolate chips.
- Baking sheet : A standard half-sheet pan is ideal. If you only have a dark non-stick pan, keep an eye on the cookies — they can brown faster.
- Parchment paper or silicone baking mat : This prevents sticking and helps the cookies bake evenly. I prefer parchment because it’s easy to lift the cookies off.
- Cookie scoop or tablespoon : For even-sized cookies. A #40 cookie scoop (about 1.5 tablespoons) is perfect for this batch.
- Cooling rack : Essential for letting the cookies cool properly so they don’t continue cooking on the hot pan.
If you don’t have a cookie scoop, just use a regular tablespoon and shape the dough balls with your hands. They don’t have to be perfect — rustic cookies have their own charm.
Preparation Method
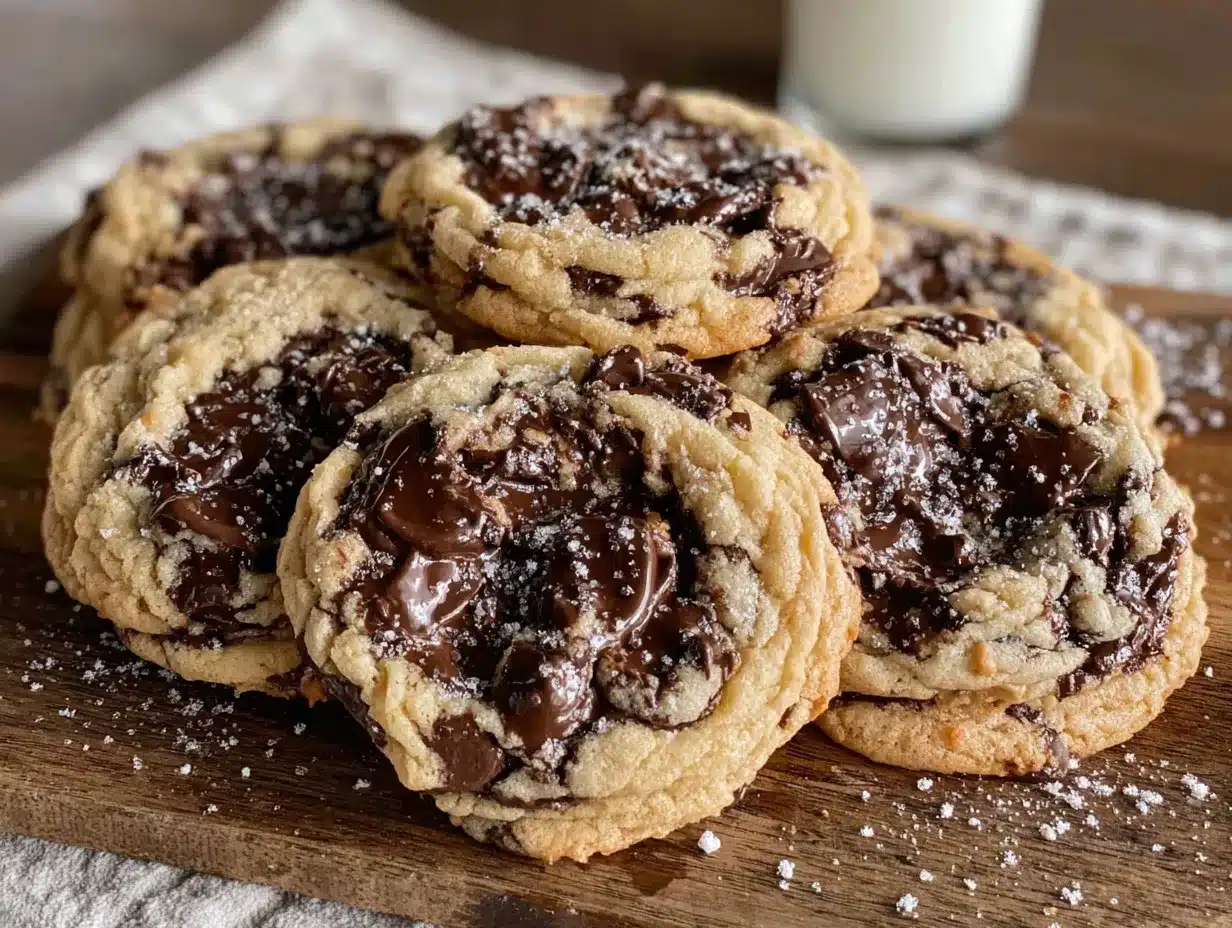
Follow these steps carefully, and you’ll have perfect cookies. The chill time is non-negotiable, I promise.
- Preheat your oven to 350°F (175°C) and line a baking sheet with parchment paper. This gives the oven time to come to temperature while you prepare the dough.
- Cream the butter and sugars together. In a medium bowl, combine the softened butter, granulated sugar, and packed brown sugar. Use a whisk or fork to beat them together until the mixture is light, fluffy, and slightly lighter in color — about 2 minutes of vigorous mixing. You’re looking for a texture that resembles wet sand. Don’t rush this step; proper creaming incorporates air and helps the cookies rise just a bit.
- Add the egg yolk and vanilla. Drop in the egg yolk and the vanilla extract. Whisk until everything is fully combined and the mixture looks smooth and glossy. It might look a little separated at first, but keep mixing — it will come together.
- Mix the dry ingredients separately. In a small bowl, whisk together the flour, baking soda, and salt. This ensures the baking soda and salt are evenly distributed. If you skip this step, you could end up with a pocket of baking soda in one cookie — trust me, that’s not a pleasant surprise.
- Combine the wet and dry ingredients. Add the flour mixture to the butter mixture. Use a rubber spatula or wooden spoon to fold everything together gently. Mix just until you no longer see streaks of flour. Overmixing at this stage develops gluten and makes the cookies tough. The dough will be thick and slightly sticky.
- Fold in the chocolate chips. Scatter the chocolate chips over the dough and fold them in with a few gentle strokes. Make sure they’re evenly distributed. If you want chocolate in every bite, press a few extra chips onto the tops of the dough balls later.
- Chill the dough. This is the most important step. Cover the bowl with plastic wrap or a plate and refrigerate the dough for at least 30 minutes. Chilling solidifies the butter, which prevents the cookies from spreading too much in the oven. It also allows the flavors to meld. I’ve tested these without chilling, and they spread into flat, thin cookies. The 30-minute chill makes all the difference.
- Scoop and shape the dough. After chilling, use a cookie scoop or tablespoon to portion the dough into 6 to 8 equal balls (about 1.5 tablespoons each). Roll each ball between your palms until smooth. Place them on the prepared baking sheet, spacing them about 2 inches apart. For that bakery-style look, gently press a few extra chocolate chips onto the tops of the dough balls.
- Bake for 9 to 11 minutes. Place the baking sheet on the middle rack of your preheated oven. Bake for 9 minutes for soft, gooey centers, or 11 minutes for slightly firmer cookies. The edges should be golden brown, but the centers will still look pale and slightly underdone. That’s exactly what you want — they’ll continue cooking on the hot pan.
- Cool on the baking sheet. Let the cookies rest on the baking sheet for 5 minutes. This is crucial — they’re too fragile to move right away. During this time, they’ll set up just enough to be handled.
- Transfer to a cooling rack. Use a spatula to move the cookies to a wire rack. If you’re using flaky sea salt, sprinkle a tiny pinch on each cookie while they’re still warm. Let them cool completely if you can resist (I rarely can).
Cooking Tips & Techniques
I’ve made more batches of cookies than I can count, and I’ve learned a few things the hard way. Here are the tips that actually matter.
Don’t skip the chill. I know it’s tempting. I’ve been there — staring at the dough, thinking “it’s fine, it’ll be fine.” It won’t be fine. Warm dough spreads into thin, greasy cookies. Cold dough gives you thick, chewy ones. The 30-minute chill is the single most important step in this recipe. If you’re in a rush, you can pop the dough in the freezer for 15 minutes instead, but the fridge is better.
Use a light-colored baking sheet. Dark pans absorb more heat and can cause the bottoms of your cookies to burn before the tops are done. If you only have a dark pan, reduce the oven temperature by 25°F and keep a close eye on them.
Rotate the pan halfway through. Ovens have hot spots. About 5 minutes in, give the baking sheet a quick turn. This ensures even browning and prevents one side from getting too dark.
Underbake them slightly. This is the secret to soft cookies. When you pull them out, the centers should look puffy and slightly underdone. They’ll continue setting up as they cool. If you wait until they look fully baked in the oven, they’ll be overdone and crispy.
Let them cool on the pan. I learned this after a batch of cookies fell apart because I tried to move them too soon. The residual heat from the baking sheet finishes the cooking process gently. Five minutes is the magic number.
If your cookies are too flat: Your butter was too soft, or you skipped the chill. Next time, make sure your butter is cool but pliable, and don’t skip that fridge time.
If your cookies are too cakey: You used too much flour, or you added the whole egg instead of just the yolk. Measure your flour correctly (spoon and level) and use only the yolk.
Variations & Adaptations
This recipe is a great base for experimentation. Here are some ways to change it up.
Double Chocolate Chip Cookies: Replace 1 tablespoon of the flour with 1 tablespoon of unsweetened cocoa powder. Use dark chocolate chips or white chocolate chips for a different twist. The cocoa adds a rich depth that pairs beautifully with the buttery base.
Gluten-Free Version: Substitute the all-purpose flour with a 1:1 gluten-free baking flour blend that contains xanthan gum (I like King Arthur’s Measure for Measure). The texture will be slightly more tender, but they’re still delicious. Don’t skip the chill time — gluten-free dough benefits from it even more.
Add-In Variations: Swap the chocolate chips for an equal amount of chopped nuts (walnuts or pecans), dried cranberries, or toffee bits. Or do a combination — half chocolate chips, half chopped pecans is a personal favorite. You can also add 1/4 cup of shredded coconut for a tropical twist.
Vegan Adaptation: Use vegan butter (I recommend Miyoko’s or Earth Balance) and replace the egg yolk with 1 tablespoon of aquafaba (the liquid from a can of chickpeas) or a flax egg (1 tablespoon ground flaxseed mixed with 2.5 tablespoons water, let sit for 5 minutes). The texture will be slightly different, but still very good.
Brown Butter Version: For a nuttier, more complex flavor, brown the 4 tablespoons of butter in a small saucepan over medium heat until it turns golden brown and smells toasty. Let it cool completely before using (you can pop it in the fridge for 10 minutes to speed this up). Brown butter adds a depth that’s absolutely incredible in these cookies.
I once made a batch with browned butter and a mix of semi-sweet and white chocolate chips, and it was honestly one of the best cookie decisions I’ve ever made. Don’t be afraid to play around.
Serving & Storage Suggestions
These cookies are best served warm, when the chocolate is still melty and the edges are perfectly crisp. Let them cool on the rack for about 10 minutes after baking, then grab one while it’s still slightly warm. A cold glass of milk is the classic pairing, but they’re also fantastic with a hot cup of coffee or a scoop of vanilla ice cream sandwiched between two cookies.
For a fun presentation, arrange a few cookies on a small plate with a dusting of powdered sugar and a few fresh berries on the side. They’re simple enough for an after-dinner treat but pretty enough for a small gathering.
Storage: Keep the cookies in an airtight container at room temperature for up to 3 days. To maintain their softness, add a slice of bread to the container — the cookies will absorb the moisture from the bread and stay chewy. Replace the bread slice every day if you’re keeping them longer.
Freezing: These cookies freeze beautifully. You can freeze the baked cookies (wrap them individually in plastic wrap, then place in a freezer bag) for up to 3 months. Thaw at room temperature for about 15 minutes, or pop them in a 300°F oven for 5 minutes to reheat.
Even better, you can freeze the raw dough. Scoop the dough into balls, place them on a parchment-lined baking sheet, and freeze until solid (about 1 hour). Transfer the frozen dough balls to a freezer bag. When you’re ready to bake, just add 2 to 3 minutes to the baking time — no need to thaw. This is my favorite trick for having fresh cookies on demand.
The flavors actually deepen after a day or two. The cookies become softer and the chocolate flavor mellows and blends with the buttery base. If you can wait that long, they’re even better on day two.
Nutritional Information & Benefits
Per cookie (based on 8 cookies per batch): Approximately 185 calories, 10g fat (6g saturated), 35mg cholesterol, 120mg sodium, 24g carbohydrates, 1g fiber, 15g sugar, 2g protein.
While these are definitely a treat, there are a few bright spots. The butter provides a small amount of vitamin A, and the dark chocolate chips (if you use semi-sweet or dark) contain antioxidants called flavonoids, which are linked to heart health. The small batch size also helps with portion control — you’re not faced with two dozen cookies staring at you from the counter.
For a slightly healthier twist, you can reduce the sugar by 1 tablespoon total (use 2.5 tablespoons each of granulated and brown sugar) and use dark chocolate chips with at least 70% cacao. The cookies will be slightly less sweet and a bit more intense, but still delicious.
As always, these cookies are best enjoyed in moderation as part of a balanced diet. They’re a celebration, not a daily staple — and that’s what makes them so special.
Conclusion
These small-batch chocolate chip cookies are proof that you don’t need a big batch to get big flavor. They’re simple, reliable, and incredibly satisfying. Whether you’re baking for yourself on a quiet evening, surprising a roommate, or treating a friend to something homemade, this recipe delivers every single time.
What I love most about this recipe is how forgiving it is. Once you understand the basics — chill the dough, don’t overmix, underbake slightly — you can make it your own. Add nuts, swap the chocolate, experiment with browned butter. The base is solid, and it’s ready for your personal touch.
I’d love to hear how these turn out for you. Did you try a variation? Did you manage to wait the full 30 minutes for the chill? Drop a comment below and let me know — your feedback helps other bakers too. And if you make these for someone you care about, I guarantee they’ll ask for the recipe.
Happy baking, friend. You’ve got this.
Frequently Asked Questions
Can I use margarine instead of butter?
I don’t recommend it. Margarine has a higher water content than butter, which will make your cookies spread more and result in a less flavorful, greasier texture. Stick with real butter for the best results.
Why did my cookies turn out flat?
Flat cookies are usually caused by butter that was too soft or melted, or by skipping the chill time. Make sure your butter is softened but still cool, and always chill the dough for at least 30 minutes before baking.
Can I double this recipe?
Absolutely! Simply double all the ingredients. You’ll get 12 to 16 cookies instead of 6 to 8. The baking time should stay the same, but you may need to bake in batches if your oven can’t fit multiple pans at once.
How do I make these cookies chewier?
For chewier cookies, use an extra tablespoon of brown sugar (reducing the granulated sugar by the same amount) and bake for the shorter end of the time range (9 minutes). The brown sugar adds moisture, and underbaking slightly keeps the centers soft.
Can I use whole wheat flour instead of all-purpose?
You can substitute up to half of the all-purpose flour with whole wheat flour without a major texture change. Using 100% whole wheat flour will result in denser, nuttier cookies that are still tasty but have a different texture. Add an extra tablespoon of butter if you go full whole wheat to compensate for the dryness.
Pin This Recipe!
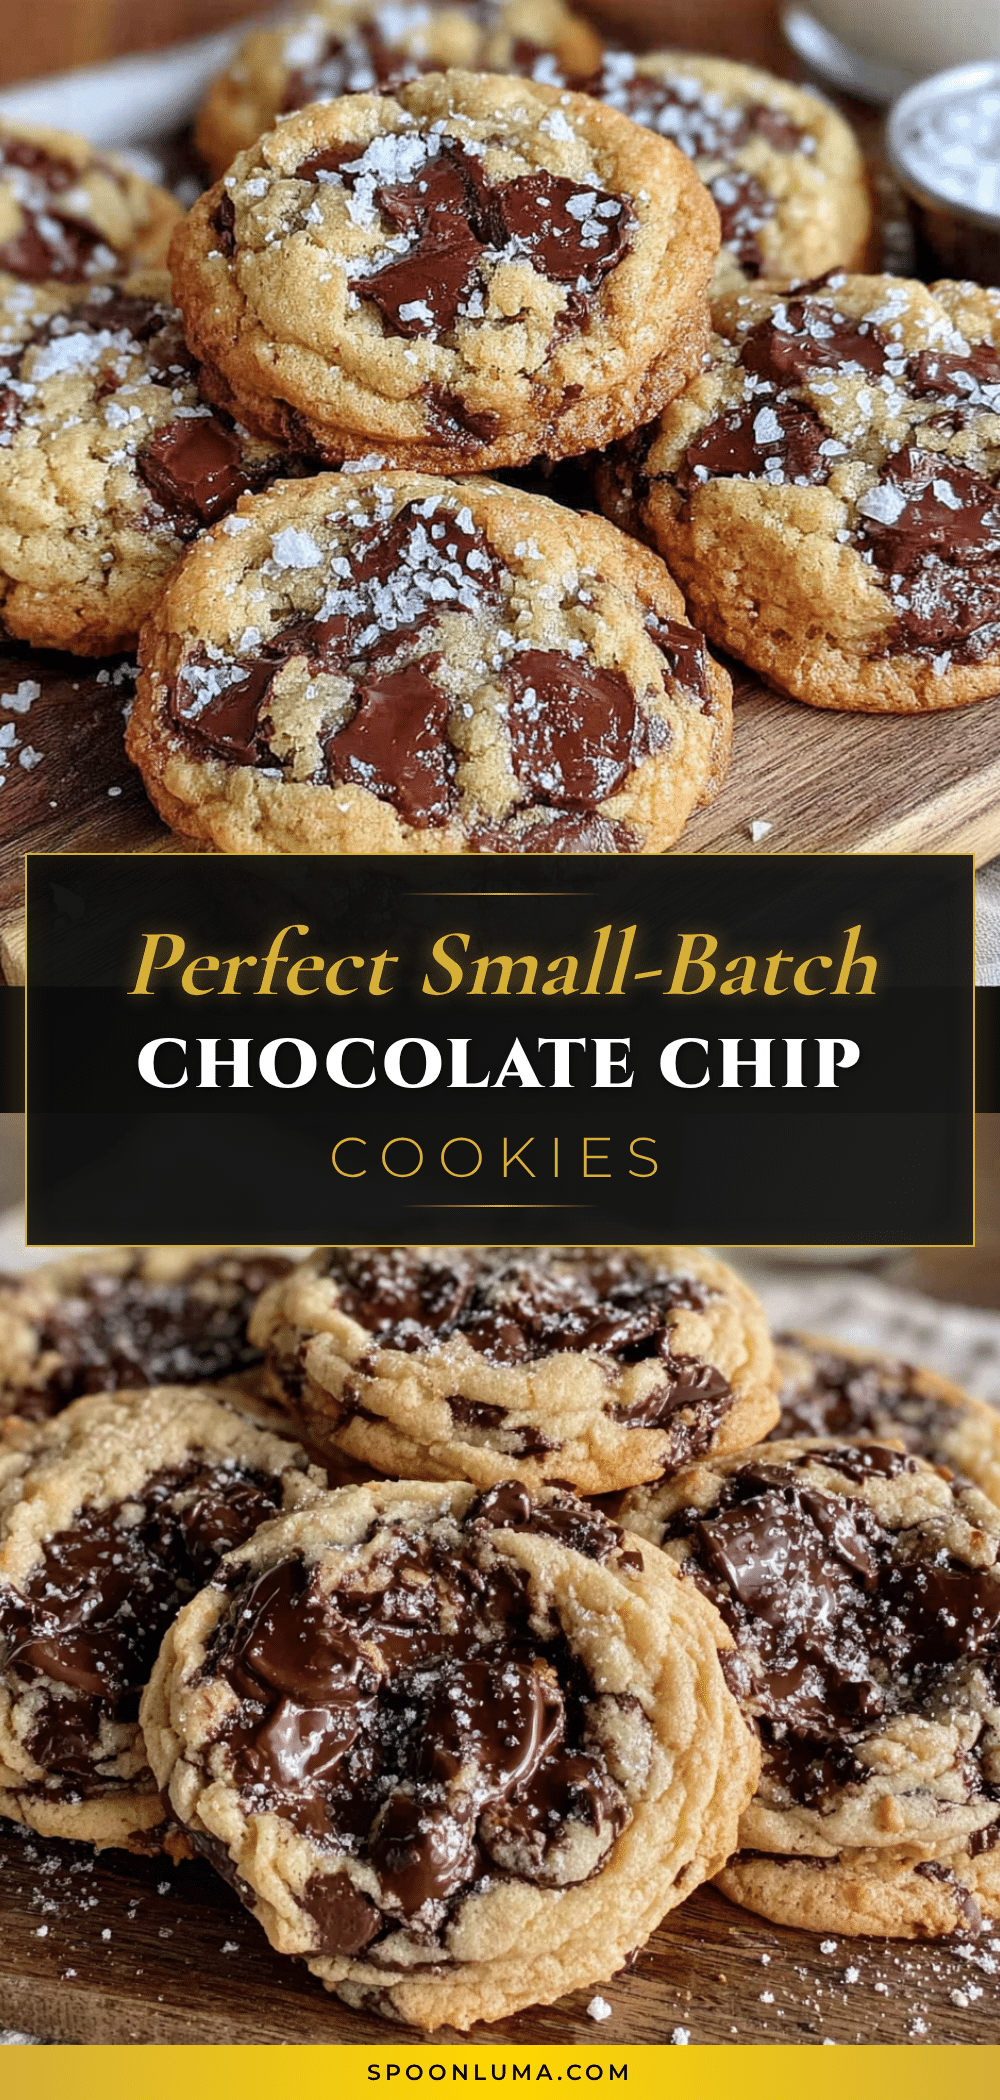
Best Small-Batch Chocolate Chip Cookies – Easy Recipe

These small-batch chocolate chip cookies are the perfect treat for when you want just a few warm, bakery-style cookies without committing to a full batch. With crispy edges, soft and chewy centers, and simple pantry ingredients, this recipe delivers big flavor in under 30 minutes.
- Prep Time: 15 minutes
- Cook Time: 10 minutes
- Total Time: 25 minutes
- Yield: 6 to 8 cookies 1x
- Category: Dessert
- Cuisine: American
Ingredients
- 4 tablespoons (57g) unsalted butter, softened but still cool
- 3 tablespoons (37g) granulated sugar
- 3 tablespoons (42g) light brown sugar, packed
- 1 large egg yolk (about 18g)
- 1/2 teaspoon vanilla extract
- 1/2 cup plus 1 tablespoon (75g) all-purpose flour
- 1/4 teaspoon baking soda
- 1/4 teaspoon salt
- 1/3 cup (60g) semi-sweet chocolate chips
- Flaky sea salt (optional, for finishing)
Instructions
- Preheat your oven to 350°F (175°C) and line a baking sheet with parchment paper.
- In a medium bowl, cream together the softened butter, granulated sugar, and packed brown sugar with a whisk or fork until light, fluffy, and slightly lighter in color, about 2 minutes.
- Add the egg yolk and vanilla extract, and whisk until fully combined and smooth.
- In a small bowl, whisk together the flour, baking soda, and salt.
- Add the flour mixture to the butter mixture and fold gently with a rubber spatula or wooden spoon until just combined. Do not overmix.
- Fold in the chocolate chips until evenly distributed.
- Cover the bowl with plastic wrap and refrigerate the dough for at least 30 minutes.
- After chilling, scoop the dough into 6 to 8 equal balls (about 1.5 tablespoons each) and place them on the prepared baking sheet, spacing them about 2 inches apart. Optionally, press a few extra chocolate chips onto the tops.
- Bake for 9 to 11 minutes, until the edges are golden brown but the centers still look pale and slightly underdone.
- Let the cookies cool on the baking sheet for 5 minutes, then transfer to a wire rack. If using, sprinkle with flaky sea salt while still warm.
- Cool completely before serving, or enjoy warm.
Notes
Chilling the dough is essential for thick, chewy cookies. Do not skip it. For best results, use a light-colored baking sheet and underbake slightly for soft centers. The cookies can be stored in an airtight container at room temperature for up to 3 days, or frozen for up to 3 months.
Nutrition
- Serving Size: 1 cookie
- Calories: 185
- Sugar: 15
- Sodium: 120
- Fat: 10
- Saturated Fat: 6
- Carbohydrates: 24
- Fiber: 1
- Protein: 2
Keywords: small-batch chocolate chip cookies, easy cookie recipe, bakery-style cookies, chewy chocolate chip cookies, small batch cookies