Third time in as many days and I finally stopped measuring the pumpkin puree by sight and actually used a scale. By the time I pulled that loaf out of the oven, the kitchen smelled like someone had been baking fall since dawn — warm, slightly sweet, with that tangy sourdough edge cutting through everything. I had been trying to make this easy pumpkin sourdough discard bread work without a fussy starter schedule, and honestly, the first two loaves were fine. Edible. Good even. But not the kind of bread where you tear off the end piece while it’s still warm and just stand there, quiet, nodding to yourself. This one was.
I had leftover discard from a batch of pancakes the night before (you know how it goes — you feed the starter, you have too much, you stare at the jar like it owes you money). And there was half a can of pumpkin sitting in the fridge from a batch of healthy zucchini bread with Greek yogurt I made earlier that week. Two leftovers that had no business being combined, and yet here we are. The bread came out tender, not dense, with a crumb that held together without being gummy. The pumpkin kept it moist, the discard gave it that subtle sourness, and the spices settled into something deeper after a few hours on the counter.
I think what made this recipe stick wasn’t the novelty of using discard or the pumpkin itself. It was the fact that it worked without me having to plan ahead. No overnight rise. No complicated folds. Just a bowl, a spoon, and a loaf pan. That kind of reliability is rare in baking, and I wanted to hold onto it.
Why You’ll Love This Recipe
This isn’t just another quick bread recipe that leaves you with a dry loaf and a sink full of dishes. I tested this one until the crumb felt right — not too dense, not too airy, with just enough structure to hold a thick slice of butter without falling apart. Here’s what makes it worth your time:
- Uses up sourdough discard — No need to feed your starter first. This recipe works with unfed, cold discard straight from the fridge. That’s the whole point.
- No stand mixer required — Everything comes together in one bowl with a spatula. Less cleanup, more time to enjoy the smell.
- Pumpkin keeps it moist for days — Unlike some quick breads that dry out by the second morning, this one stays tender thanks to the puree. I’ve had slices on day three that still felt fresh.
- Not overly sweet — The sugar is balanced so the pumpkin and spice come through, not just sweetness. It’s the kind of bread you could eat for breakfast without feeling like you’re having dessert.
- Works with whole wheat or all-purpose flour — I tested both. The whole wheat version is heartier but still soft. The all-purpose version is more tender. Both work.
This bread is the kind you make when you want something that feels special but doesn’t demand much from you. It’s reliable. It’s forgiving. And it makes your kitchen smell like October no matter what month it actually is.
What Ingredients You Will Need
This recipe uses ingredients you probably already have in your pantry, which is exactly how I like things. No hunting down specialty flours or obscure spices. Just straightforward, pantry-friendly stuff that comes together without stress.
- Pumpkin puree — 1 cup (240g). Not pumpkin pie filling. Make sure you grab the 100% pure pumpkin puree. I like Libby’s for consistency, but any brand works. If your puree looks watery, blot it with a paper towel before measuring.
- Sourdough discard — 1 cup (240g), unfed and cold. This is the star of the show. You can use discard that’s been sitting in the fridge for a week. As long as it doesn’t have mold or smell like acetone, it’s fine. The older discard actually gives a more pronounced tang.
- All-purpose flour — 1 ¾ cups (220g). You can substitute up to half with whole wheat flour if you want a heartier loaf. I’ve also tested this with spelt flour and it worked well, though the crumb was a bit more delicate.
- Granulated sugar — ½ cup (100g). Just enough to sweeten without overpowering the pumpkin. You can reduce it to ⅓ cup if you prefer a less sweet bread.
- Brown sugar — ¼ cup (50g), packed. Adds moisture and a hint of molasses flavor. Light or dark brown sugar both work. Dark gives a deeper flavor.
- Eggs — 2 large, room temperature. If your eggs are cold, place them in a bowl of warm water for 5 minutes before using. Cold eggs can make the batter seize up.
- Vegetable oil — ⅓ cup (80ml). Use a neutral oil like canola or grapeseed. Melted coconut oil also works if you want a subtle coconut note, but make sure it’s cooled slightly before adding.
- Pumpkin pie spice — 2 teaspoons. I use store-bought because it’s convenient, but you can make your own by mixing 1 teaspoon cinnamon, ½ teaspoon ginger, ¼ teaspoon nutmeg, ¼ teaspoon allspice, and a pinch of cloves.
- Baking soda — 1 teaspoon. This reacts with the acidity in the discard and pumpkin to help the bread rise. Make sure it’s fresh — expired baking soda won’t give you the lift you need.
- Baking powder — ½ teaspoon. Adds a little extra lift so the bread isn’t too dense.
- Salt — ½ teaspoon. Don’t skip this. Salt balances the sweetness and enhances the spice flavors.
- Vanilla extract — 1 teaspoon. Optional but recommended. It rounds out the flavors and makes everything taste a little warmer.
That’s it. Eleven ingredients, most of which you probably already have. No buttermilk, no heavy cream, no complicated add-ins unless you want them.
Equipment Needed
You don’t need much for this recipe, which is part of the appeal. Here’s what you’ll need:
- 9×5-inch loaf pan — Standard size. If you use an 8×4-inch pan, the loaf will be taller and may need an extra 5-10 minutes of baking time. Glass or metal both work, but metal gives a nicer crust.
- Mixing bowls — One large bowl for the wet ingredients and one medium bowl for the dry. Or just use one bowl and mix the dry ingredients separately before adding them. I’m not here to judge.
- Whisk and spatula — A whisk for the wet ingredients and a spatula for folding everything together. A wooden spoon works too if that’s what you have.
- Parchment paper — Not strictly necessary, but it makes lifting the bread out of the pan so much easier. Cut a strip long enough to hang over the sides like handles.
- Cooling rack — Let the bread cool completely before slicing. If you slice it while it’s warm, it will crumble. I learned this the hard way.
- Kitchen scale — Optional but helpful. Measuring flour by weight is more accurate than scooping, especially if you’re using whole wheat flour.
If you don’t have a loaf pan, you can bake this in an 8×8-inch square pan and reduce the baking time by about 10 minutes. It won’t look like a traditional loaf, but it will taste the same.
Preparation Method
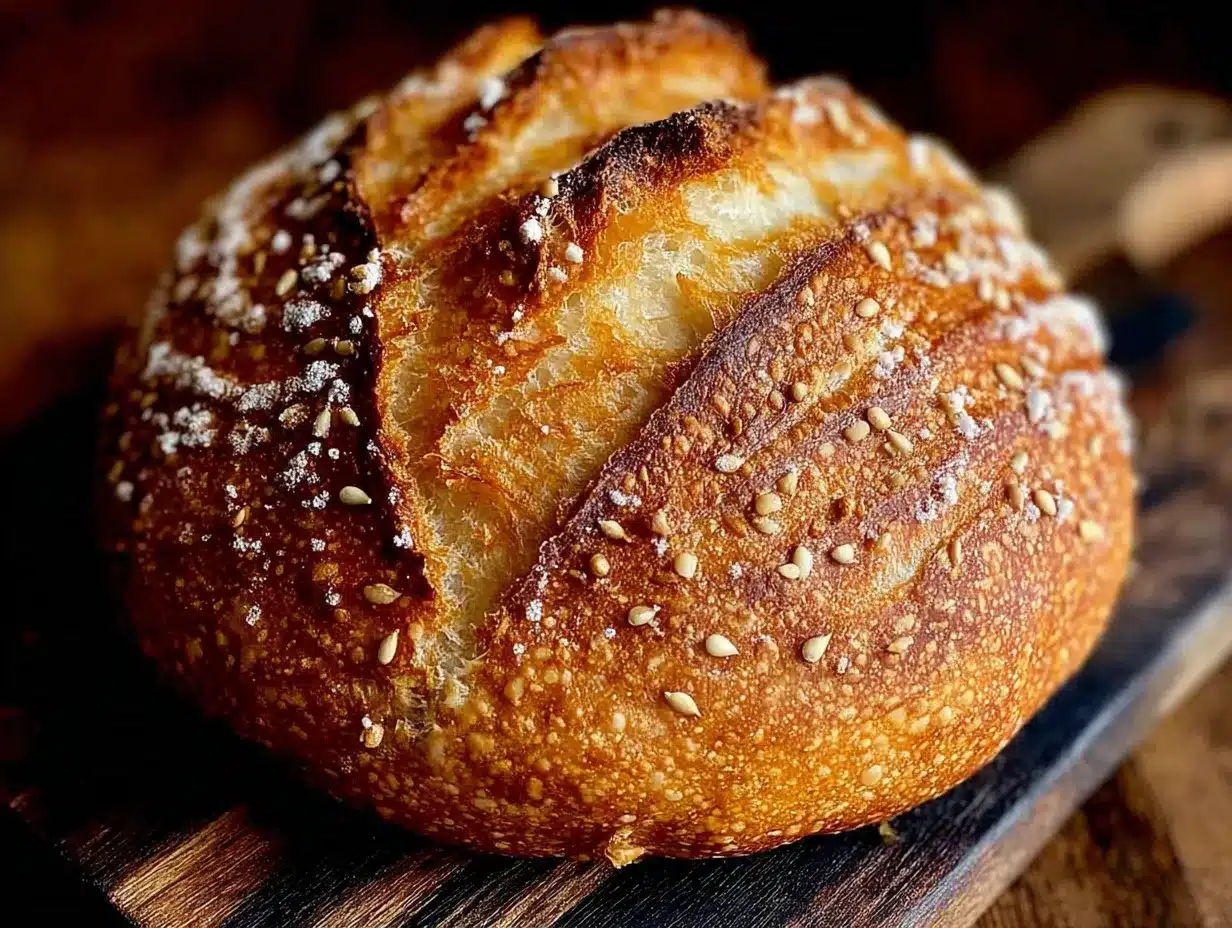
This is where the magic happens. Follow these steps, and you’ll have a loaf of easy pumpkin sourdough discard bread that’s tender, flavorful, and worth every bite.
- Preheat the oven to 350°F (175°C). Position the rack in the center of the oven. While it’s heating, line your loaf pan with parchment paper, leaving some overhang on the long sides. Lightly grease the exposed sides with a little oil or butter.
- In a large mixing bowl, whisk together the pumpkin puree, sourdough discard, eggs, oil, and vanilla. Whisk until everything is smooth and well combined. The mixture will look a little thick and slightly orange — that’s normal. If your discard was cold, the mixture might feel a bit stiff at first. Keep whisking. It will loosen up.
- Add both sugars and whisk again. Make sure there are no lumps of brown sugar hiding at the bottom. I like to press them against the side of the bowl with the back of my whisk to break them up.
- In a separate medium bowl, whisk together the flour, pumpkin pie spice, baking soda, baking powder, and salt. Whisking aerates the flour and distributes the leavening agents evenly. If you’re lazy like me sometimes, you can sift it, but whisking works just fine.
- Pour the dry ingredients into the wet ingredients. Use a spatula to fold everything together gently. Stir until you no longer see streaks of flour, but stop as soon as it comes together. Overmixing will make the bread tough. A few small lumps are okay — they’ll bake out.
- Pour the batter into the prepared loaf pan. Use the spatula to spread it evenly. The batter will be thick — almost like a muffin batter. That’s what you want. Give the pan a gentle tap on the counter to release any air bubbles.
- Bake for 50-60 minutes, or until a toothpick inserted in the center comes out clean or with just a few moist crumbs. Mine usually takes about 55 minutes, but ovens vary. If the top is browning too quickly after 40 minutes, tent the pan loosely with aluminum foil.
- Let the bread cool in the pan for 10 minutes. Then lift it out using the parchment paper handles and transfer it to a cooling rack. Let it cool completely before slicing — at least 1 hour. I know it’s hard to wait, but trust me, it’s worth it.
The crust will be golden brown and slightly crisp. The inside will be soft, tender, and speckled with warm spice. If you slice it while it’s still warm, it will crumble. Let it cool. You’ll thank me later.
Cooking Tips & Techniques
I learned a few things the hard way so you don’t have to. Here are the tips that made the biggest difference in getting this bread right:
- Don’t skip blotting the pumpkin puree. If your puree looks watery at all, blot it with a paper towel before adding it to the bowl. Excess moisture can make the bread gummy and dense. I learned this after my first loaf came out with a weird, wet streak running through the middle.
- Use discard that’s at room temperature if possible. Cold discard straight from the fridge works, but room temperature discard mixes more evenly and gives a slightly better rise. If you remember, take it out 30 minutes before you start baking.
- Measure flour correctly. Scooping flour directly from the bag compacts it and you’ll end up with too much. Instead, fluff the flour with a spoon, then spoon it into your measuring cup and level it off with a knife. Or use a kitchen scale. I use a scale now and I’ll never go back.
- Check for doneness early. Start checking at the 50-minute mark. Every oven runs differently, and nothing is worse than an overbaked loaf. A toothpick inserted in the center should come out clean or with just a few moist crumbs, not wet batter.
- Let it rest overnight for better flavor. The pumpkin and spice flavors deepen after the bread sits for a day. If you can wait, wrap the cooled loaf in plastic wrap and leave it on the counter overnight. Slice it the next morning and you’ll taste the difference.
One more thing — if your bread sinks in the middle after baking, it’s usually because the batter was overmixed or the oven temperature was too low. Make sure your oven is fully preheated before you put the bread in. An oven thermometer is a cheap investment that saves a lot of heartache.
Variations & Adaptations
This recipe is flexible, and I’ve tried several variations. Here are the ones that worked best:
- Whole wheat version — Replace half the all-purpose flour with whole wheat flour. The bread will be denser and heartier, with a nuttier flavor. Add an extra tablespoon of milk or water if the batter feels too thick.
- Gluten-free option — Use a 1:1 gluten-free baking flour blend that contains xanthan gum. I’ve tested this with Bob’s Red Mill 1:1 and it worked well. The crumb was a little more delicate, but the flavor was still there.
- Add chocolate chips — Fold in ½ cup of semi-sweet chocolate chips along with the dry ingredients. The chocolate adds richness and pairs surprisingly well with the pumpkin and spice. My kids loved this version.
- Nutty crunch — Add ½ cup of chopped pecans or walnuts to the batter. Toast them first for extra flavor. Sprinkle a few on top before baking for a prettier loaf.
- Dairy-free adaptation — Use a neutral oil instead of butter and make sure your discard was fed with water, not milk. The recipe is already dairy-free as written, but if you want to add buttermilk flavor, you can substitute ¼ cup of the pumpkin puree with dairy-free yogurt.
- Lower sugar option — Reduce the granulated sugar to ⅓ cup and the brown sugar to 2 tablespoons. The bread will be less sweet but still moist and flavorful. Add an extra teaspoon of vanilla to compensate.
I personally love the version with toasted pecans and a handful of dark chocolate chips. It feels like a treat without being over the top. But the plain version is just as good — especially with a thick smear of salted butter.
Serving & Storage Suggestions
This bread is versatile. Here’s how to serve it and keep it fresh:
- Serving temperature — Room temperature is best. If you want to warm it up, toast a slice in a skillet with a little butter for about 2 minutes per side. The edges get crispy while the inside stays soft.
- What to serve with it — A pat of salted butter is classic. Cream cheese or honey butter also works. For a more indulgent breakfast, top a slice with a dollop of Greek yogurt and a drizzle of maple syrup.
- Storage at room temperature — Wrap the cooled loaf tightly in plastic wrap or store it in an airtight container. It will stay fresh for up to 3 days at room temperature. After that, it starts to dry out.
- Refrigerator storage — If you live in a warm climate, you can store it in the fridge for up to 5 days. Wrap it well to prevent it from absorbing fridge odors. Let slices come to room temperature before serving.
- Freezer storage — This bread freezes beautifully. Slice it first, then wrap each slice individually in plastic wrap and place them in a freezer bag. They’ll keep for up to 3 months. To thaw, just leave a slice on the counter for 30 minutes or pop it in the toaster.
- Reheating — The toaster is your best friend here. Toast frozen slices directly from the freezer for about 3-4 minutes. The outside gets slightly crisp while the inside stays soft. It’s almost better than fresh.
I’ve found that the bread actually tastes better on day two. The flavors meld together and the texture evens out. So don’t be afraid to make it a day ahead if you’re serving it for a brunch or gathering.
Nutritional Information & Benefits
Here’s an approximate nutritional breakdown per slice (based on 10 slices):
- Calories: 220
- Fat: 8g
- Carbohydrates: 34g
- Fiber: 2g
- Sugar: 16g
- Protein: 4g
These values will vary depending on the exact ingredients you use. If you reduce the sugar or swap in whole wheat flour, the numbers will shift. I’m not a nutritionist, but I can tell you this bread is a better choice than most store-bought quick breads, which are loaded with preservatives and extra sugar.
Pumpkin is packed with vitamin A and fiber, and sourdough discard is easier to digest than regular flour because the fermentation process breaks down some of the gluten. It’s not a health food, but it’s a reasonable indulgence. And honestly, that’s good enough for me.
Conclusion
This easy pumpkin sourdough discard bread became my go-to fall recipe for a simple reason — it works. It uses ingredients I already have, comes together in one bowl, and produces a loaf that’s tender, flavorful, and just sweet enough. No fussy techniques, no special equipment, no planning ahead. Just good bread that makes your kitchen smell amazing.
I’ve made this loaf more times than I can count, and it never gets old. The pumpkin keeps it moist, the discard adds that subtle tang, and the spices wrap everything in warmth. It’s the kind of bread you make on a lazy Sunday afternoon and then find yourself reaching for all week long.
If you try this recipe, I’d love to hear how it went. Leave a comment below and let me know if you made any changes — did you add chocolate chips? Swap the flour? Use a different spice blend? I’m always curious how other people make a recipe their own. Happy baking, friends.
Frequently Asked Questions
Can I use active sourdough starter instead of discard?
Yes, you can. If you use active starter, the bread will rise a little more and have a milder sour flavor. Reduce the baking soda to ¾ teaspoon since active starter is less acidic than discard. The texture will be slightly lighter but still delicious.
Why did my bread sink in the middle?
A sunken middle usually means the batter was overmixed or the oven wasn’t hot enough. Overmixing develops too much gluten, which traps air and then collapses. Make sure your oven is fully preheated to 350°F before baking. An oven thermometer helps.
Can I make this without a loaf pan?
Absolutely. You can bake the batter in an 8×8-inch square pan for about 35-40 minutes, or in a muffin tin for 18-22 minutes. The baking time will vary, so start checking early. Muffins are great for portion control and freeze really well.
How do I know when the bread is done baking?
Insert a toothpick or skewer into the center of the loaf. If it comes out clean or with just a few moist crumbs, it’s done. If there’s wet batter on the toothpick, bake for another 5 minutes and check again. The top should also be golden brown and spring back when lightly pressed.
Can I add nuts or dried fruit to this recipe?
Yes, and I encourage it. Fold in ½ cup of chopped pecans, walnuts, or dried cranberries along with the dry ingredients. If you’re using dried fruit, toss it in a little flour first to prevent it from sinking to the bottom of the loaf. Toast the nuts beforehand for better flavor.
Pin This Recipe!
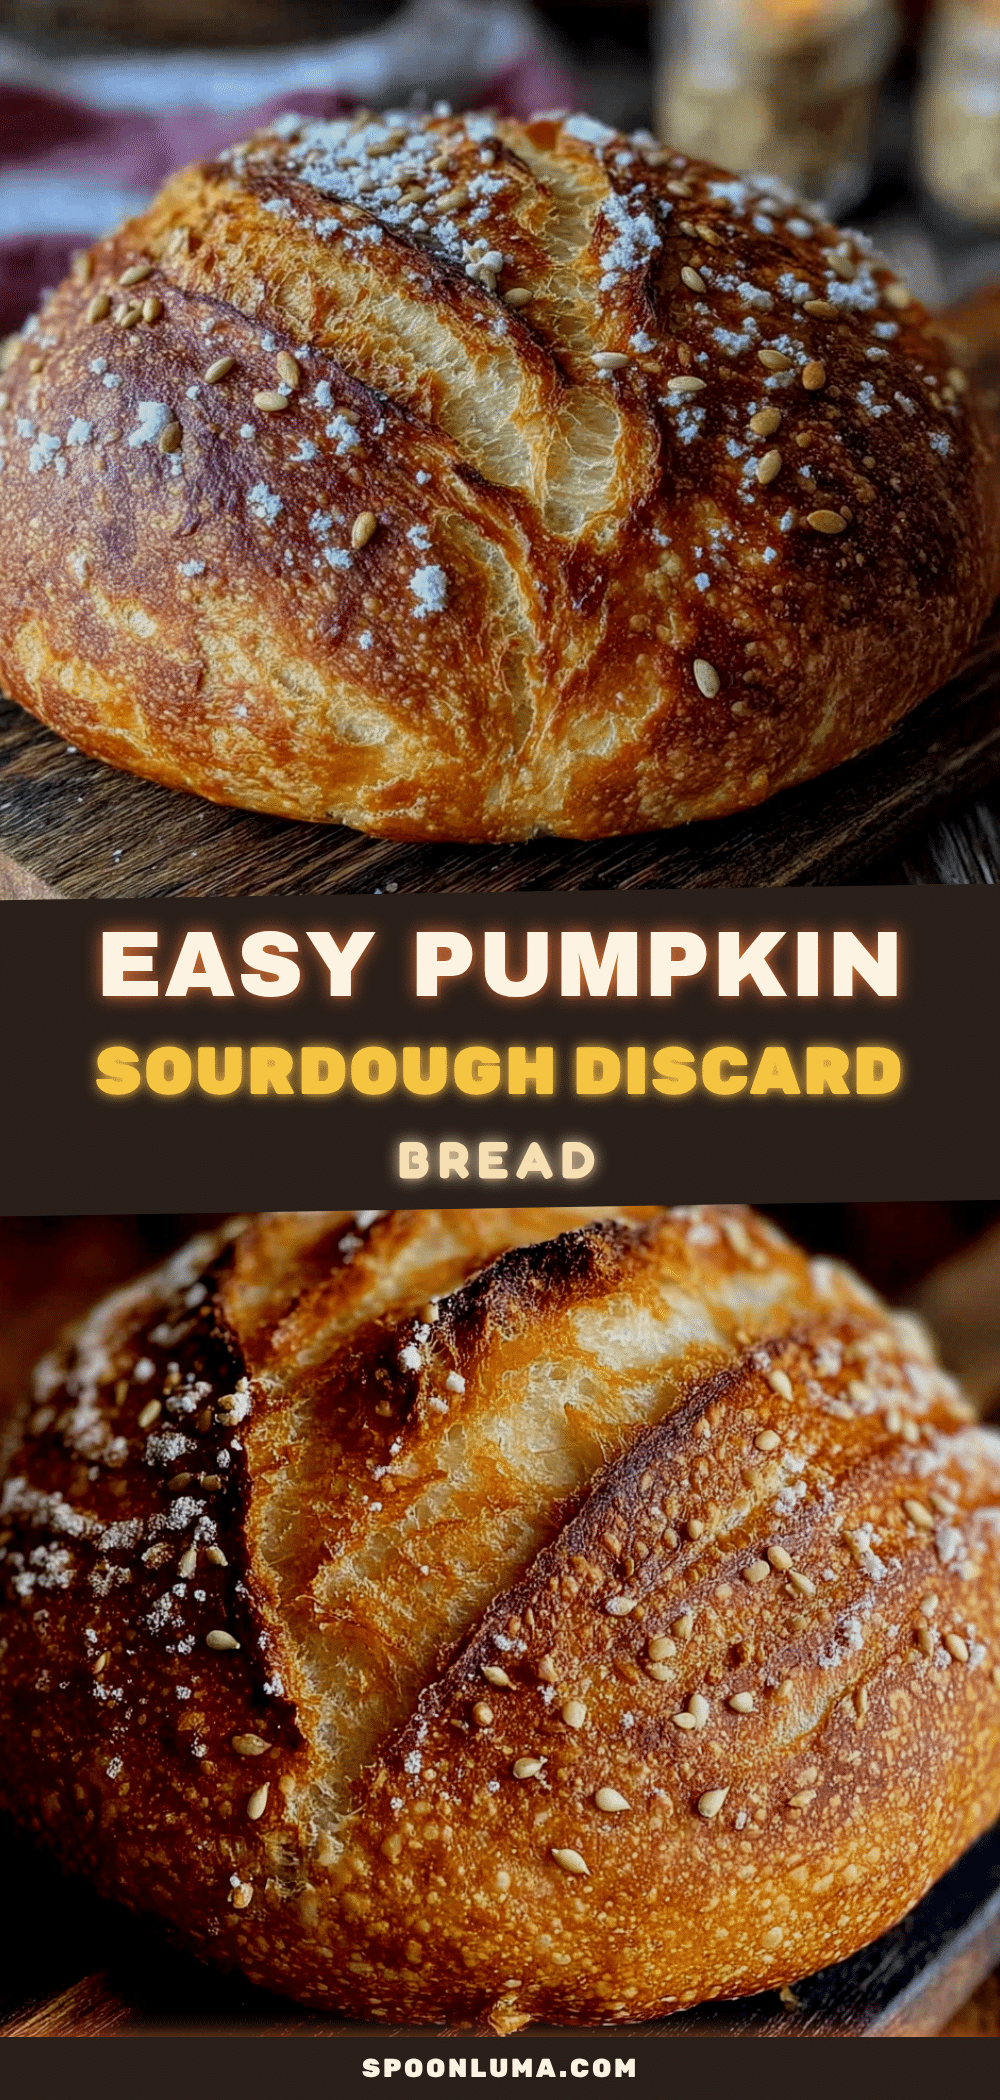
Easy Pumpkin Sourdough Discard Bread: Best Quick Recipe
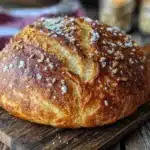
This easy pumpkin sourdough discard bread is tender, flavorful, and just sweet enough. It uses up sourdough discard and pumpkin puree, comes together in one bowl, and produces a moist loaf that’s perfect for fall.
- Prep Time: 15 minutes
- Cook Time: 55 minutes
- Total Time: 1 hour 10 minutes
- Yield: 10 servings 1x
- Category: Quick Bread
- Cuisine: American
Ingredients
- 1 cup (240g) pumpkin puree (not pumpkin pie filling)
- 1 cup (240g) sourdough discard, unfed and cold
- 1 ¾ cups (220g) all-purpose flour
- ½ cup (100g) granulated sugar
- ¼ cup (50g) brown sugar, packed
- 2 large eggs, room temperature
- ⅓ cup (80ml) vegetable oil
- 2 teaspoons pumpkin pie spice
- 1 teaspoon baking soda
- ½ teaspoon baking powder
- ½ teaspoon salt
- 1 teaspoon vanilla extract (optional)
Instructions
- Preheat the oven to 350°F (175°C). Position the rack in the center. Line a 9×5-inch loaf pan with parchment paper, leaving overhang on the long sides. Lightly grease the exposed sides.
- In a large mixing bowl, whisk together the pumpkin puree, sourdough discard, eggs, oil, and vanilla until smooth and well combined.
- Add both sugars and whisk again, breaking up any lumps of brown sugar.
- In a separate medium bowl, whisk together the flour, pumpkin pie spice, baking soda, baking powder, and salt.
- Pour the dry ingredients into the wet ingredients. Fold gently with a spatula until no streaks of flour remain. Do not overmix; a few small lumps are okay.
- Pour the batter into the prepared loaf pan and spread evenly. Tap the pan gently on the counter to release air bubbles.
- Bake for 50-60 minutes, or until a toothpick inserted in the center comes out clean or with just a few moist crumbs. If the top browns too quickly after 40 minutes, tent loosely with aluminum foil.
- Let the bread cool in the pan for 10 minutes, then lift it out using the parchment paper handles and transfer to a cooling rack. Cool completely before slicing (at least 1 hour).
Notes
Blot watery pumpkin puree with a paper towel before measuring. Use discard at room temperature if possible for better mixing. Measure flour correctly by fluffing, spooning, and leveling. Check for doneness at 50 minutes. For best flavor, let the bread rest overnight before slicing.
Nutrition
- Serving Size: 1 slice
- Calories: 220
- Sugar: 16
- Sodium: 280
- Fat: 8
- Saturated Fat: 1
- Carbohydrates: 34
- Fiber: 2
- Protein: 4
Keywords: pumpkin sourdough discard bread, easy pumpkin bread, sourdough discard recipe, pumpkin quick bread, fall baking