My neighbor’s kid, Leo, ate three of these before I could even get them off the cooling rack. He just stood there, quietly working his way through the stack, and when his mom asked if he liked them, he looked up with orange crumbs all over his chin and said, “Can I have another one for the car?” That’s when I knew I’d stumbled onto something. These Easy Candy Corn Rice Krispie Treats weren’t supposed to be a big deal—I was just messing around with some leftover marshmallows and a bag of candy corn I’d bought on a whim. But watching him go after them like that? That’s the kind of reaction you can’t fake.
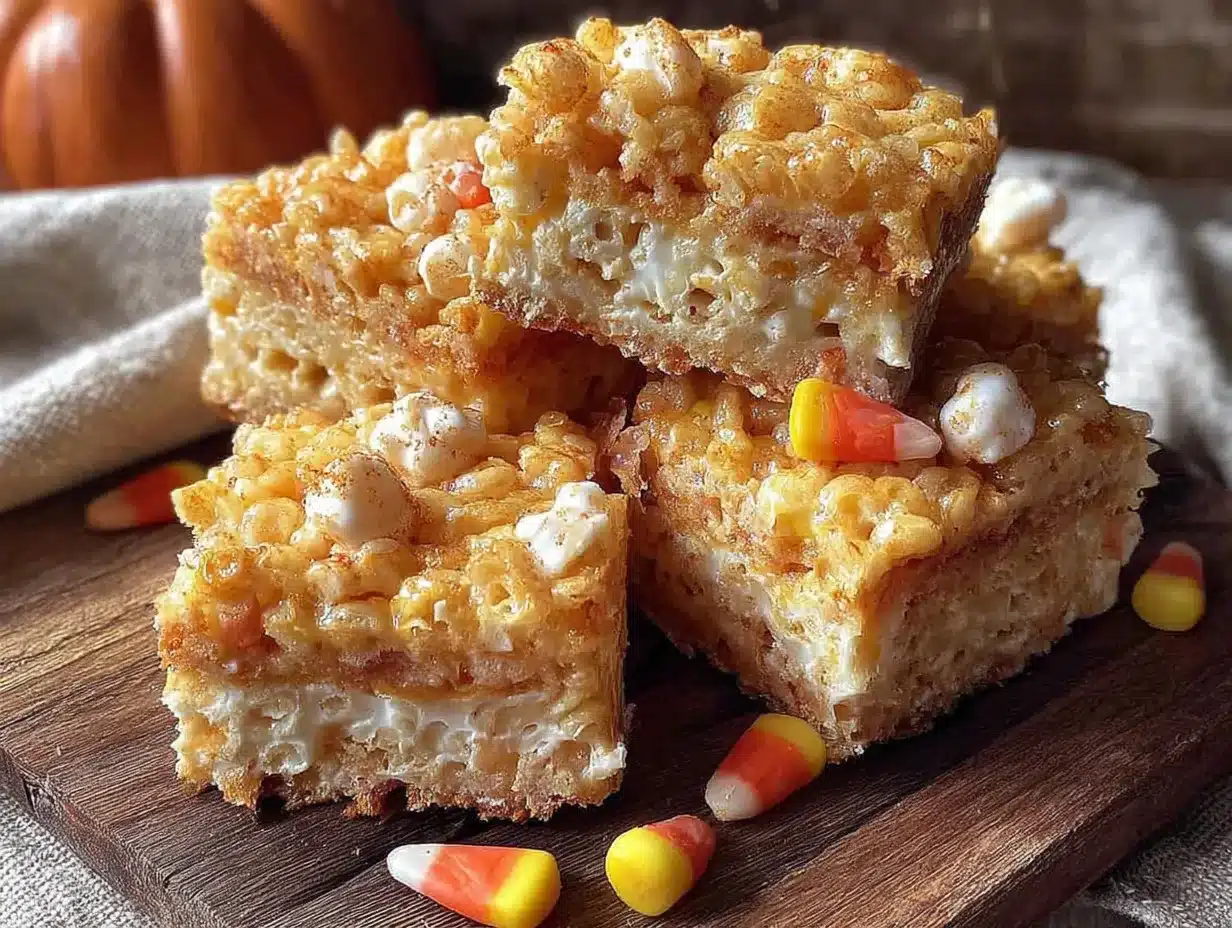
Honestly, I wasn’t even sure the candy corn would work. I mean, it’s candy corn—it’s either a love-it or leave-it thing, right? But melting it into the marshmallow mixture changes everything. It doesn’t just add sweetness; it gives the whole batch this subtle vanilla-honey thing that makes you keep going back for another bite. And the colors? They come out looking like a sunset in bar form. No food coloring needed, no layering fuss. Just one pan, one bowl, and a few minutes of stirring.
These are the kind of treats that make you feel like you pulled off something special without actually doing much work. And honestly, that’s my favorite kind of recipe.
Why You’ll Love This Recipe
- Quick & Easy : From start to finish, these come together in under 15 minutes. No baking, no complicated steps—just melt, stir, and press.
- Simple Ingredients : You only need five ingredients, and three of them are probably already in your pantry. No specialty stores required.
- Perfect for Fall Gatherings : Whether it’s a Halloween party, a Thanksgiving dessert table, or just a cozy afternoon snack, these fit right in.
- Crowd-Pleaser : Kids devour them, adults sneak them, and nobody can eat just one. I’ve seen it happen.
- Unbelievably Delicious : The candy corn melts into the marshmallow base and creates this soft, chewy texture with little pockets of sweetness. It’s next-level comfort food.
What makes these different from regular rice krispie treats is the candy corn. It doesn’t just sit on top looking pretty—it actually melts into the mixture and changes the flavor profile. You get this warm, buttery sweetness that regular marshmallows just can’t pull off on their own. Plus, the natural yellow and orange colors from the candy corn give the bars a gorgeous marbled look without any artificial dye.
These are the treats that make people close their eyes after the first bite. And if you’re anything like me, you’ll find yourself making excuses to whip up another batch just so you can have an extra one while nobody’s watching.
What Ingredients You Will Need
This recipe uses simple, everyday ingredients to deliver big flavor without the fuss. Most of these are pantry staples, so you probably won’t need a special trip to the store.
- Unsalted butter – 3 tablespoons (adds richness and prevents sticking)
- Mini marshmallows – 10 ounces (about 5 cups; I prefer Jet-Puffed for consistent melting)
- Candy corn – 1 cup (use a fresh bag for best texture; stale candy corn gets hard)
- Crispy rice cereal – 6 cups (Kellogg’s Rice Krispies work best, but any store brand is fine)
- Vanilla extract – 1 teaspoon (pure vanilla adds warmth, but imitation works too)
- Salt – a pinch (optional, but it balances the sweetness beautifully)
Ingredient Tips & Substitutions
- For a dairy-free version, use vegan butter or coconut oil. The texture will be slightly different, but still delicious.
- If you can’t find mini marshmallows, large ones work—just cut them into smaller pieces before melting so they melt evenly.
- Want extra crunch? Add ½ cup of chopped peanuts or pretzel pieces when you stir in the cereal.
- For a gluten-free option, make sure your crispy rice cereal is certified gluten-free. Some brands use malt flavoring that contains gluten.
- I recommend Brach’s candy corn for the best melt and flavor. Some generic brands don’t soften as well and leave hard chunks.
Equipment Needed
- Large saucepan or Dutch oven – You need room to stir everything without spilling. A 4-quart pot works perfectly.
- Wooden spoon or silicone spatula – Metal spoons can scratch nonstick pans. Silicone is my go-to because nothing sticks to it.
- 9×13-inch baking dish – Standard size for thick, satisfying bars. If you want thinner treats, use a 10×15-inch jelly roll pan.
- Parchment paper – Line your dish with this, and cleanup becomes a breeze. Plus, it helps lift the whole block out for easy cutting.
- Measuring cups and spoons – Accuracy matters, especially with the cereal-to-marshmallow ratio.
- Sharp knife – A chef’s knife or a long serrated knife works best for clean cuts. A butter knife will squish the bars.
Budget-Friendly Alternatives
- No parchment paper? Grease the dish generously with butter or nonstick spray.
- No 9×13 dish? A 9×9 square pan works; your bars will just be thicker. Reduce the cereal to 4 cups for a better ratio.
Preparation Method
- Prep your pan. Line a 9×13-inch baking dish with parchment paper, leaving some overhang on two sides. Lightly grease the paper with butter or nonstick spray. This step saves you from scraping stuck-on marshmallow later.
- Melt the butter. In a large saucepan over medium-low heat, melt 3 tablespoons of unsalted butter. Swirl the pan occasionally so it melts evenly. Don’t rush this—if the butter burns, the whole batch will taste off.
- Add the marshmallows. Pour in 10 ounces of mini marshmallows and stir constantly. They’ll start to soften and puff up. Keep stirring until they’re completely smooth and glossy. This takes about 3–4 minutes. If you see any lumps, keep stirring—they’ll smooth out.
- Stir in the candy corn. Add 1 cup of candy corn and stir for another 1–2 minutes. At first, it’ll look like the candy corn isn’t doing anything. Then it starts to soften and streak the marshmallow mixture with orange and yellow. Keep stirring until it’s mostly melted, but don’t worry if a few tiny pieces remain—they’ll add little pops of sweetness later.
- Add vanilla and salt. Stir in 1 teaspoon of vanilla extract and a pinch of salt. The vanilla will make the whole kitchen smell amazing. The salt cuts the sweetness just enough to keep you from hitting a sugar wall.
- Fold in the cereal. Remove the pan from heat. Add 6 cups of crispy rice cereal and fold gently with a silicone spatula. Work from the bottom up, turning the mixture over itself. Don’t stir too aggressively or you’ll crush the cereal. It should look evenly coated but still have some texture.
- Press into the pan. Scrape the mixture into your prepared dish. Lightly grease your hands or the back of a spatula with butter or nonstick spray, then press the mixture into an even layer. Don’t smash it flat—you want some air pockets for that signature crunch. If you press too hard, the bars will be dense and hard.
- Let them set. Let the treats cool at room temperature for at least 30 minutes. Don’t rush this—warm bars are impossible to cut cleanly. If you’re in a hurry, pop the pan in the fridge for 15 minutes.
- Cut and serve. Lift the whole block out using the parchment overhang. Use a sharp knife to cut into squares or rectangles. Wipe the knife clean between cuts for neat edges. Aim for 12 large bars or 24 smaller ones.
Cooking Tips & Techniques
I’ve made these treats more times than I care to admit, and I’ve learned a few things the hard way. Here’s what I wish someone had told me.
Low and slow is the rule. I once cranked the heat to high because I was impatient, and the marshmallows turned into a brown, scorched mess. Keep the heat on medium-low and stir constantly. Patience pays off in smooth, creamy results.
Fresh candy corn matters. Stale candy corn gets hard and won’t melt properly. If your bag has been sitting in the pantry since last Halloween, buy a new one. Fresh candy corn softens and blends into the marshmallow mixture like a dream.
Wet your hands. When pressing the mixture into the pan, wet your hands with cold water or grease them with butter. The mixture is sticky, and this trick prevents it from clinging to your fingers. Works every time.
Don’t overmix. Once the cereal goes in, fold just until everything is coated. Overmixing crushes the cereal and gives you dense, tough bars. You want them light and airy.
Let them cool completely. I know it’s hard to wait, but cutting warm bars is a disaster. They’ll stick to the knife and fall apart. Give them a full 30 minutes at room temperature, and you’ll get clean, beautiful squares.
If they get too hard. Did your bars turn into bricks overnight? Microwave them for 10–15 seconds. It softens them right up and makes them chewy again.
Variations & Adaptations
One of the best things about this recipe is how easy it is to tweak. Here are a few variations I’ve tried and loved.
Chocolate Drizzle : Melt ½ cup of semi-sweet chocolate chips with 1 teaspoon of coconut oil, then drizzle it over the cooled bars. The chocolate and candy corn combo is surprisingly good—like a fancy candy bar you’d pay too much for at a bakery.
Peanut Butter Swirl : Stir ¼ cup of creamy peanut butter into the marshmallow mixture right after you add the candy corn. The peanut butter adds a savory note that balances the sweetness. I made this version for a potluck, and it disappeared in five minutes.
Fall Spice Version : Add ½ teaspoon of pumpkin pie spice or cinnamon when you stir in the vanilla. It gives the treats a warm, cozy flavor that screams autumn. Pair this with a mug of hot apple cider, and you’ve got the perfect fall afternoon.
Vegan Option : Use vegan butter and vegan marshmallows (Dandies brand works well). The texture will be slightly different, but the taste is still fantastic. Candy corn is typically vegan, so you’re good there.
Gluten-Free Adaptation : Most crispy rice cereals are gluten-free, but double-check the label. Some brands use malt flavoring. Swap in a certified gluten-free cereal, and you’re all set.
Extra Crunchy : Add ½ cup of salted pretzel pieces or chopped peanuts when you fold in the cereal. The salty crunch plays beautifully against the sweet marshmallow base.
Serving & Storage Suggestions
These treats are best served at room temperature. The texture is soft and chewy, with just enough crunch to keep things interesting. If you’ve added a chocolate drizzle, let it set completely before serving so it doesn’t smear everywhere.
Presentation Ideas
- Stack them on a cake stand for a Halloween party centerpiece.
- Cut them into small triangles and arrange them like candy corn pieces on a platter.
- Wrap individual bars in cellophane bags with a twist tie for party favors or lunchbox treats.
What to Serve With Them
- A cold glass of milk—classic for a reason.
- Hot apple cider or pumpkin spice latte for a cozy fall pairing.
- Vanilla ice cream on the side for an indulgent dessert.
Storage Instructions
- Room Temperature : Store in an airtight container at room temperature for up to 5 days. Layer them with parchment paper so they don’t stick together.
- Refrigerator : Not recommended—the fridge dries them out and makes them hard.
- Freezer : Wrap individual bars tightly in plastic wrap, then place them in a freezer bag. Freeze for up to 3 months. Thaw at room temperature for about 30 minutes before eating.
Reheating Tip
If your treats have been sitting out for a day or two and feel a bit firm, microwave them for 10 seconds. They’ll soften right up and taste almost fresh from the pan.
Nutritional Information & Benefits
Let’s be honest—these are a treat, not a health food. But knowing what’s in them helps you enjoy them mindfully.
Estimated Nutritional Values (per 1/12th of recipe)
- Calories: 210
- Fat: 4g
- Saturated Fat: 2.5g
- Carbohydrates: 44g
- Sugar: 28g
- Fiber: 0g
- Protein: 1g
- Sodium: 115mg
Health Considerations
- This recipe is naturally gluten-free if you use certified gluten-free cereal.
- It contains dairy from the butter, but you can easily swap in vegan butter.
- Candy corn is typically free of common allergens like nuts, eggs, and soy, but always check the label.
Personal Wellness Note
I’m not here to tell you these are healthy. They’re sweet, buttery, and absolutely worth every bite. The way I see it, food is about joy and connection. A batch of these treats shared with friends or family is a small act of love. And that’s pretty good for your soul, even if it’s not great for your waistline.
Conclusion
These Easy Candy Corn Rice Krispie Treats are the kind of recipe that feels like a secret weapon. They’re ridiculously simple, come together in minutes, and somehow manage to impress everyone who tries them. The candy corn melts into the marshmallow base and creates this warm, buttery sweetness that regular treats just can’t match. Plus, the natural orange and yellow streaks make them look like you put way more effort into them than you actually did.
I love this recipe because it’s forgiving. You can tweak it, add to it, or leave it exactly as written, and it always turns out great. It’s the kind of thing you can make with kids on a rainy afternoon or whip up at the last minute for a Halloween party.
If you try these, let me know how they turn out. Did you add chocolate? Peanut butter? Did your kids eat three before you could stop them? Drop a comment below or tag me in your photos—I’d love to see your version. And if you’re looking for more easy treats, check out my Fourth of July Rice Krispie Treat Stars or these Fudgy Chocolate Zucchini Brownies for another quick dessert option.
Happy snacking, friend!
Frequently Asked Questions
Can I use regular-sized marshmallows instead of mini?
Yes, but cut them into smaller pieces first so they melt evenly. Mini marshmallows are easier because they melt faster and more consistently.
Why did my candy corn not melt completely?
Your candy corn might be stale. Fresh candy corn softens and melts into the marshmallow mixture. If your bag has been open for a while, the candy corn can harden and won’t break down properly. Buy a fresh bag for best results.
Can I make these ahead of time?
Absolutely. These treats stay fresh in an airtight container at room temperature for up to 5 days. You can also freeze them for up to 3 months. Just wrap each bar tightly in plastic wrap before freezing.
How do I keep the bars from sticking to the knife when cutting?
Spray your knife with nonstick cooking spray or wipe it with a little butter between cuts. This keeps the marshmallow from clinging and gives you clean, neat edges.
Can I add food coloring to make them brighter?
You can, but the candy corn already gives the treats a beautiful orange and yellow marbled look. If you want more vibrant colors, add a few drops of orange or yellow gel food coloring when you stir in the vanilla.
Pin This Recipe!
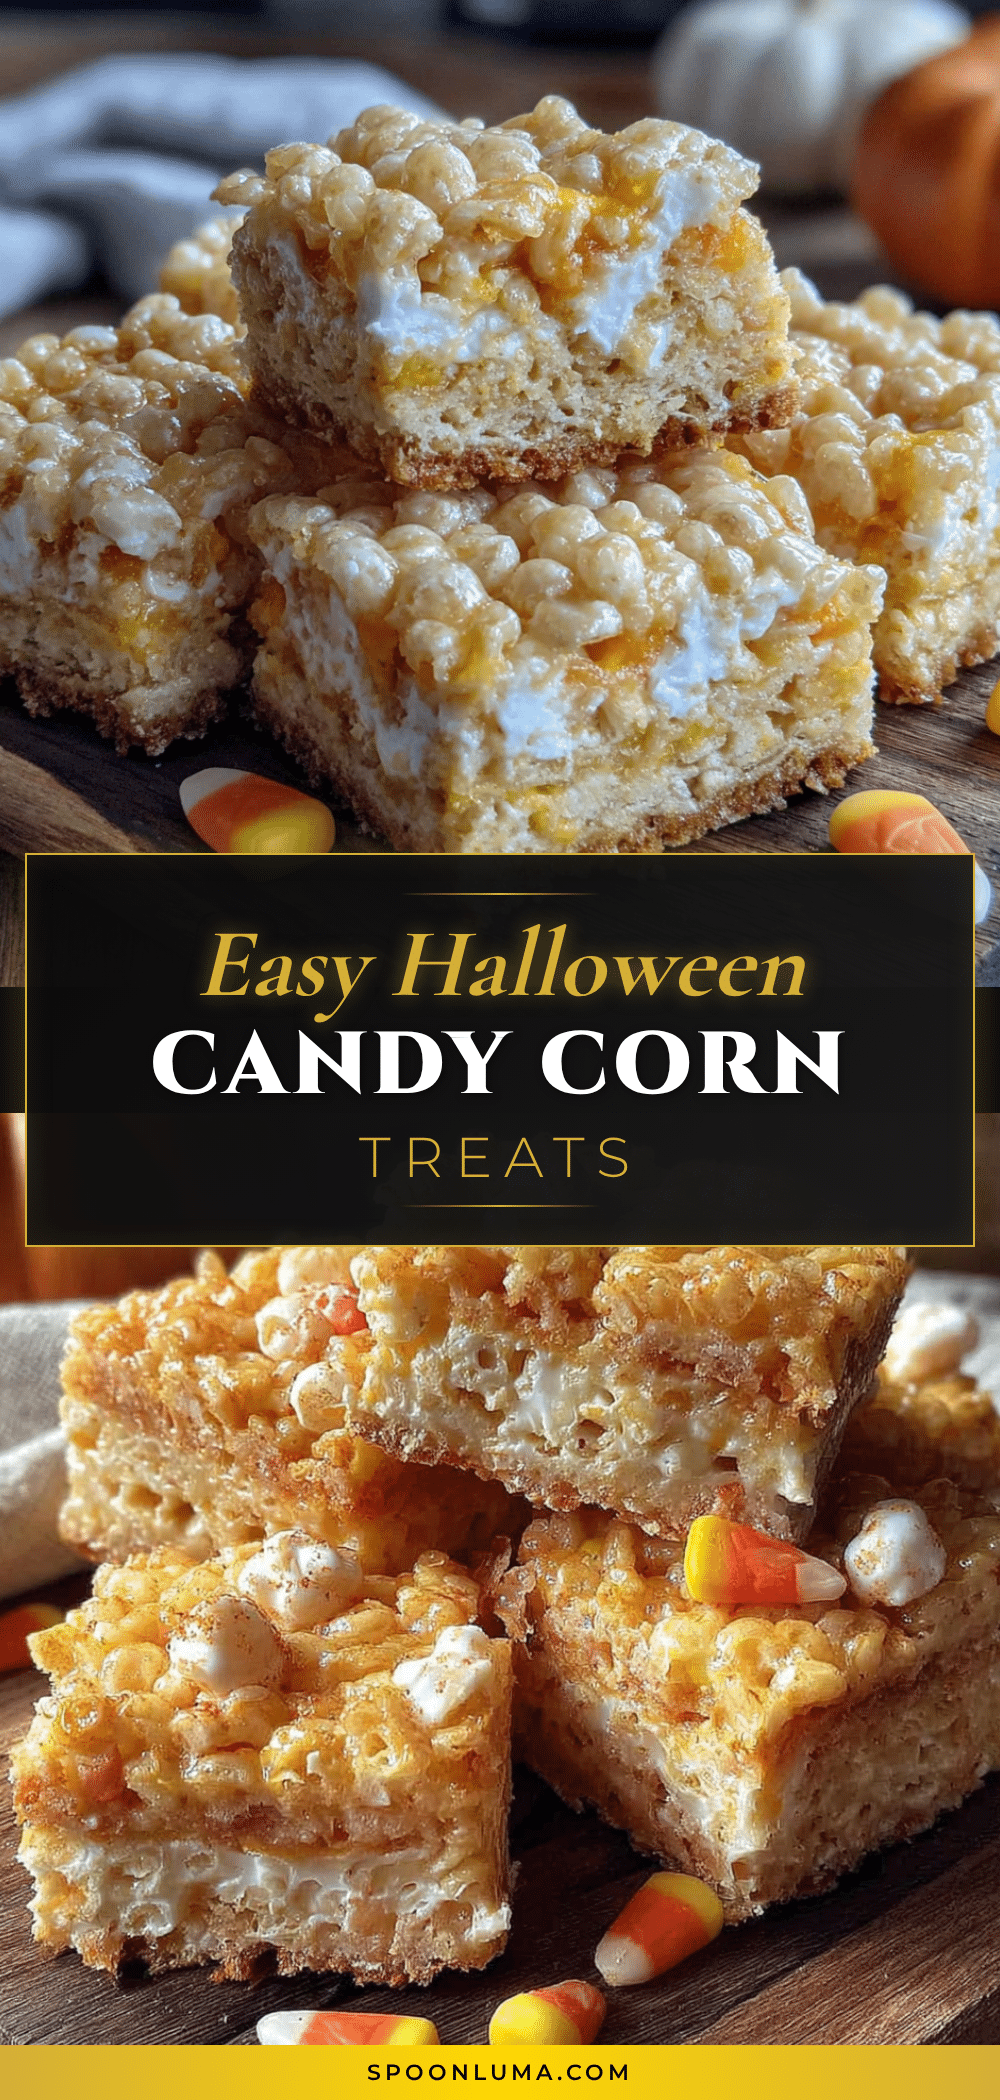
Easy Candy Corn Rice Krispie Treats Recipe

These Easy Candy Corn Rice Krispie Treats are a quick and delicious fall dessert that comes together in under 15 minutes. With just five simple ingredients, the candy corn melts into the marshmallow base for a warm, buttery sweetness and a gorgeous marbled look.
- Prep Time: 5 minutes
- Cook Time: 10 minutes
- Total Time: 15 minutes
- Yield: 12 servings 1x
- Category: Dessert
- Cuisine: American
Ingredients
- 3 tablespoons unsalted butter
- 10 ounces mini marshmallows (about 5 cups)
- 1 cup candy corn
- 6 cups crispy rice cereal
- 1 teaspoon vanilla extract
- a pinch of salt (optional)
Instructions
- Prep your pan. Line a 9×13-inch baking dish with parchment paper, leaving some overhang on two sides. Lightly grease the paper with butter or nonstick spray.
- Melt the butter. In a large saucepan over medium-low heat, melt 3 tablespoons of unsalted butter. Swirl the pan occasionally so it melts evenly.
- Add the marshmallows. Pour in 10 ounces of mini marshmallows and stir constantly until they’re completely smooth and glossy, about 3–4 minutes.
- Stir in the candy corn. Add 1 cup of candy corn and stir for another 1–2 minutes until mostly melted. A few tiny pieces may remain.
- Add vanilla and salt. Stir in 1 teaspoon of vanilla extract and a pinch of salt.
- Fold in the cereal. Remove the pan from heat. Add 6 cups of crispy rice cereal and fold gently with a silicone spatula until evenly coated.
- Press into the pan. Scrape the mixture into your prepared dish. Lightly grease your hands or the back of a spatula, then press into an even layer without smashing flat.
- Let them set. Cool at room temperature for at least 30 minutes, or refrigerate for 15 minutes if in a hurry.
- Cut and serve. Lift the whole block out using the parchment overhang. Use a sharp knife to cut into squares or rectangles. Wipe the knife clean between cuts for neat edges. Aim for 12 large bars or 24 smaller ones.
Notes
Use fresh candy corn for best melting. For dairy-free, use vegan butter or coconut oil. For extra crunch, add ½ cup chopped peanuts or pretzel pieces. If bars get too hard, microwave for 10–15 seconds to soften.
Nutrition
- Serving Size: 1 bar (1/12 of recip
- Calories: 210
- Sugar: 28
- Sodium: 115
- Fat: 4
- Saturated Fat: 2.5
- Carbohydrates: 44
- Protein: 1
Keywords: candy corn rice krispie treats, easy fall dessert, Halloween treats, no-bake dessert, quick dessert


