The slight tackiness on the surface gives way to a crackle that sounds like stepping on dry leaves, and that’s the whole point of these brownies. I made them last October for a friend’s Halloween party, not because I’m particularly crafty with frosting bags, but because I needed something that felt both indulgent and just a little bit mischievous. The brownie itself had to be dense, almost fudgy to the point of being a little stubborn under the fork, because a cakey base would never hold up against a bold citrus frosting. I remember standing in my kitchen, the mixer whirring, and realizing that the orange zest I was grating into the buttercream smelled exactly like the Halloween candy I used to sneak from my brother’s stash—bright, slightly artificial in the best way, and utterly nostalgic. These brownies aren’t trying to be fancy. They’re trying to be the thing you reach for when you want a dessert that feels like a treat, not a project. The frosting is what makes them special, though. It’s not shy about the orange flavor, and it cuts through the richness of the chocolate in a way that makes you take another bite just to confirm the contrast. Honestly, this recipe stuck with me because it solved a problem I didn’t know I had: how to make a Halloween dessert that doesn’t rely on candy corn or food coloring. The orange frosting does all the heavy lifting, and the brownies underneath are just good, solid chocolate. I’ve made them three times since that party, and each time, someone asks for the recipe. That’s usually how I know I’ve landed on something worth sharing.
Why You’ll Love This Recipe
These fudgy Halloween brownies with dreamy orange frosting aren’t just another chocolate dessert—they’re the kind of thing that makes you wonder why you haven’t been pairing chocolate and orange all along. I’ve tested this recipe more times than I care to admit, tweaking the flour ratio and the frosting consistency until it felt just right. Here’s what makes them stand out:
- Quick & Easy: You can have these brownies mixed and in the oven in under 15 minutes. The frosting takes another 10 while they cool. Perfect for last-minute Halloween plans.
- Simple Ingredients: Nothing weird here. Butter, sugar, eggs, cocoa powder, flour, and a couple of oranges. You probably have most of it already.
- Perfect for Halloween Parties: The orange frosting makes them instantly festive without needing elaborate decorations or special molds. A few sprinkles on top and you’re done.
- Crowd-Pleaser: I’ve served these to kids, adults, and that one friend who claims they don’t like sweets. The orange-chocolate combo wins everyone over.
- Unbelievably Delicious: The brownies are dense and fudgy, not cakey. The frosting is light, creamy, and bright with real orange flavor. Together, they’re next-level comfort food.
What makes this version different from every other brownie recipe out there is the balance. Most chocolate-orange desserts lean too hard on one flavor, but here, the cocoa is deep and dark while the orange is fresh and zesty. It’s not just another brownie—it’s your new go-to for fall celebrations. I’ve also found that this recipe works beautifully alongside other seasonal favorites, like my fudgy chocolate zucchini brownies with cream cheese swirl, if you want to offer a variety at your next gathering. This is the kind of dessert that makes you close your eyes after the first bite, not because it’s complicated, but because it’s exactly what you wanted.
What Ingredients You Will Need
This recipe uses simple, wholesome ingredients to deliver that signature fudgy texture and bright citrus frosting. Most of these are pantry staples, which makes it easy to whip up a batch whenever the craving hits.
For the Brownies
- Unsalted butter, melted (1 cup / 226g) – Adds richness and helps create that dense, fudgy crumb. I prefer using European-style butter like Plugrà for a deeper flavor.
- Granulated sugar (1 ¾ cups / 350g) – Provides sweetness and structure. Don’t reduce this, or the brownies won’t have that signature crackly top.
- Large eggs (3, room temperature) – Binds everything together and adds moisture. Room temperature eggs incorporate more easily into the batter.
- Vanilla extract (2 teaspoons) – Enhances the chocolate flavor. Pure vanilla is best, but imitation works in a pinch.
- Unsweetened cocoa powder (¾ cup / 75g) – Use a high-quality Dutch-process cocoa for a deeper, more complex chocolate taste. I recommend Ghirardelli or Valrhona.
- All-purpose flour (1 cup / 120g) – Gives the brownies structure. Spoon and level your flour for accuracy—don’t scoop directly from the bag.
- Salt (½ teaspoon) – Balances the sweetness and intensifies the chocolate flavor.
- Baking powder (¼ teaspoon) – Adds a tiny bit of lift, but not enough to make the brownies cakey.
For the Dreamy Orange Frosting
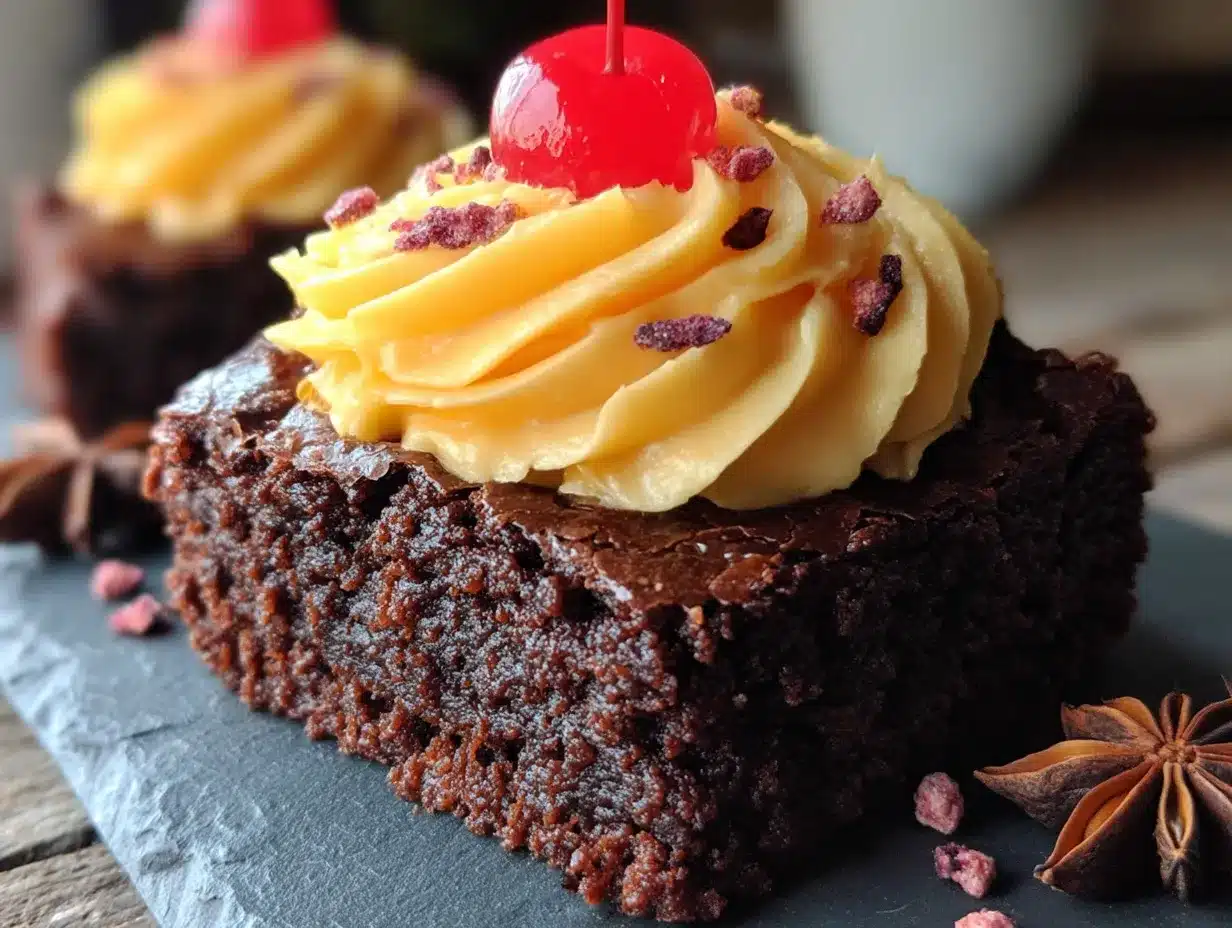
- Unsalted butter, softened (½ cup / 113g) – The base of the frosting. Let it sit at room temperature for about an hour before you start.
- Powdered sugar (2 cups / 240g) – Sweetens and thickens the frosting. Sift it to avoid lumps.
- Fresh orange zest (2 tablespoons, from about 2 oranges) – This is where the flavor comes from. Don’t skip it, and don’t use dried zest.
- Fresh orange juice (2-3 tablespoons) – Adds moisture and acidity. Bottled juice works, but fresh tastes noticeably better.
- Vanilla extract (½ teaspoon) – Rounds out the citrus flavor.
- Pinch of salt – Balances the sweetness.
- Orange food coloring (optional, a few drops) – For that Halloween-orange look. Gel coloring works best and won’t thin the frosting.
For Decoration (Optional)
- Halloween sprinkles – Ghosts, pumpkins, or simple orange and black jimmies.
- Candy eyes – For a spooky touch.
- Mini chocolate chips – A little extra chocolate never hurts.
If you’re looking for a lighter option to serve alongside these brownies, my moist healthy lemon blueberry zucchini bread makes a great breakfast treat the next morning.
Equipment Needed
You don’t need anything fancy to make these brownies, but having the right tools makes the process smoother. Here’s what I use:
- 9×13-inch baking pan – This size gives you thick brownies without them being too tall. A metal pan works best for even baking.
- Parchment paper – Line your pan with it, leaving overhang on two sides. This makes lifting the brownies out a breeze.
- Mixing bowls – You’ll need one large bowl for the brownie batter and one medium bowl for the frosting.
- Whisk – For combining the wet ingredients without overmixing.
- Rubber spatula – For folding in the flour and scraping every last bit of batter into the pan.
- Electric hand mixer or stand mixer – For the frosting. You can do it by hand with a whisk, but your arm will thank you for using a mixer.
- Microplane or fine grater – For zesting the oranges. A regular box grater works, but the zest won’t be as fine.
- Cooling rack – Lets the brownies cool evenly so the frosting doesn’t melt.
- Offset spatula – Makes spreading the frosting smooth and easy. A butter knife works too, but the spatula is worth the few dollars it costs.
If you don’t have an electric mixer, you can cream the butter and sugar for the frosting by hand—it just takes a little more elbow grease. And honestly, a wooden spoon works fine for the brownie batter. I’ve made these in a friend’s kitchen with mismatched bowls and a whisk that was too small, and they still came out perfect.
Preparation Method
Let’s get to the fun part. Follow these steps carefully, and you’ll end up with brownies that are fudgy, flavorful, and topped with that dreamy orange frosting.
Step 1: Preheat and Prep
Preheat your oven to 350°F (175°C). Line your 9×13-inch baking pan with parchment paper, leaving about 2 inches of overhang on the long sides. Lightly grease the parchment with butter or nonstick spray. This step is non-negotiable—without the parchment, you’ll be fighting to get the brownies out of the pan.
Step 2: Make the Brownie Batter
In a large mixing bowl, whisk together the melted butter and granulated sugar until they’re well combined. It should look like wet sand. Add the eggs one at a time, whisking well after each addition. Stir in the vanilla extract. The mixture should be thick, glossy, and slightly lighter in color.
In a separate small bowl, sift together the cocoa powder, all-purpose flour, salt, and baking powder. Sifting is important here—it removes lumps and ensures the cocoa distributes evenly. Gradually fold the dry ingredients into the wet mixture using a rubber spatula. Mix just until you no longer see streaks of flour. Overmixing will make the brownies tough, so stop as soon as it comes together. The batter will be thick and fudgy.
Step 3: Bake the Brownies
Pour the batter into your prepared pan and spread it into an even layer using the spatula. Bake for 25-30 minutes. Start checking at 25 minutes—the brownies are done when a toothpick inserted into the center comes out with a few moist crumbs attached. If it comes out clean, you’ve overbaked them. The edges should look set and slightly pulling away from the pan.
Let the brownies cool completely in the pan on a wire rack. This takes about 1-2 hours. Don’t rush this step. If you frost them while they’re still warm, the frosting will melt into a puddle.
Step 4: Make the Orange Frosting
While the brownies are cooling, make the frosting. In a medium bowl, beat the softened butter with an electric mixer on medium speed until it’s smooth and creamy, about 1-2 minutes. Add the powdered sugar, one cup at a time, beating on low speed to start so it doesn’t puff into a cloud. Add the orange zest, 2 tablespoons of orange juice, vanilla extract, and a pinch of salt. Beat on medium-high speed for 2-3 minutes until the frosting is light, fluffy, and spreadable. If it’s too thick, add another tablespoon of orange juice. If it’s too thin, add a little more powdered sugar.
If you want that Halloween-orange color, add a few drops of orange gel food coloring and beat until it’s evenly distributed. Taste the frosting and adjust—more zest for a stronger orange flavor, more sugar if you want it sweeter.
Step 5: Frost and Decorate
Once the brownies are completely cool, use the parchment overhang to lift them out of the pan and onto a cutting board. Spread the orange frosting evenly over the top using an offset spatula. Add your Halloween sprinkles, candy eyes, or mini chocolate chips while the frosting is still soft. Cut into squares—12 large or 24 small pieces, depending on your crowd.
For a fun variation, you can also cut the brownies into Halloween shapes using cookie cutters before frosting. Just make sure they’re completely cool first.
Cooking Tips & Techniques
I’ve made these brownies enough times to know where things can go wrong. Here are the tips I’ve learned the hard way:
- Don’t overbake. This is the number one mistake people make with fudgy brownies. They look underdone when you pull them out, but they continue to set as they cool. Trust the toothpick test with moist crumbs, not a clean one.
- Use room temperature eggs. Cold eggs can seize the melted butter and make the batter lumpy. If you forgot to take them out of the fridge, place them in a bowl of warm water for 5 minutes.
- Zest before you juice. It’s much easier to zest a whole orange than a squishy, juiced one. Zest the oranges first, then cut them in half and squeeze.
- Sift your powdered sugar. Lumps in the frosting are frustrating to beat out. Sifting takes 30 seconds and saves you from having to pick out clumps later.
- Let the brownies cool completely. I know I said this already, but I mean it. I once tried to speed things up by putting the pan in the fridge, and the frosting still melted because the center was warm. Patience pays off.
- Use a sharp knife to cut. For clean slices, wipe the knife clean between cuts. You can also run the knife under hot water and dry it off before each cut.
I once forgot to add the sugar to the batter. Yes, really. The brownies came out of the oven looking perfect, but they tasted like bitter chocolate sadness. Double-check your ingredients before you start mixing, and you’ll avoid my mistake.
Variations & Adaptations
This recipe is flexible, and I’ve tried several twists over the past few months. Here are some of my favorites:
- Gluten-Free Version: Substitute the all-purpose flour with a 1:1 gluten-free baking flour blend. I’ve used Bob’s Red Mill with great results. The texture is slightly more tender, but still fudgy.
- Dairy-Free Option: Use a plant-based butter substitute for both the brownies and the frosting. Miyoko’s European-style cultured butter works beautifully. The frosting will be a little softer, so pop the frosted brownies in the fridge for 15 minutes before serving.
- Spiced Orange Version: Add 1 teaspoon of cinnamon and ½ teaspoon of nutmeg to the brownie batter. It gives the brownies a warm, fall flavor that pairs beautifully with the orange frosting.
- Chocolate Orange Swirl: Reserve about ¼ cup of the brownie batter before baking. Mix it with 2 tablespoons of melted dark chocolate and dollop it on top of the frosting. Swirl with a toothpick for a marbled effect.
- White Chocolate Drizzle: Melt ½ cup of white chocolate chips with a teaspoon of coconut oil and drizzle it over the frosted brownies. The white chocolate adds a nice contrast to the dark brownie and orange frosting.
- Mini Brownie Bites: Bake the batter in a mini muffin tin lined with paper liners. Reduce the baking time to 12-15 minutes. Frost each bite-sized brownie individually for a party-friendly treat.
If you’re hosting a fall gathering, these brownies pair well with a cozy brown butter banana zucchini bread with cinnamon streusel topping for a dessert spread that covers all the cozy bases.
Serving & Storage Suggestions
These brownies are best served at room temperature, which lets the frosting stay soft and creamy while the brownie keeps its dense, fudgy texture. If you’ve refrigerated them, let them sit out for about 20 minutes before serving. They’re delicious on their own, but a glass of cold milk or a hot cup of coffee makes them even better. For a more indulgent dessert, serve them warm with a scoop of vanilla ice cream and a drizzle of chocolate sauce.
To store, place the brownies in an airtight container at room temperature for up to 3 days. If your kitchen runs warm, store them in the refrigerator to keep the frosting from getting too soft. Layer them between sheets of parchment paper if stacking. For longer storage, freeze the unfrosted brownies for up to 3 months. Wrap them tightly in plastic wrap, then foil. When you’re ready to serve, thaw them in the refrigerator overnight, then bring to room temperature before frosting. The frosting can also be frozen in a sealed container for up to 2 months. Thaw it in the refrigerator and re-whip it before spreading.
The flavors actually get better after a day or two. The orange zest mellows and melds with the chocolate, and the brownies become even fudgier. I’ve been known to hide a few in the back of the fridge just for myself.
Nutritional Information & Benefits
Here’s the estimated nutritional breakdown for one brownie (based on 12 servings):
- Calories: 385
- Total Fat: 22g
- Saturated Fat: 13g
- Cholesterol: 85mg
- Sodium: 190mg
- Total Carbohydrates: 46g
- Dietary Fiber: 2g
- Sugars: 35g
- Protein: 4g
While these are definitely a treat, there are a few bright spots. Cocoa powder is rich in antioxidants and can help improve mood and cognitive function. Oranges are packed with vitamin C, which supports your immune system—especially welcome during cold and flu season. The eggs provide high-quality protein, and the butter, while indulgent, contains fat-soluble vitamins like A and D. This recipe is suitable for vegetarians, but it does contain dairy, eggs, and gluten. For a dairy-free option, see the variations above. I’m not a nutritionist, but I believe that desserts like this have a place in a balanced diet. They’re about joy, celebration, and the simple pleasure of a really good brownie.
Conclusion
These fudgy Halloween brownies with dreamy orange frosting are the kind of recipe that becomes a tradition. They’re simple enough to make on a random Tuesday, but festive enough to steal the show at a Halloween party. The combination of deep, dark chocolate and bright, citrusy orange is one of those flavor pairings that feels both classic and surprising. I love that this recipe doesn’t rely on gimmicks—no artificial colors, no complicated decorations. Just a really good brownie with a really good frosting. I hope you make them for your next gathering, or just because it’s October and you deserve a treat. If you try them, I’d love to hear how they turned out. Leave a comment below, tag me in your photos, or tell me about your own twist on the recipe. Happy Halloween, and happy baking!
Frequently Asked Questions
Can I use store-bought orange juice instead of fresh?
You can, but fresh orange juice gives the frosting a brighter, more authentic flavor. Store-bought juice often has added sugars and preservatives that can make the frosting taste flat. If you’re in a pinch, use bottled juice, but add an extra teaspoon of orange zest to boost the flavor.
Why did my brownies turn out cakey instead of fudgy?
This usually happens for one of two reasons: you overmixed the batter, or you overbaked them. Mix the batter just until the flour disappears, and pull the brownies out of the oven when a toothpick comes out with moist crumbs, not clean. Also, make sure you’re using the correct amount of butter and eggs—too much flour can also make them cakey.
Can I make these brownies ahead of time for a party?
Absolutely. Bake the brownies up to two days in advance and store them in an airtight container at room temperature. Make the frosting the day you plan to serve them, or up to three days ahead and refrigerate it. Let the frosting come to room temperature and re-whip it before spreading. Frost the brownies a few hours before your party for the best texture.
How do I get clean, neat cuts on my brownies?
Use a sharp chef’s knife and wipe it clean with a damp paper towel between each cut. For extra clean slices, run the knife under hot water, dry it off, and make your cut. Repeat this for every slice. Chilling the brownies in the fridge for 30 minutes before cutting also helps the frosting set and reduces dragging.
Can I add chocolate chips or nuts to the brownie batter?
Yes, and I highly recommend it. Fold in 1 cup of semi-sweet chocolate chips, chopped walnuts, or pecans after you’ve mixed the dry ingredients into the wet. The chocolate chips add extra pockets of melted chocolate, and the nuts provide a nice crunch that contrasts with the fudgy texture. Just be gentle when folding so you don’t overmix the batter.
Pin This Recipe!
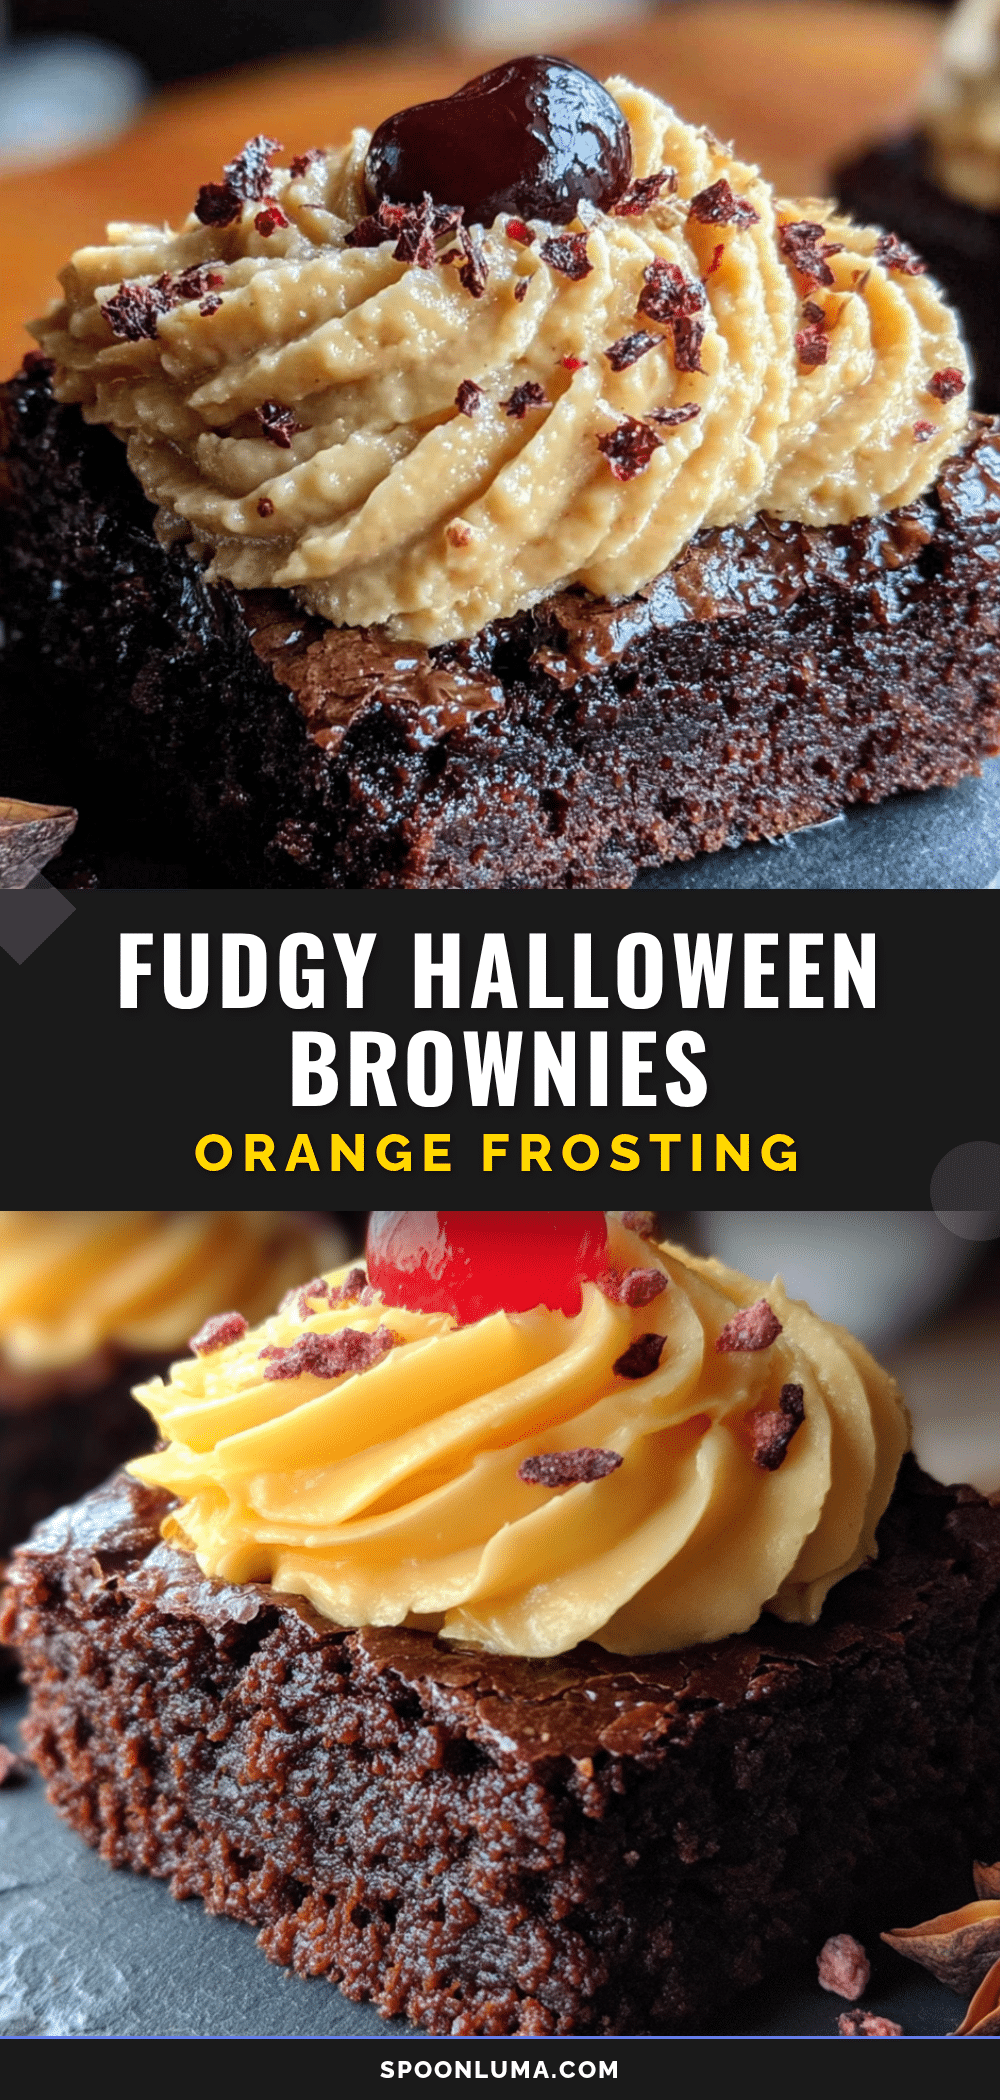
Fudgy Halloween Brownies with Dreamy Orange Frosting
These fudgy Halloween brownies with dreamy orange frosting are dense, rich, and topped with a bright citrus buttercream. Perfect for Halloween parties, they’re quick to make with simple ingredients and deliver a classic chocolate-orange flavor combination.
- Prep Time: 15 minutes
- Cook Time: 30 minutes
- Total Time: 45 minutes
- Yield: 12 servings 1x
- Category: Dessert
- Cuisine: American
Ingredients
- 1 cup (226g) unsalted butter, melted
- 1 ¾ cups (350g) granulated sugar
- 3 large eggs, room temperature
- 2 teaspoons vanilla extract
- ¾ cup (75g) unsweetened cocoa powder (Dutch-process preferred)
- 1 cup (120g) all-purpose flour
- ½ teaspoon salt
- ¼ teaspoon baking powder
- ½ cup (113g) unsalted butter, softened
- 2 cups (240g) powdered sugar, sifted
- 2 tablespoons fresh orange zest (from about 2 oranges)
- 2–3 tablespoons fresh orange juice
- ½ teaspoon vanilla extract
- Pinch of salt
- Orange food coloring (optional, a few drops)
- Halloween sprinkles (optional)
- Candy eyes (optional)
- Mini chocolate chips (optional)
Instructions
- Preheat oven to 350°F (175°C). Line a 9×13-inch baking pan with parchment paper, leaving overhang on the long sides. Lightly grease the parchment.
- In a large bowl, whisk together melted butter and granulated sugar until well combined. Add eggs one at a time, whisking well after each. Stir in vanilla extract.
- In a separate small bowl, sift together cocoa powder, flour, salt, and baking powder. Gradually fold dry ingredients into wet mixture using a rubber spatula until just combined. Do not overmix.
- Pour batter into prepared pan and spread evenly. Bake for 25-30 minutes, until a toothpick inserted in the center comes out with a few moist crumbs. Cool completely in the pan on a wire rack (1-2 hours).
- For the frosting: In a medium bowl, beat softened butter with an electric mixer on medium speed until smooth and creamy (1-2 minutes). Add powdered sugar one cup at a time, beating on low speed. Add orange zest, 2 tablespoons orange juice, vanilla extract, and salt. Beat on medium-high for 2-3 minutes until light and fluffy. Add more orange juice if too thick, or more powdered sugar if too thin. Add food coloring if desired.
- Once brownies are completely cool, lift them out using parchment overhang. Spread frosting evenly over the top. Add sprinkles, candy eyes, or chocolate chips while frosting is soft. Cut into squares and serve.
Notes
Don’t overbake; brownies continue to set as they cool. Use room temperature eggs. Zest oranges before juicing. Sift powdered sugar to avoid lumps. Let brownies cool completely before frosting. For clean cuts, wipe knife between slices.
Nutrition
- Serving Size: 1 brownie
- Calories: 385
- Sugar: 35
- Sodium: 190
- Fat: 22
- Saturated Fat: 13
- Carbohydrates: 46
- Fiber: 2
- Protein: 4
Keywords: Halloween brownies, fudgy brownies, orange frosting, chocolate orange brownies, Halloween dessert, easy brownie recipe


