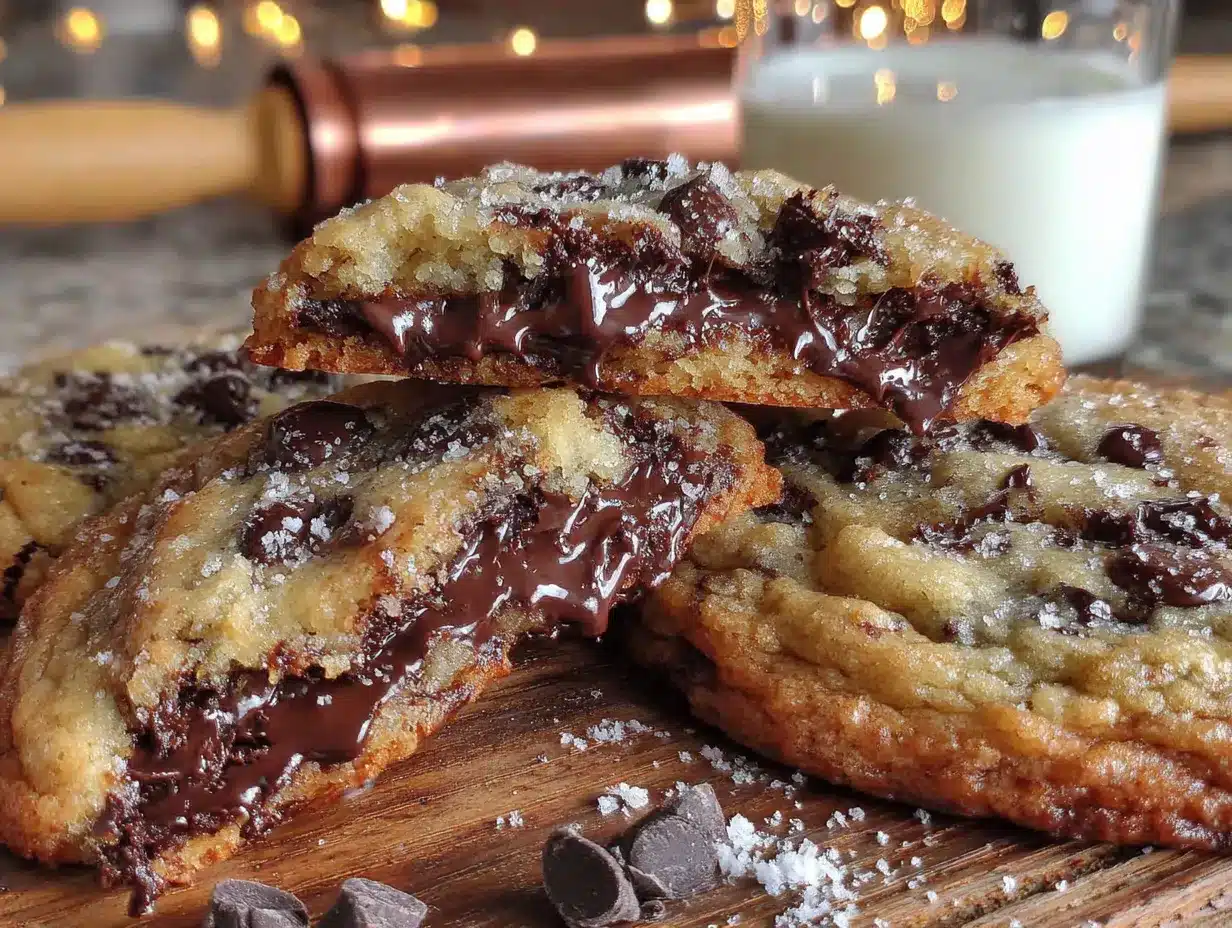
I did not trust butter that was melted, not creamed, in a chocolate chip cookie recipe. It sounded like a shortcut that would cheat you out of that signature bakery-style lift, the kind with a crackly top and a center that stays soft for days. For years, I stood firm—cold butter, room temperature eggs, the whole ten-minute creaming ritual. Then one afternoon, running late for a potluck and out of softened butter, I melted a stick out of pure desperation. The cookies came out of the oven looking different, almost flat, and I braced for disappointment. But the first bite stopped me cold. The edges were lacy and crisp, the center was thick and tender, and the flavor—honestly, it tasted like the inside of a high-end bakery. That was the day I stopped being a butter-snob. These Perfect Soft Chewy Bakery-Style Chocolate Chip Cookies are the result of that happy accident, and I have not made cookies the old way since.
Why You Will Love This Recipe
This recipe is the one I turn to when I need a cookie that delivers every single time. I have tested it with different flours, chocolates, and chill times, and it holds up beautifully. Here is why it has earned a permanent spot in my baking rotation.
- Quick & Easy : The dough comes together in about 15 minutes. No waiting for butter to soften, no electric mixer required.
- Simple Ingredients : You probably have everything in your pantry right now. Brown sugar, white sugar, butter, eggs, flour, baking soda, salt, and chocolate chips.
- Perfect for Any Occasion : Great for bake sales, holiday cookie exchanges, after-school snacks, or a late-night craving.
- Crowd-Pleaser : I have brought these to parties, picnics, and family dinners. They vanish every time, and people always ask for the recipe.
- Unbelievably Delicious : The texture is the star—crisp edges, soft centers, and that slight chewiness that makes you reach for another.
- What Makes This Recipe Different : The secret is in the melted butter and the chill time. Melting the butter gives you a denser, chewier cookie, while chilling the dough prevents spreading and deepens the flavor. It is not just another chocolate chip cookie—it is the one that will make you stop looking.
- Emotional Connection : This is the kind of cookie that makes you close your eyes after the first bite. It is comfort in its purest form, warm and familiar, but somehow better than you remembered.
What Ingredients You Will Need
This recipe uses basic ingredients, but how you handle them makes all the difference. Here is everything you need, along with a few notes from my kitchen.
- Unsalted butter, melted and slightly cooled (2 sticks, or 1 cup). I use Land O Lakes, but any good quality butter works. Melting the butter is the key to that chewy texture—do not skip it.
- Brown sugar, packed (1 1/2 cups). Light or dark both work. Dark brown sugar gives a deeper, almost molasses flavor. I prefer dark for these cookies.
- Granulated sugar (1/2 cup). Adds sweetness and helps with spreading.
- Large eggs (2, room temperature). Cold eggs will seize the melted butter. If you forgot to set them out, place them in a bowl of warm water for 5 minutes.
- Vanilla extract (2 teaspoons). Use pure vanilla extract if you can. It makes a noticeable difference in flavor.
- All-purpose flour (3 cups). Spoon and level your flour—do not scoop directly from the bag or you will end up with dry cookies. I recommend Gold Medal or King Arthur.
- Baking soda (1 teaspoon). Make sure it is fresh. Old baking soda will not give you the right lift.
- Salt (1 teaspoon). I use fine sea salt. It balances the sweetness beautifully.
- Semi-sweet chocolate chips (2 cups). I prefer Ghirardelli, but any good quality chip works. You can also chop a dark chocolate bar for bigger, irregular chunks.
- Optional : Flaky sea salt for sprinkling on top before baking. It takes the cookies to another level.
Equipment Needed
You do not need fancy equipment for these cookies. Here is what I use.
- Large mixing bowl : Any bowl works, but a wide, shallow one makes mixing easier.
- Whisk : For combining the wet ingredients.
- Rubber spatula or wooden spoon : For folding in the dry ingredients and chocolate chips.
- Baking sheets : I use two half-sheet pans. If you only have one, let it cool completely between batches.
- Parchment paper or silicone baking mat : Parchment paper is my go-to. It prevents sticking and makes cleanup a breeze.
- Cookie scoop : A 2-tablespoon scoop gives you uniform cookies. If you do not have one, use a spoon and roll the dough into balls.
- Cooling rack : Essential for getting those perfectly crisp edges.
- Plastic wrap : For chilling the dough.
Preparation Method
Follow these steps carefully, and you will have bakery-quality cookies every time.
- Melt the butter : In a small saucepan over low heat, melt the butter completely. Set it aside to cool for 5 minutes. It should be warm, not hot, when you add it to the sugars.
- Combine sugars and butter : In a large bowl, whisk together the melted butter, brown sugar, and granulated sugar until smooth. The mixture should look like wet sand. This takes about a minute.
- Add eggs and vanilla : Whisk in the eggs one at a time, then add the vanilla. The mixture will look glossy and slightly thick. If it looks separated, keep whisking—it will come together.
- Mix dry ingredients : In a separate bowl, whisk together the flour, baking soda, and salt. This ensures the baking soda is evenly distributed.
- Combine wet and dry : Gradually add the dry ingredients to the wet mixture, folding with a rubber spatula. Stop as soon as you no longer see streaks of flour. Overmixing will make the cookies tough.
- Fold in chocolate chips : Add the chocolate chips and fold until evenly distributed. The dough will be thick and slightly sticky.
- Chill the dough : Cover the bowl with plastic wrap and refrigerate for at least 30 minutes, or up to 72 hours. This step is non-negotiable—it prevents spreading and deepens the flavor. I usually chill for 2 hours.
- Preheat the oven : Set your oven to 350°F (175°C). Line two baking sheets with parchment paper.
- Scoop the dough : Use a cookie scoop to portion the dough into 2-tablespoon balls. Place them 2 inches apart on the prepared baking sheets. If you want taller cookies, roll the dough balls into tall cylinders instead of spheres.
- Bake : Bake for 10-12 minutes, rotating the pans halfway through. The edges should be golden brown, but the centers will look slightly underdone and puffy. Do not overbake—they will continue to set on the baking sheet.
- Cool : Let the cookies cool on the baking sheet for 5 minutes, then transfer them to a cooling rack. If you are adding flaky sea salt, sprinkle it on right when they come out of the oven.
Cooking Tips & Techniques
I have made hundreds of batches of these cookies, and I have learned a few things the hard way. Here are my best tips.
- Do not skip the chill time. I once tried to rush this step, and the cookies spread into flat, greasy discs. Chilling solidifies the butter, which means less spreading and a thicker, chewier cookie.
- Use a cookie scoop for even baking. Uniform size means uniform baking. If your cookies are different sizes, some will be overdone while others are underdone.
- Rotate your pans halfway through. Ovens have hot spots. Rotating ensures even browning.
- Underbake slightly. The cookies will look puffy and soft in the center when you pull them out. That is exactly what you want. They will set as they cool.
- Let them cool on the pan. Moving them too early can break them. Five minutes is the sweet spot.
- Use good quality chocolate. Cheap chocolate chips often contain stabilizers that prevent them from melting properly. I stick with Ghirardelli or Guittard.
- If your dough is too sticky to scoop, chill it for an extra 30 minutes. If it is too dry, add a tablespoon of milk.
Variations & Adaptations
This recipe is incredibly versatile. Here are some of my favorite twists.
- Double Chocolate Chip : Replace 1/4 cup of the all-purpose flour with unsweetened cocoa powder. Use white chocolate chips or dark chocolate chunks for a rich, decadent cookie.
- Gluten-Free Option : Substitute the all-purpose flour with a 1:1 gluten-free baking flour blend. I recommend Bob’s Red Mill. The texture will be slightly more delicate, but still delicious.
- Vegan Adaptation : Use vegan butter (like Miyoko’s) and a flax egg (1 tablespoon ground flaxseed mixed with 3 tablespoons water, left to sit for 5 minutes). The cookies will be a bit flatter, but the flavor is still spot on.
- Nutty Chocolate Chip : Add 1 cup of toasted, chopped walnuts or pecans along with the chocolate chips. Toast the nuts first for maximum flavor.
- Sea Salt Caramel : Press a soft caramel candy into the center of each dough ball before baking. Sprinkle with flaky sea salt. The caramel melts into a gooey pocket—absolutely incredible.
- Peppermint Chocolate : Add 1/2 teaspoon of peppermint extract along with the vanilla, and use dark chocolate chips. Perfect for the holidays.
Serving & Storage Suggestions
These cookies are best served warm, when the chocolate is still melty and the edges are crisp. Here is how to store and reheat them.
- Serving Temperature : Room temperature is great, but warm is better. Pop a cookie in the microwave for 10 seconds before serving.
- Presentation : Stack them on a rustic wooden board or a simple white plate. A sprinkle of flaky sea salt on top makes them look bakery-worthy.
- Complementary Dishes : Serve with a cold glass of milk, a scoop of vanilla ice cream, or a cup of strong coffee. They also pair beautifully with a cozy brown butter banana zucchini bread for a dessert spread.
- Storage : Store in an airtight container at room temperature for up to 5 days. Place a slice of bread in the container to keep them soft—the cookies absorb the moisture from the bread.
- Freezing : You can freeze the baked cookies for up to 3 months. Layer them between sheets of parchment paper in a freezer-safe container. Thaw at room temperature.
- Freezing Dough : Scoop the dough into balls, place them on a baking sheet, and freeze until solid. Transfer to a freezer bag. Bake from frozen, adding 2-3 minutes to the baking time.
- Reheating : For a just-baked texture, reheat in a 300°F oven for 5 minutes. The microwave works in a pinch, but the oven gives you back that crisp edge.
- Flavor Development : These cookies actually taste better the next day. The flavors meld together, and the texture becomes even chewier. If you can resist eating them all, let them sit overnight.
Nutritional Information & Benefits
Let us be honest—these are not health cookies. But they are made with real, recognizable ingredients, and that counts for something. Here is the approximate nutritional breakdown per cookie (based on 36 cookies).
- Calories : 180
- Fat : 10g
- Saturated Fat : 6g
- Carbohydrates : 22g
- Sugar : 14g
- Protein : 2g
- Fiber : 1g
- Sodium : 120mg
Health Benefits of Key Ingredients : Dark chocolate is rich in antioxidants and can support heart health. Eggs provide high-quality protein and essential vitamins. Butter, in moderation, contains fat-soluble vitamins like A, D, and E.
Dietary Considerations : This recipe contains gluten, dairy, and eggs. For a gluten-free version, see the variations section. For a vegan version, use the adaptations listed above. If you are looking for a healthier treat, try these healthy zucchini bread with Greek yogurt for a lighter option.
Personal Wellness Perspective : I believe in balance. These cookies are a treat, and they should be enjoyed without guilt. A homemade cookie made with real ingredients is always better than anything processed. Life is too short to skip dessert.
Conclusion
These Perfect Soft Chewy Bakery-Style Chocolate Chip Cookies are the ones I make when I want to impress without stress. They are forgiving enough for beginners and rewarding enough for experienced bakers. The combination of crisp edges, soft centers, and rich chocolate is hard to beat. I love that they start with a moment of panic—melted butter—and end with something truly special. They have become my go-to for bake sales, family gatherings, and quiet evenings at home. I hope you make them your own. Add extra chocolate, swap in different chips, or sprinkle them with sea salt. Whatever you do, do not skip the chill time. If you try this recipe, I would love to hear how it went. Leave a comment below, share your photos, or tell me about your favorite variation. Happy baking, friends.
Frequently Asked Questions
Can I use margarine instead of butter?
I do not recommend it. Margarine has a higher water content, which will make the cookies spread too much and turn out flat. Stick with real butter for the best texture and flavor.
Why did my cookies turn out flat?
Flat cookies usually mean the butter was too warm when you mixed the dough, or you skipped the chill time. Make sure your melted butter is cooled to room temperature, and always chill the dough for at least 30 minutes.
Can I use bread flour instead of all-purpose flour?
Yes, you can. Bread flour has a higher protein content, which will give you a chewier, slightly denser cookie. I have tried it, and it works well if you want an extra-soft texture.
How do I make my cookies look like bakery cookies?
Bakery cookies are tall and thick, with a slightly domed top. To achieve this, roll your dough balls into tall cylinders instead of spheres. Also, chill the dough thoroughly, and do not overbake. The centers should look slightly underdone when you pull them out.
Can I freeze the baked cookies?
Absolutely. Let the cookies cool completely, then layer them between sheets of parchment paper in a freezer-safe container. They will keep for up to 3 months. Thaw at room temperature, or reheat in a 300°F oven for 5 minutes.
Pin This Recipe!
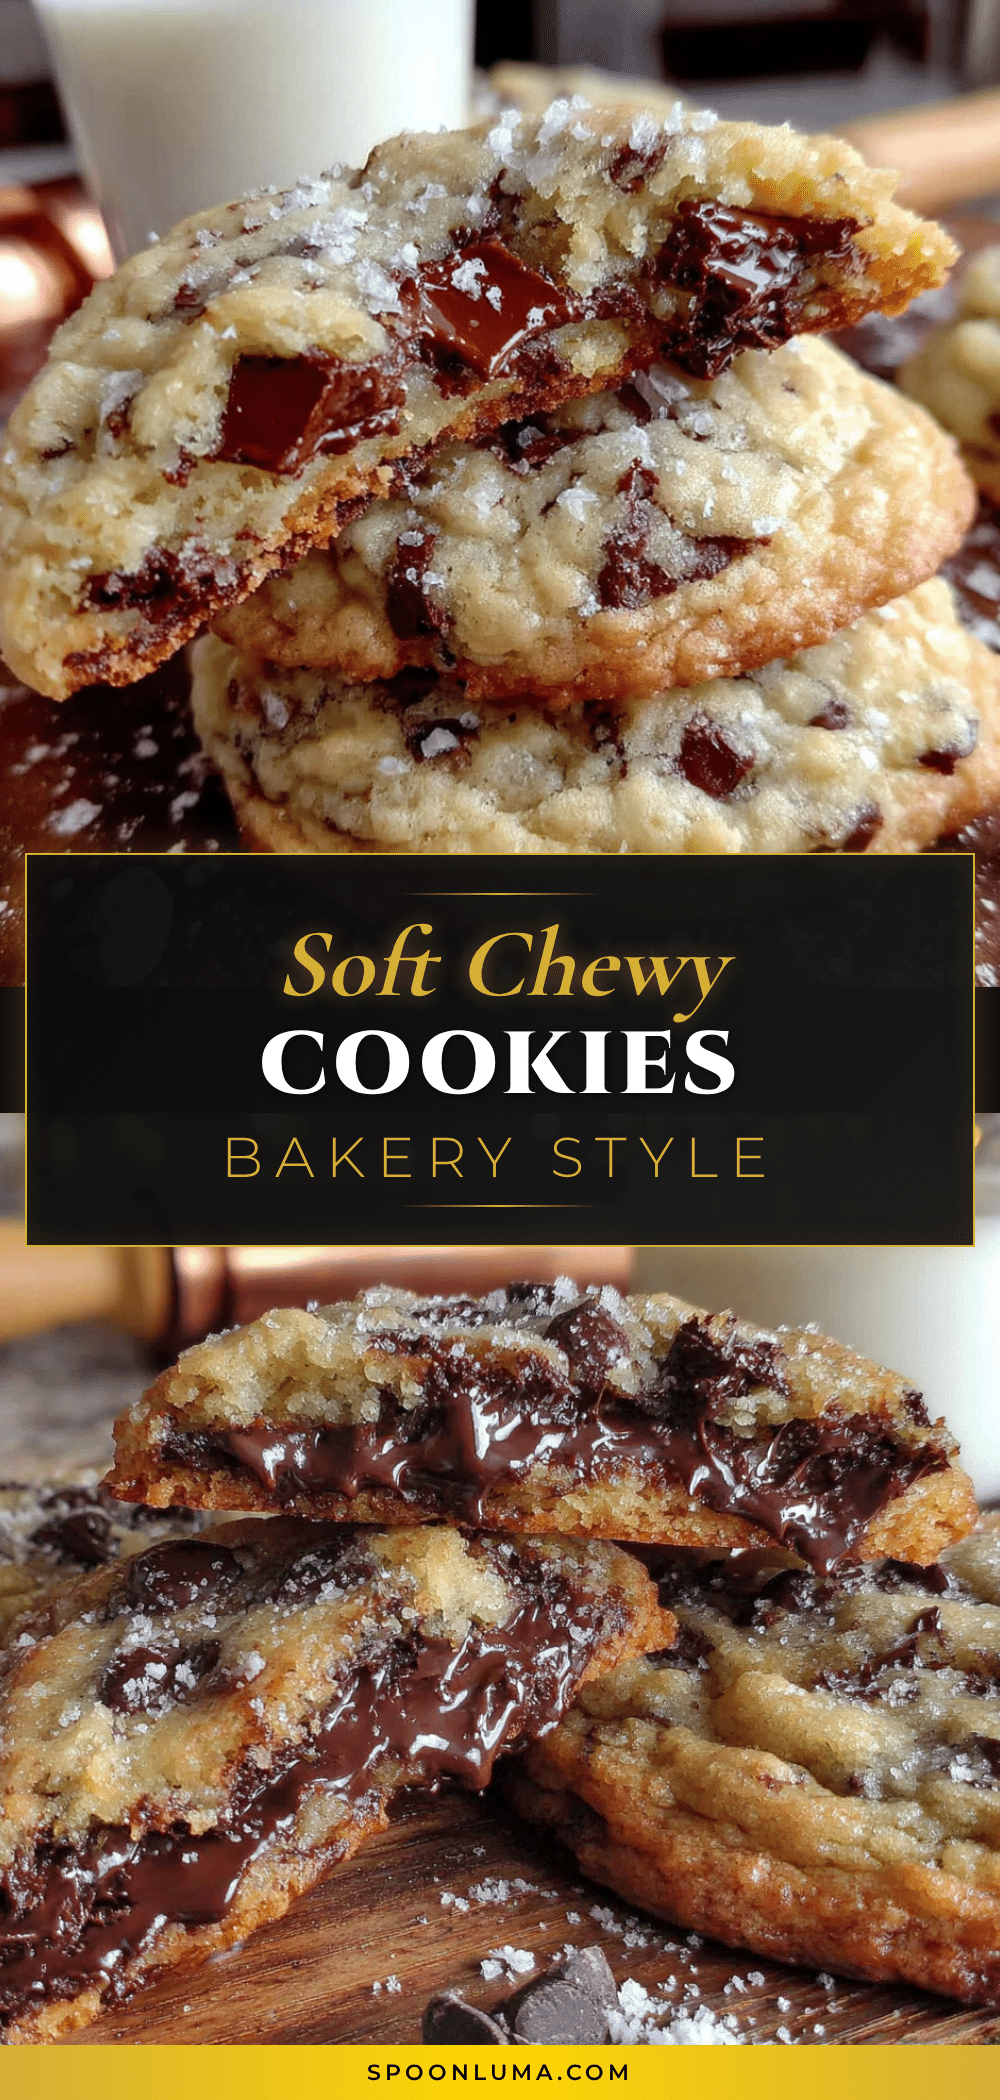
The Best Soft Chewy Bakery-Style Chocolate Chip Cookies
These Perfect Soft Chewy Bakery-Style Chocolate Chip Cookies are the result of a happy accident with melted butter, delivering crisp edges, soft centers, and a rich flavor that tastes like a high-end bakery. They are quick to make, use simple ingredients, and are perfect for any occasion.
- Prep Time: 15 minutes
- Cook Time: 12 minutes
- Total Time: 1 hour 27 minutes (including 1 hour chill time)
- Yield: 36 servings 1x
- Category: Dessert
- Cuisine: American
Ingredients
- 1 cup (2 sticks) unsalted butter, melted and slightly cooled
- 1 1/2 cups packed brown sugar (light or dark)
- 1/2 cup granulated sugar
- 2 large eggs, room temperature
- 2 teaspoons vanilla extract
- 3 cups all-purpose flour, spooned and leveled
- 1 teaspoon baking soda
- 1 teaspoon fine sea salt
- 2 cups semi-sweet chocolate chips
- Flaky sea salt for sprinkling (optional)
Instructions
- Melt the butter in a small saucepan over low heat. Set aside to cool for 5 minutes.
- In a large bowl, whisk together the melted butter, brown sugar, and granulated sugar until smooth (about 1 minute).
- Whisk in the eggs one at a time, then add the vanilla. The mixture should look glossy and slightly thick.
- In a separate bowl, whisk together the flour, baking soda, and salt.
- Gradually add the dry ingredients to the wet mixture, folding with a rubber spatula until just combined. Do not overmix.
- Fold in the chocolate chips until evenly distributed. The dough will be thick and slightly sticky.
- Cover the bowl with plastic wrap and refrigerate for at least 30 minutes (up to 72 hours).
- Preheat the oven to 350°F (175°C). Line two baking sheets with parchment paper.
- Scoop the dough into 2-tablespoon balls and place them 2 inches apart on the prepared baking sheets.
- Bake for 10-12 minutes, rotating the pans halfway through. The edges should be golden brown, but the centers will look slightly underdone and puffy.
- Let the cookies cool on the baking sheet for 5 minutes, then transfer to a cooling rack. Sprinkle with flaky sea salt if desired.
Notes
Do not skip the chill time—it prevents spreading and deepens flavor. Underbake slightly for soft centers. Use good quality chocolate for best results. For taller cookies, roll dough balls into tall cylinders instead of spheres.
Nutrition
- Serving Size: 1 cookie
- Calories: 180
- Sugar: 14
- Sodium: 120
- Fat: 10
- Saturated Fat: 6
- Carbohydrates: 22
- Fiber: 1
- Protein: 2
Keywords: chocolate chip cookies, soft cookies, chewy cookies, bakery-style cookies, easy cookie recipe, homemade cookies


