My friend Jen took one bite of these flaky maple glazed pumpkin scones and just stopped talking. She sat there, chewing slowly, and then asked if she could take the rest home. Honestly, that’s the kind of reaction you don’t plan for. I had been fiddling with this recipe for weeks, trying to get that perfect balance between flaky pastry and soft, tender crumb. I wanted something that tasted like autumn in a single bite, but without the heavy, dense texture that so many pumpkin recipes have. Watching her reaction, I knew I had finally cracked it.
These scones are my go-to for cool mornings when you want something special but don’t feel like fussing with yeast or complicated techniques. They come together in about thirty minutes, which is kind of amazing for something that feels this bakery-worthy. The maple glaze isn’t just a drizzle on top; it seeps into the cracks and crevices, creating little pockets of sweetness in every bite. I’ve made them for brunch, for afternoon coffee breaks, and honestly, for breakfast when I needed a little extra comfort. They never last long.
What gets me every time is the texture. The outside has that slight crunch, that flaky edge that shatters when you bite into it. The inside stays soft and almost pillowy, with just enough pumpkin flavor to feel seasonal without being overwhelming. It’s the kind of recipe that makes you feel like you’ve done something impressive, even though it’s surprisingly simple. And when you smell that combination of pumpkin, cinnamon, and maple wafting through your kitchen, you’ll understand exactly what I mean.
Why You’ll Love This Recipe
Let me tell you why these scones have become my most-requested fall recipe. I’ve tested this more times than I care to admit, and each tweak brought it closer to perfection. Here’s what makes them special:
- Quick & Easy: From start to finish, you’re looking at about 30 minutes. No chilling the dough overnight, no complicated folds. Just mix, shape, bake, and glaze.
- Simple Ingredients: You probably have most of these in your pantry right now. Pumpkin puree, flour, butter, sugar, and maple syrup. No weird specialty items.
- Perfect for Fall Mornings: Whether you’re hosting a brunch or just want a cozy weekend treat, these scones fit right in. They pair beautifully with coffee or tea.
- Crowd-Pleaser: I’ve served these to kids, adults, and even my aunt who claims she doesn’t like pumpkin desserts. She asked for the recipe.
- Unbelievably Flaky: The secret is in how you handle the butter. Cold butter, grated into the flour, creates those delicate layers without any fuss.
What really sets this recipe apart is the technique. Instead of cutting butter into the flour with a pastry blender (which never works as well as I want), I grate frozen butter directly into the flour mixture. It distributes evenly and creates the flakiest texture without overworking the dough. Trust me on this one.
These scones are the kind of treat that makes you close your eyes after the first bite. They’re comfort food reimagined for a busy morning, with all the soul-soothing satisfaction of a bakery pastry but none of the stress. Perfect for impressing guests or just treating yourself to something lovely.
What Ingredients You Will Need
This recipe uses simple, wholesome ingredients to deliver that bakery-quality texture and flavor. Here’s what you’ll need to gather:
For the Scones
- 2 cups all-purpose flour (I prefer King Arthur for consistent results, but any brand works)
- 1/3 cup granulated sugar (adds just enough sweetness without overpowering the pumpkin)
- 1 tablespoon baking powder (make sure it’s fresh for proper rise)
- 1/2 teaspoon baking soda (helps with browning and lift)
- 1/2 teaspoon salt (balances the sweetness)
- 1 teaspoon ground cinnamon
- 1/2 teaspoon ground ginger
- 1/4 teaspoon ground nutmeg
- 1/4 teaspoon ground cloves
- 1/2 cup cold unsalted butter (frozen for grating, this is non-negotiable for flakiness)
- 1/2 cup pumpkin puree (not pumpkin pie filling, just plain puree)
- 1/4 cup heavy cream (adds richness, plus more for brushing tops)
- 1 large egg (room temperature if you remember, but cold works too)
- 1 teaspoon vanilla extract
For the Maple Glaze
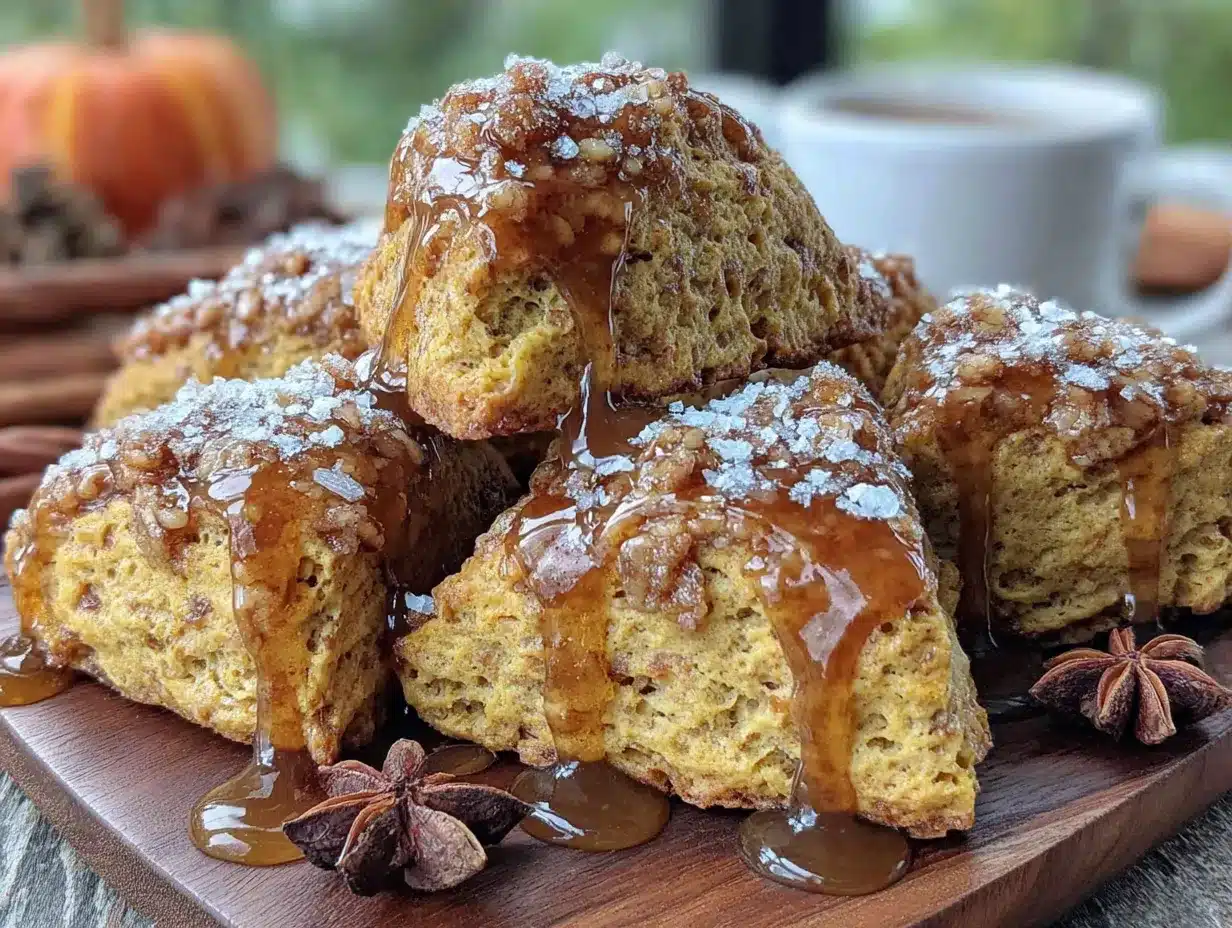
- 1 cup powdered sugar (sifted if lumpy)
- 3 tablespoons pure maple syrup (the real stuff, not pancake syrup)
- 1-2 tablespoons milk or heavy cream (to adjust consistency)
- Pinch of salt (trust me on this, it makes the glaze pop)
One thing I’ve learned is that the quality of your pumpkin puree matters. I usually go with Libby’s because it’s consistently thick and not watery. If your puree seems loose, pat it dry with paper towels before using. Too much moisture will make your scones dense instead of flaky.
For the maple syrup, please use the real deal. The flavor is deeper and more complex, and it makes a noticeable difference in the glaze. I’ve tried this with imitation maple syrup and honestly, it tasted artificial. Save that for pancakes.
Equipment Needed
You don’t need a fancy kitchen to make these scones. Here’s what I use:
- Large mixing bowl (any size works, just make sure it’s big enough for mixing)
- Box grater (for grating the frozen butter, this is key)
- Pastry blender or two forks (optional, but helpful if you don’t grate the butter)
- Measuring cups and spoons (for accuracy)
- Baking sheet (lined with parchment paper or a silicone mat)
- Bench scraper or sharp knife (for cutting the scones)
- Pastry brush (for brushing cream on top)
- Wire cooling rack (for cooling and glazing)
If you don’t have a box grater, you can freeze the butter and chop it into small pieces with a knife. It’s more work, but it still works. I’ve also used a food processor in a pinch, just pulse until the butter is pea-sized and don’t overdo it. A silicone baking mat is nice to have, but parchment paper works just as well and is cheaper.
Preparation Method
Alright, let’s get into the actual making of these scones. I’ll walk you through each step so you can nail it on your first try.
- Preheat your oven to 400°F (200°C). Line a baking sheet with parchment paper. This ensures even baking and easy cleanup.
- Grate the frozen butter. Take your cold butter (it should be straight from the freezer) and grate it using the large holes of a box grater. Hold the butter by the wrapper to avoid warming it with your hands. Place the grated butter back in the freezer while you prepare the dry ingredients.
- Mix the dry ingredients. In a large bowl, whisk together the flour, sugar, baking powder, baking soda, salt, cinnamon, ginger, nutmeg, and cloves. Make sure everything is evenly distributed. I like to use a whisk for this to break up any clumps.
- Add the grated butter. Take the butter from the freezer and add it to the flour mixture. Toss gently with your fingers or a fork to coat each piece of butter with flour. You want the butter pieces to stay separate and cold. Work quickly here.
- Combine the wet ingredients. In a separate small bowl, whisk together the pumpkin puree, heavy cream, egg, and vanilla extract until smooth. It should look uniform and slightly thick.
- Bring it together. Make a well in the center of the flour mixture. Pour in the wet ingredients all at once. Use a fork or spatula to stir until just combined. The dough will look shaggy and there might be some dry spots. That’s okay. Do not overmix or your scones will be tough.
- Shape the dough. Turn the dough out onto a lightly floured surface. Gently bring it together with your hands, pressing it into a rough rectangle. Fold it over itself once or twice, like you’re making a letter fold. This creates those flaky layers. Pat the dough into a 1-inch thick circle, about 8 inches in diameter.
- Cut the scones. Using a sharp knife or bench scraper, cut the circle into 8 equal wedges. Cut straight down, don’t twist, or the edges won’t rise properly. Place the wedges on the prepared baking sheet, spacing them about 2 inches apart.
- Brush with cream. Brush the tops of each scone with a little extra heavy cream. This helps them brown beautifully and adds a slight crunch to the top.
- Bake. Place the baking sheet in the preheated oven and bake for 14-16 minutes, until the scones are golden brown on the edges and firm to the touch. The tops should look dry and slightly cracked. Let them cool on the baking sheet for 5 minutes, then transfer to a wire rack to cool completely.
- Make the glaze. While the scones cool, whisk together the powdered sugar, maple syrup, and a pinch of salt. Add milk or cream one tablespoon at a time until you reach a pourable consistency. It should be thick but still flow off the whisk.
- Glaze the scones. Once the scones are completely cool, drizzle the glaze over the tops. Let it set for about 10 minutes before serving. The glaze will harden slightly but stay soft and shiny.
A few notes from my trials: If the dough feels too sticky, add a tablespoon more flour. If it feels too dry, add a teaspoon of cream. The dough should be soft but not sticky. And don’t skip the cooling step before glazing. Warm scones will soak up the glaze and become soggy. Trust me, I learned that the hard way.
You should see the butter creating little steam pockets as the scones bake. That’s what gives them that flaky texture. If your scones come out flat, your butter was probably too warm or you overmixed the dough. It happens to everyone, even me.
Cooking Tips & Techniques
After making these scones more times than I can count, I’ve picked up a few tricks that make a real difference.
Keep everything cold. This is the number one rule for flaky scones. Cold butter creates steam as it bakes, which lifts the dough and creates layers. If your butter melts before it hits the oven, you’ll get dense, flat scones. I even chill my mixing bowl sometimes if my kitchen is warm.
Don’t overwork the dough. I’ve ruined batches by being too enthusiastic with my mixing. The dough should come together but still look a little shaggy. Overmixing develops gluten, which makes scones tough and bread-like instead of tender and flaky.
Use a sharp cutter. When you cut the scones, use a sharp knife or bench scraper and press straight down. Don’t twist or saw back and forth. Twisting seals the edges and prevents the scones from rising evenly. Clean cuts give you those nice, tall layers.
Freeze the scones before baking. If you have time, pop the cut scones in the freezer for 15 minutes before baking. This firms up the butter even more and gives you an extra-flaky result. I do this whenever I’m not in a rush.
Check your baking powder. Old baking powder won’t give you the rise you need. If yours has been sitting in the cabinet for a year, it’s time to buy fresh. You can test it by dropping a teaspoon into hot water; if it fizzes vigorously, it’s still good.
I once forgot to add the baking powder entirely. The scones came out like hockey pucks. My husband still ate them, bless his heart, but we both knew something was off. Learn from my mistakes, friends.
Variations & Adaptations
One of the best things about this recipe is how adaptable it is. Here are some variations I’ve tried and loved:
- Gluten-Free Version: Substitute the all-purpose flour with a 1:1 gluten-free baking blend. I’ve used Bob’s Red Mill with great results. Add an extra tablespoon of cream since gluten-free flours tend to be more absorbent.
- Dairy-Free Option: Use cold vegan butter (I like Miyoko’s) and replace the heavy cream with full-fat coconut cream or oat milk. The texture is slightly different but still delicious.
- Add Mix-Ins: Fold in 1/2 cup of chopped pecans, walnuts, or dried cranberries after you add the wet ingredients. The nuts add crunch, and the cranberries add a tart pop that balances the sweet maple glaze.
- Spice It Up: Add a pinch of cardamom or allspice to the spice blend for a more complex flavor. I sometimes add a teaspoon of orange zest to the dough for a bright citrus note.
- Chocolate Lovers: Drizzle melted dark chocolate over the glazed scones instead of extra maple glaze. It’s indulgent and pairs surprisingly well with the pumpkin.
- Savory Twist: Skip the sugar and maple glaze, reduce the spices to just cinnamon, and add 1/2 cup of shredded cheddar cheese and a pinch of black pepper. Bake as directed and serve with soup or chili.
My personal favorite variation is adding crystallized ginger to the dough. The spicy-sweet chunks are amazing with the maple glaze. I found this combination by accident when I was trying to use up leftover ginger from a holiday baking spree. Sometimes the best discoveries come from cleaning out the pantry.
Serving & Storage Suggestions
These scones are best served the day they’re made, ideally still slightly warm from the oven. The contrast between the warm, flaky interior and the cool, sweet glaze is something special. But they’re also delicious at room temperature, which makes them perfect for brunch buffets or packed lunches.
For serving, I like to arrange them on a wooden board or a simple white platter. A drizzle of extra maple syrup on the side and a cup of strong coffee or chai tea complete the experience. If you’re feeling fancy, a dollop of clotted cream or mascarpone on the side is heavenly.
Storage: Keep leftover scones in an airtight container at room temperature for up to 2 days. After that, they start to dry out. The glaze will stay intact, but the scones themselves will lose some of their flakiness.
Freezing: You can freeze the unbaked scones for up to 3 months. Cut them into wedges, place them on a baking sheet, and freeze until solid. Then transfer to a freezer bag. Bake directly from frozen, adding 2-3 minutes to the baking time. You can also freeze baked, unglazed scones. Thaw at room temperature, then warm in a 300°F oven for 5 minutes before glazing.
Reheating: To revive day-old scones, pop them in a 350°F oven for 5-7 minutes. This brings back some of the flakiness and warmth. Avoid the microwave, which makes them soft and chewy in a not-good way.
The flavors actually develop a bit overnight. The pumpkin and spices meld together, and the maple glaze sinks into the scone just a little. They’re not as flaky on day two, but they’re still delicious. If you’re looking for another pumpkin treat to use up leftover puree, try my healthy zucchini bread with Greek yogurt for a different take on fall baking.
Nutritional Information & Benefits
Here’s the approximate nutritional breakdown for one scone (with glaze, based on 8 servings):
- Calories: 320
- Total Fat: 14g
- Saturated Fat: 9g
- Cholesterol: 55mg
- Sodium: 320mg
- Total Carbohydrates: 45g
- Dietary Fiber: 2g
- Sugars: 24g
- Protein: 5g
These values are estimates and will vary based on your specific ingredients and portion sizes. If you’re watching your sugar intake, you can reduce the glaze or skip it entirely. The scones are still delicious without it, just less sweet.
Pumpkin is actually a nutritional powerhouse. It’s packed with vitamin A (great for eye health), fiber, and antioxidants. The spices in this recipe—cinnamon, ginger, nutmeg—all have anti-inflammatory properties. So while these scones are definitely a treat, they’re not completely devoid of redeeming qualities.
For a lighter version, you can substitute half the butter with Greek yogurt, but honestly, the texture won’t be as flaky. Sometimes you just have to embrace the butter. If you’re looking for a healthier breakfast option, my moist healthy lemon blueberry zucchini bread is a great alternative for everyday eating.
Conclusion
These flaky maple glazed pumpkin scones have become my fall baking signature for a reason. They’re simple enough for a weekday morning but impressive enough to serve at a fancy brunch. The combination of tender, flaky pastry with that sweet maple glaze is just unbeatable.
I love that this recipe doesn’t require any special skills or equipment. It’s forgiving, adaptable, and always delivers. Whether you’re a seasoned baker or someone who’s never made scones before, I promise you can nail this. The key is keeping that butter cold and not overmixing. That’s it. That’s the whole secret.
I’d love to hear how these turn out for you. Did you try any variations? Did your family love them as much as mine does? Drop a comment below and let me know. And if you’re looking for another easy fall treat, my cozy brown butter banana zucchini bread with cinnamon streusel is another reader favorite that uses similar techniques.
Happy baking, friends. May your scones be flaky and your coffee always hot.
Frequently Asked Questions
Can I use pumpkin pie filling instead of pumpkin puree?
No, please don’t. Pumpkin pie filling is pre-sweetened and spiced, which will throw off the balance of this recipe. Stick with plain pumpkin puree for the best results. If you only have pumpkin pie filling, you’ll need to adjust the sugar and spices, but honestly, it’s not worth the gamble.
Why did my scones turn out dry?
Dry scones usually come from overmixing the dough or overbaking them. Mix just until the dough comes together, and start checking for doneness at the 14-minute mark. The scones should be golden on the edges but still soft in the center. They’ll continue to cook slightly as they cool on the baking sheet.
Can I make the dough ahead of time?
Absolutely. You can prepare the scone dough, cut it into wedges, and refrigerate them on a baking sheet for up to 24 hours. Cover them with plastic wrap. When you’re ready to bake, brush with cream and add a couple of minutes to the baking time. You can also freeze the unbaked scones for up to 3 months.
How do I get the perfect maple glaze consistency?
The glaze should be thick enough to coat the back of a spoon but thin enough to drizzle. Start with the maple syrup and powdered sugar, then add milk or cream one tablespoon at a time until you reach the right consistency. If it’s too thin, add more powdered sugar. If it’s too thick, add more liquid. It’s very forgiving.
Can I make these scones without a box grater?
Yes. If you don’t have a box grater, freeze the butter and chop it into small pea-sized pieces with a sharp knife. You can also use a food processor: pulse the dry ingredients with cold butter cubes until the mixture looks like coarse meal. Just be careful not to over-process. The key is keeping the butter cold and in small pieces.
Pin This Recipe!
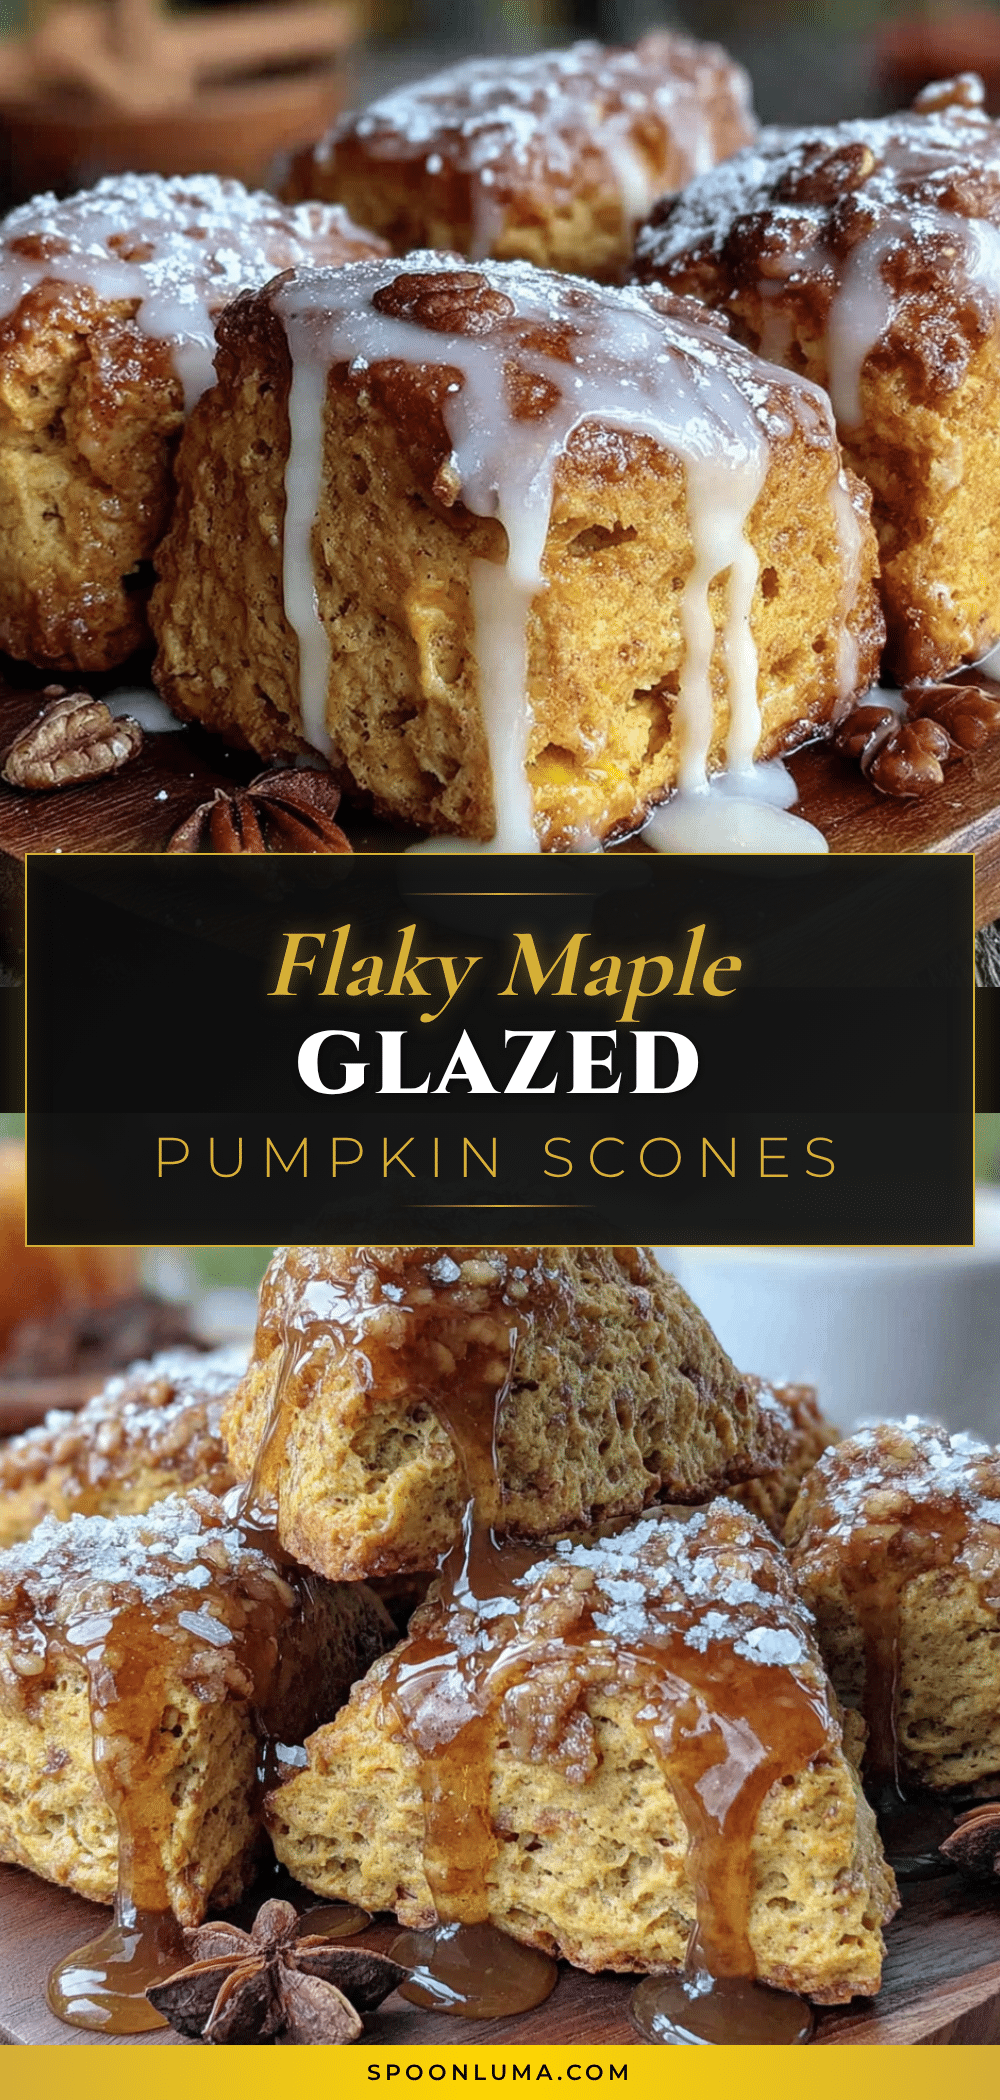
Easy Flaky Maple Glazed Pumpkin Scones

These flaky maple glazed pumpkin scones are the perfect fall treat, combining a tender, flaky pastry with a sweet maple glaze. Ready in about 30 minutes, they’re simple enough for a weekday morning but impressive enough for a fancy brunch.
- Prep Time: 15 minutes
- Cook Time: 16 minutes
- Total Time: 31 minutes
- Yield: 8 servings 1x
- Category: Breakfast, Brunch, Dessert
- Cuisine: American
Ingredients
- 2 cups all-purpose flour
- 1/3 cup granulated sugar
- 1 tablespoon baking powder
- 1/2 teaspoon baking soda
- 1/2 teaspoon salt
- 1 teaspoon ground cinnamon
- 1/2 teaspoon ground ginger
- 1/4 teaspoon ground nutmeg
- 1/4 teaspoon ground cloves
- 1/2 cup cold unsalted butter (frozen for grating)
- 1/2 cup pumpkin puree
- 1/4 cup heavy cream (plus more for brushing tops)
- 1 large egg
- 1 teaspoon vanilla extract
- 1 cup powdered sugar (sifted if lumpy)
- 3 tablespoons pure maple syrup
- 1–2 tablespoons milk or heavy cream (to adjust glaze consistency)
- Pinch of salt
Instructions
- Preheat your oven to 400°F (200°C). Line a baking sheet with parchment paper.
- Grate the frozen butter using the large holes of a box grater. Place the grated butter back in the freezer while you prepare the dry ingredients.
- In a large bowl, whisk together the flour, sugar, baking powder, baking soda, salt, cinnamon, ginger, nutmeg, and cloves.
- Take the butter from the freezer and add it to the flour mixture. Toss gently with your fingers or a fork to coat each piece of butter with flour.
- In a separate small bowl, whisk together the pumpkin puree, heavy cream, egg, and vanilla extract until smooth.
- Make a well in the center of the flour mixture. Pour in the wet ingredients all at once. Use a fork or spatula to stir until just combined. The dough will look shaggy.
- Turn the dough out onto a lightly floured surface. Gently bring it together with your hands, pressing it into a rough rectangle. Fold it over itself once or twice. Pat the dough into a 1-inch thick circle, about 8 inches in diameter.
- Using a sharp knife or bench scraper, cut the circle into 8 equal wedges. Cut straight down, don’t twist. Place the wedges on the prepared baking sheet, spacing them about 2 inches apart.
- Brush the tops of each scone with a little extra heavy cream.
- Bake for 14-16 minutes, until the scones are golden brown on the edges and firm to the touch. Let them cool on the baking sheet for 5 minutes, then transfer to a wire rack to cool completely.
- While the scones cool, whisk together the powdered sugar, maple syrup, and a pinch of salt. Add milk or cream one tablespoon at a time until you reach a pourable consistency.
- Once the scones are completely cool, drizzle the glaze over the tops. Let it set for about 10 minutes before serving.
Notes
Keep everything cold for flaky scones. Don’t overwork the dough. Use a sharp cutter and press straight down without twisting. For extra flakiness, freeze cut scones for 15 minutes before baking. Check that your baking powder is fresh. If dough is too sticky, add a tablespoon more flour; if too dry, add a teaspoon of cream. Cool scones completely before glazing to prevent sogginess.
Nutrition
- Serving Size: 1 scone
- Calories: 320
- Sugar: 24
- Sodium: 320
- Fat: 14
- Saturated Fat: 9
- Carbohydrates: 45
- Fiber: 2
- Protein: 5
Keywords: pumpkin scones, maple glazed scones, flaky scones, fall baking, easy scone recipe, pumpkin recipes, breakfast pastry


