The shatter. That first, thin, crystalline break when your teeth meet a roasted pumpkin seed—the sound is honestly half the reason I make these. It’s not a crunch, not a snap, but a clean, sharp crack that gives way to a warm, nutty center dusted with cinnamon sugar. And that’s the whole point.
I found myself staring at a pile of pumpkin guts last October, a stringy, slippery mess spread across my counter. I had just finished carving a lopsided jack-o’-lantern with a face that looked more concerned than menacing, and I was tired. Tossing the seeds felt wasteful, but the thought of another bland, salty batch made me sigh. Then I remembered a bag of cinnamon-sugar almonds I’d demolished the week before, and the idea just clicked.
Roasting seeds is a gamble, isn’t it? You either get that perfect, airy crisp or a chewy, sad little kernel that gets stuck in your teeth. I wanted the first kind—the kind that makes you reach for “just one more” until the bowl is empty. So I boiled them first (a trick I’d read about but never tried), tossed them in butter and sugar, and hoped for the best.
What came out of the oven was a revelation. The seeds were light, almost hollow, with a caramelized shell that tasted like a fairground churro had a baby with a fall snack. It wasn’t just good—it was the kind of snack that makes you close the pantry door and hide the bowl so you don’t eat the whole batch in one sitting. I bring you this recipe because some discoveries deserve to be shared, not hoarded.
Why You’ll Love This Recipe
Let’s be real—most roasted pumpkin seeds are either too salty, too chewy, or just plain boring. This version flips the script completely. It’s sweet, it’s crunchy, and it’s surprisingly easy to nail on the first try. I’ve tested this method more times than I care to admit (including one batch that I accidentally burned because I got distracted by a true crime podcast), and I can confidently say this is the one.
- Quick & Easy: From seed to snack in under an hour. Most of that time is hands-off roasting, so you can clean up the pumpkin carving mess or just put your feet up.
- Simple Ingredients: You probably have everything in your pantry right now. Pumpkin seeds (obviously), butter, sugar, cinnamon, and a pinch of salt. No fancy grocery trips required.
- Perfect for Fall Gatherings: These are a hit at Halloween parties, Thanksgiving dinners, or cozy movie nights. They also make a killer topping for a cozy brown butter banana zucchini bread if you want to add some crunch.
- Crowd-Pleaser: Kids love the sweetness, adults love the nostalgia, and everyone loves the texture. I’ve seen a bowl of these disappear in under ten minutes at a potluck.
- Unbelievably Delicious: The combination of warm cinnamon, rich butter, and that delicate, crispy seed is next-level comfort food. It’s the kind of snack that makes you close your eyes after the first bite.
This isn’t just another pumpkin seed recipe. The secret is the boil-before-you-roast method, which guarantees that hollow, airy crunch you usually only get from store-bought seeds. Plus, the cinnamon sugar coating caramelizes just enough to create a thin, brittle shell without being sticky or clumpy. It’s comfort food reimagined—faster, sweeter, and with the same soul-soothing satisfaction as a warm churro.
What Ingredients You Will Need
This recipe uses simple, wholesome ingredients to deliver that bold, sweet crunch without the fuss. Most of these are pantry staples, especially if you’ve just carved a pumpkin. Here’s what you’ll need and why each one matters.
- Fresh Pumpkin Seeds (1 ½ cups, or about 200g): These should be straight from the pumpkin—rinsed well and patted dry. I prefer the large, flat seeds from carving pumpkins, but you can use seeds from sugar pumpkins too. Just note that smaller seeds may roast a little faster, so keep an eye on them. I’ve used seeds from a store-bought pumpkin and from my neighbor’s garden, and honestly, fresh is best. (Pro tip: look for seeds that are plump and not shriveled.)
- Unsalted Butter (3 tablespoons, or 42g): Salted butter works in a pinch, but I recommend unsalted so you can control the salt level. The butter is what helps the cinnamon sugar stick and gives the seeds that rich, toasty flavor. I’ve tried coconut oil for a dairy-free version, and it works, but butter is undeniably better here.
- Granulated Sugar (¼ cup, or 50g): White sugar caramelizes beautifully without making the seeds too dark. You could use coconut sugar for a deeper flavor, but the color will be less golden. I’ve also tried brown sugar, and while it tastes amazing, it can make the seeds a bit sticky if you’re not careful.
- Ground Cinnamon (1 ½ teaspoons): This is the star of the show. Use a good quality cinnamon—I prefer Ceylon for its mild, sweet flavor, but Saigon cinnamon works if you want a stronger kick. I once used a cheap, old jar of cinnamon, and the seeds tasted like dusty cardboard. Don’t make my mistake.
- Salt (½ teaspoon fine sea salt, plus more for the boiling water): A little salt in the boiling water helps season the seeds from the inside out. The final pinch of salt balances the sweetness and prevents the seeds from tasting one-dimensional.
- Vanilla Extract (½ teaspoon, optional but recommended): This adds a warm, aromatic note that complements the cinnamon beautifully. I forgot it once, and the seeds were still good, but the vanilla just rounds out the flavor and makes it feel more like a dessert.
Equipment Needed
You don’t need a fancy kitchen to make these seeds. In fact, you probably already own everything on this list. Here’s what you’ll need:
- Medium Saucepan: For boiling the seeds. Any pot will do, but a wide saucepan helps the seeds cook evenly.
- Colander or Fine-Mesh Strainer: To drain the boiled seeds. A colander with small holes is ideal so the seeds don’t slip through.
- Kitchen Towel or Paper Towels: For patting the seeds dry. A clean dish towel works great, but paper towels are easier to toss.
- Mixing Bowl: For tossing the seeds with butter, sugar, and cinnamon. A medium bowl is perfect.
- Baking Sheet: A rimmed baking sheet prevents the seeds from rolling off. I use a half-sheet pan (18×13 inches).
- Parchment Paper or Silicone Baking Mat: This prevents sticking and makes cleanup a breeze. I’ve roasted seeds directly on the pan, and let me tell you, scraping off caramelized sugar is not fun.
- Spatula or Wooden Spoon: For stirring the seeds on the baking sheet during roasting.
If you don’t have parchment paper, you can grease the baking sheet lightly with butter or cooking spray. It’s not ideal, but it works in a pinch.
Preparation Method
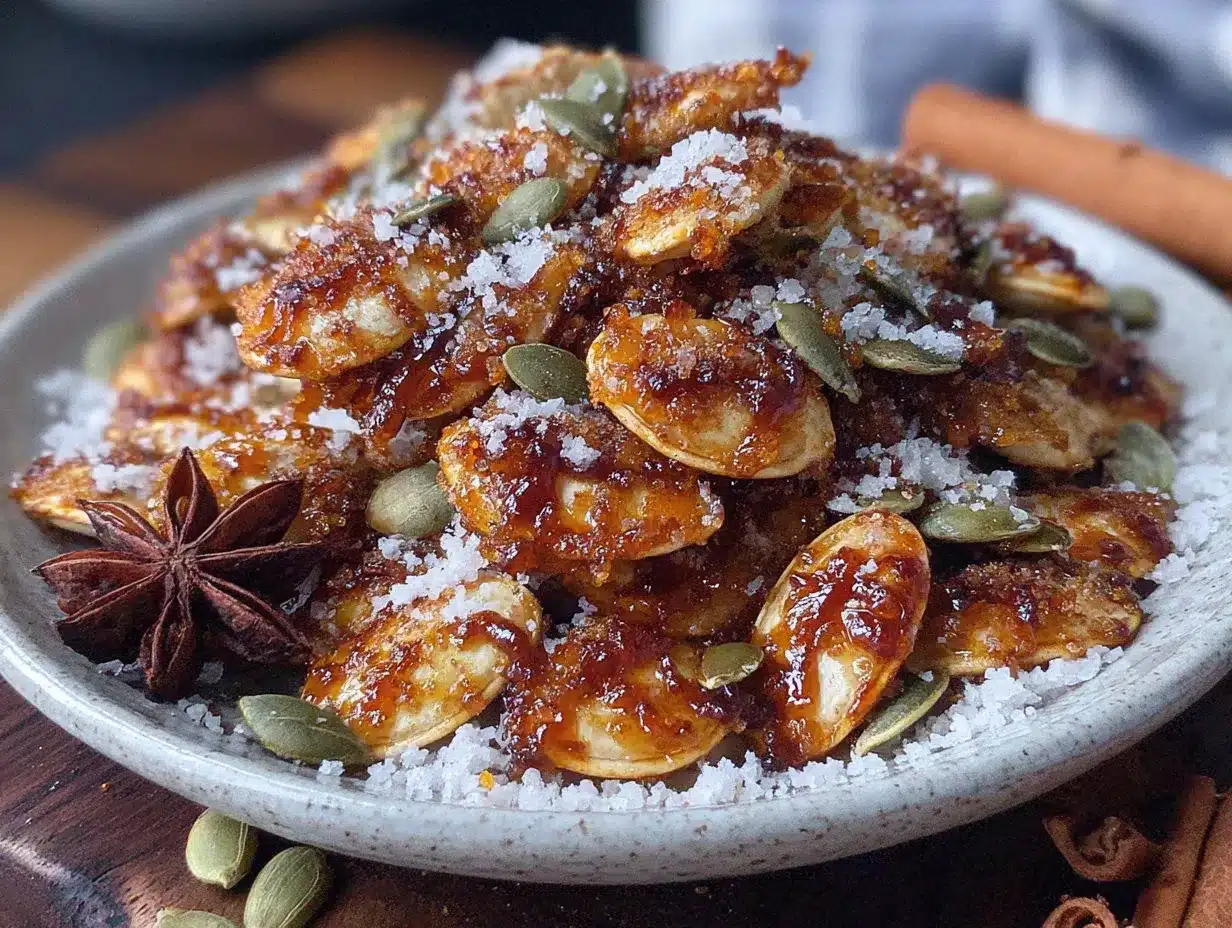
This method is straightforward, but the boiling step is non-negotiable for that perfect crunch. Trust me—I’ve tried skipping it, and the results were chewy and disappointing. Here’s how to do it right.
- Preheat your oven to 350°F (175°C). Line a large rimmed baking sheet with parchment paper or a silicone mat. This gives the sugar time to caramelize without burning.
- Clean the pumpkin seeds. Separate the seeds from the pumpkin guts. Place them in a colander and rinse under cool running water, rubbing them gently to remove any stringy bits. Pick out any large pieces of pulp. Pat the seeds dry with a clean kitchen towel or paper towels. (Don’t skip this—wet seeds won’t crisp up properly.)
- Boil the seeds. Fill a medium saucepan with 2 cups of water and add 1 teaspoon of salt. Bring to a rolling boil over high heat. Add the cleaned seeds and boil for exactly 10 minutes. This step softens the outer shell and allows the seeds to puff up during roasting, creating that hollow, crispy texture. Drain the seeds in a colander and let them cool for a minute or two.
- Melt the butter. In a small microwave-safe bowl, melt the 3 tablespoons of unsalted butter in the microwave in 15-second increments. Alternatively, melt it in a small saucepan over low heat. Let it cool slightly so it doesn’t cook the sugar.
- Mix the coating. In a medium mixing bowl, whisk together the granulated sugar, ground cinnamon, and the remaining ½ teaspoon of salt. Pour the melted butter over the boiled seeds and toss to coat evenly. Then, sprinkle the cinnamon sugar mixture over the seeds and stir until every seed is covered. (I use a spatula for this, but your hands work too—just be prepared for sticky fingers.)
- Spread on the baking sheet. Pour the coated seeds onto the prepared baking sheet. Spread them into a single, even layer. Don’t overcrowd them—if they’re piled on top of each other, they’ll steam instead of roast. If you have a lot of seeds, use two baking sheets.
- Roast for 15 minutes. Place the baking sheet in the preheated oven. After 15 minutes, remove the sheet and stir the seeds with a spatula. This ensures even browning. Spread them back into a single layer.
- Roast for another 10-15 minutes. Return the sheet to the oven and roast for an additional 10 to 15 minutes, stirring every 5 minutes. The seeds are done when they are golden brown, fragrant, and sound hollow when you tap them. They will also crisp up further as they cool, so don’t overbake them. (I learned this the hard way—my first batch went from golden to charcoal in about 30 seconds.)
- Cool completely. Remove the baking sheet from the oven and let the seeds cool on the pan for at least 15 minutes. Do not transfer them to a bowl while they’re still warm, or they’ll trap steam and lose their crunch. Once cool, they should snap cleanly in half when you bite them.
Cooking Tips & Techniques
I’ve made this recipe more times than I can count, and I’ve picked up a few tricks along the way. Here are my best tips for achieving crispy, cinnamon-sugar perfection every time.
- Don’t skip the boil. I know it’s an extra step, but it’s the secret to that airy, crunchy texture. Boiling the seeds for 10 minutes softens the outer hull and allows the seed to puff up during roasting. Without it, you’ll end up with dense, chewy seeds that are more like pebbles than snacks.
- Dry the seeds thoroughly. After boiling, pat the seeds as dry as you can. Excess water will steam the seeds and prevent them from crisping up. I usually spread them on a towel and let them air-dry for a few minutes while I melt the butter.
- Use a rimmed baking sheet. The sugar can get sticky, and a rimmed sheet prevents the seeds from rolling off when you stir them. Trust me, chasing rogue seeds around the oven floor is not fun.
- Stir every 5 minutes. This is crucial for even browning. The sugar can burn quickly, especially toward the end of the roasting time. Set a timer so you don’t forget. I once got distracted by a phone call, and my seeds went from perfect to bitter in the span of three minutes.
- Watch for visual cues. The seeds are done when they are a deep golden brown and the sugar has caramelized into a glossy, brittle shell. If they smell nutty and toasty, they’re ready. If they smell burnt, you’ve gone too far.
- Let them cool completely. This is the hardest part, I know. But if you eat them warm, they’ll seem soft and slightly chewy. As they cool, the sugar hardens and the seeds become shatteringly crisp. Patience pays off.
Variations & Adaptations
This recipe is a great starting point, but don’t be afraid to make it your own. Here are a few variations I’ve tried and loved.
- Spiced Pumpkin Seeds: Add ¼ teaspoon each of ground ginger, nutmeg, and allspice to the cinnamon sugar. This gives the seeds a warm, pumpkin-pie flavor that’s perfect for fall. I made this version for a Thanksgiving party, and they disappeared before the turkey was carved.
- Maple Cinnamon Seeds: Replace the granulated sugar with 3 tablespoons of maple syrup. Reduce the butter to 2 tablespoons and mix the syrup with the butter before tossing with the seeds. The maple flavor is subtle but lovely, and the seeds come out slightly less crunchy but more caramelized. (Note: these are stickier, so eat them within a day or two.)
- Chocolate Cinnamon Seeds: After the seeds have cooled, drizzle them with melted dark chocolate and a sprinkle of flaky sea salt. Let the chocolate set before serving. This turns them into a dessert that rivals any candy bar. I brought a batch to a 4th of July BBQ once, and people were eating them by the handful.
- Savory-Sweet Seeds: Reduce the sugar to 2 tablespoons and add ½ teaspoon of smoked paprika and a pinch of cayenne pepper. The heat from the cayenne balances the sweetness and makes for a more complex snack. This is my go-to when I want something that’s not purely dessert.
- Gluten-Free Note: This recipe is naturally gluten-free, so no adaptations needed. Just make sure your cinnamon and vanilla extract are certified gluten-free if you’re serving someone with celiac disease.
Serving & Storage Suggestions
These seeds are incredibly versatile. Here’s how to serve and store them for maximum enjoyment.
- Serving Temperature: Room temperature is best. The seeds are at their crispiest once they’ve cooled completely. If you’re serving them at a party, set them out in a bowl about 30 minutes before guests arrive.
- Presentation: A simple wooden bowl or a ceramic dish works beautifully. I like to garnish the bowl with a cinnamon stick or a few star anise pods for a festive touch. They also look great in small paper cones for a Halloween party favor.
- Complementary Dishes: These seeds pair wonderfully with a warm mug of apple cider or a pumpkin spice latte. They’re also a fantastic topping for yogurt, oatmeal, or even a scoop of vanilla ice cream. I’ve even crushed them up and sprinkled them over a moist healthy lemon blueberry zucchini bread for added crunch.
- Storage: Store the seeds in an airtight container at room temperature for up to 2 weeks. Do not refrigerate them—the moisture in the fridge will make them soft. If you live in a humid climate, add a silica gel packet (like the ones in beef jerky) to the container to absorb excess moisture.
- Reheating: If the seeds lose their crunch after a few days, spread them on a baking sheet and reheat them in a 300°F (150°C) oven for 5-7 minutes. Let them cool completely before storing again. This revives the crispiness like magic.
- Flavor Development: The seeds are best within the first 3 days, when the sugar coating is at its hardest. After that, the cinnamon flavor mellows out, but they’re still delicious. I’ve never had a batch last longer than a week in my house, so I can’t speak to how they hold up beyond that.
Nutritional Information & Benefits
Pumpkin seeds are a nutritional powerhouse, and this recipe keeps them relatively healthy despite the sugar. Here’s a quick breakdown.
- Estimated Nutritional Values (per ¼ cup serving): Calories: 180, Fat: 12g, Carbohydrates: 15g, Fiber: 2g, Protein: 7g, Sugar: 10g. These values are approximate and will vary based on the exact ingredients you use.
- Health Benefits: Pumpkin seeds are rich in magnesium, zinc, and healthy fats. Magnesium supports muscle function and sleep, while zinc is great for immune health. The fiber content helps with digestion and keeps you feeling full longer.
- Dietary Considerations: This recipe is naturally gluten-free, nut-free, and vegetarian. To make it vegan, substitute the butter with coconut oil or a vegan butter stick. To reduce sugar, use a sugar substitute like monk fruit sweetener, but note that it won’t caramelize the same way.
- Potential Allergens: This recipe contains dairy (butter). If you have a dairy allergy, use a plant-based butter alternative. The seeds themselves are nut-free, but check your cinnamon and vanilla extract for cross-contamination if you have severe allergies.
- Personal Wellness Perspective: I love that this snack feels indulgent but actually has some nutritional value. It’s a great way to satisfy a sweet craving without reaching for processed candy. Plus, you’re using the whole pumpkin, which feels resourceful and satisfying.
Conclusion
This crispy cinnamon sugar roasted pumpkin seeds recipe is proof that the best snacks come from the simplest ideas. It takes a humble ingredient—something most people toss in the trash—and turns it into something crave-worthy. The shatter, the sweetness, the warmth of cinnamon—it all comes together in a bowl of pure autumn joy.
I hope you give this recipe a try, whether you’re carving pumpkins with your kids, hosting a fall party, or just looking for a healthier way to satisfy your sweet tooth. Feel free to tweak the spices, swap the sugar, or add a chocolate drizzle. That’s the beauty of cooking—it’s yours to play with.
I’d love to hear how your seeds turn out. Did you try a variation? Did they disappear at your party? Drop a comment below and let me know. And if you’re looking for more cozy fall recipes, check out my healthy zucchini bread with Greek yogurt for another easy, seasonal treat. Happy roasting!
Frequently Asked Questions
Can I use store-bought pre-shelled pumpkin seeds?
Yes, but the texture will be different. Pre-shelled seeds (pepitas) are smaller and thinner, so they’ll roast faster and won’t have that same hollow crunch. If using pepitas, reduce the roasting time by 5-7 minutes and watch them carefully.
Why did my seeds turn out chewy instead of crispy?
This usually happens for one of three reasons: you skipped the boiling step, you didn’t dry the seeds thoroughly after boiling, or you under-roasted them. Make sure to boil for the full 10 minutes, pat the seeds very dry, and roast until they are deep golden brown.
Can I make these seeds in an air fryer?
Absolutely. Preheat your air fryer to 300°F (150°C). Spread the coated seeds in a single layer in the air fryer basket and cook for 10-12 minutes, shaking the basket every 3 minutes. The cooking time is shorter, so keep a close eye on them.
How do I prevent the cinnamon sugar from burning?
Stir the seeds every 5 minutes during roasting. This redistributes the heat and prevents the sugar from sitting in one spot too long. If your oven runs hot, reduce the temperature to 325°F (165°C) and add a few extra minutes to the roasting time.
Can I use this recipe for other types of seeds?
Yes, this method works well for sunflower seeds and even sesame seeds. For sunflower seeds, reduce the boiling time to 5 minutes and the roasting time to 10-12 minutes. For sesame seeds, skip the boil entirely and roast for 5-7 minutes at 325°F (165°C).
Pin This Recipe!
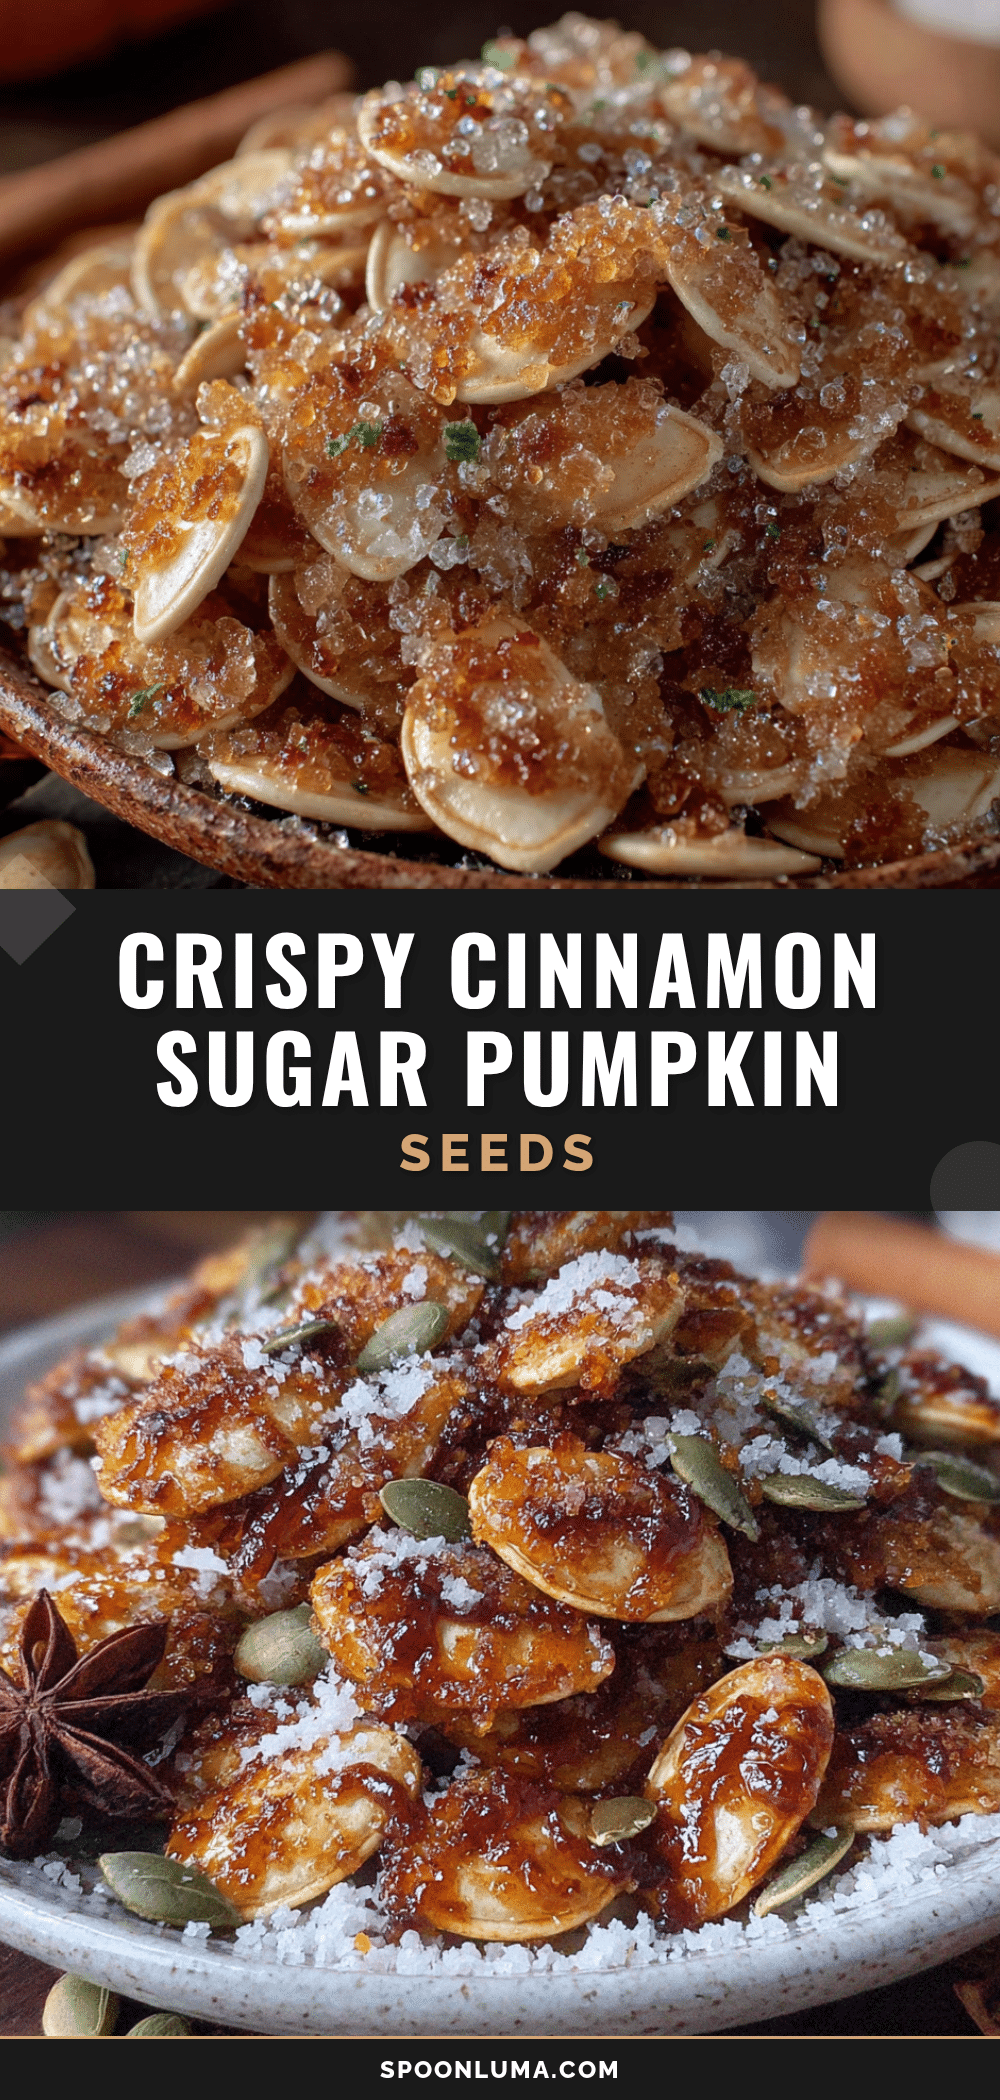
Best Easy Crispy Cinnamon Sugar Roasted Pumpkin Seeds

These crispy cinnamon sugar roasted pumpkin seeds are a sweet, crunchy snack that’s perfect for fall. The secret is boiling the seeds before roasting for that perfect hollow crunch.
- Prep Time: 15 minutes
- Cook Time: 30 minutes
- Total Time: 45 minutes
- Yield: 4 servings 1x
- Category: Snack
- Cuisine: American
Ingredients
- 1 ½ cups fresh pumpkin seeds (about 200g)
- 3 tablespoons unsalted butter (42g)
- ¼ cup granulated sugar (50g)
- 1 ½ teaspoons ground cinnamon
- ½ teaspoon fine sea salt (plus more for boiling water)
- ½ teaspoon vanilla extract (optional but recommended)
Instructions
- Preheat your oven to 350°F (175°C). Line a large rimmed baking sheet with parchment paper or a silicone mat.
- Clean the pumpkin seeds: separate from pumpkin guts, rinse under cool water, remove stringy bits, and pat dry.
- Boil the seeds: fill a medium saucepan with 2 cups of water and add 1 teaspoon of salt. Bring to a rolling boil, add seeds, and boil for exactly 10 minutes. Drain and let cool for a minute or two.
- Melt the butter in a small microwave-safe bowl or saucepan. Let cool slightly.
- In a medium mixing bowl, whisk together sugar, cinnamon, and remaining ½ teaspoon salt. Pour melted butter over boiled seeds and toss to coat. Sprinkle cinnamon sugar mixture over seeds and stir until every seed is covered.
- Spread coated seeds in a single, even layer on the prepared baking sheet. Do not overcrowd.
- Roast for 15 minutes. Remove sheet, stir seeds, and spread back into a single layer.
- Roast for another 10-15 minutes, stirring every 5 minutes, until seeds are golden brown, fragrant, and sound hollow when tapped.
- Cool completely on the baking sheet for at least 15 minutes before serving.
Notes
Boiling the seeds is essential for the crispy texture. Stir every 5 minutes during roasting to prevent burning. Let seeds cool completely for maximum crunch. Store in an airtight container at room temperature for up to 2 weeks.
Nutrition
- Serving Size: ¼ cup
- Calories: 180
- Sugar: 10
- Sodium: 150
- Fat: 12
- Saturated Fat: 5
- Carbohydrates: 15
- Fiber: 2
- Protein: 7
Keywords: pumpkin seeds, roasted pumpkin seeds, cinnamon sugar, fall snack, Halloween snack, crispy pumpkin seeds


