I burned three loaves of banana bread before I figured out I was overmixing the batter. Not slightly burnt, either—I’m talking blackened edges and a gummy center that somehow tasted both raw and scorched at the same time. It was humiliating, especially because banana bread is supposed to be the easiest thing you can bake. Everyone has a recipe, everyone claims theirs is the best, and here I was, failing at the most basic quick bread in existence. Turns out, the problem wasn’t the bananas or the oven. It was me. I was treating the batter like I was making a yeast dough, working it until it was smooth and glossy. That’s the exact opposite of what you want for a tender, fluffy loaf.
The fix was almost insultingly simple: stop stirring. Once I learned to fold the dry ingredients into the wet just until the flour disappears—lumps and all—everything changed. The crumb got soft, the top domed perfectly, and that signature crack down the middle appeared like magic. This easy one-bowl banana bread (no mixer needed) is the direct result of those three burnt loaves. It’s the recipe I make when I’ve got three spotty bananas on the counter and exactly zero patience for washing extra dishes. No stand mixer, no hand mixer, not even a whisk if you don’t want one—just a bowl, a spatula, and about ten minutes of hands-on time.
I’ve made this loaf for neighbors, for book club, and for the 6 a.m. school run when I needed something to grab with coffee. It never lasts more than 24 hours. The secret isn’t a fancy ingredient or a complicated technique. It’s knowing when to walk away from the bowl. That’s it. That’s the whole trick.
Why You’ll Love This Recipe
Let’s be real—most banana bread recipes are good, but they’re also fussy. They call for creaming butter and sugar, or using a mixer to aerate the batter, or sifting dry ingredients like you’re making a wedding cake. This one skips all that nonsense. You mash, you stir, you bake. That’s the whole process.
- One Bowl, No Mixer — The title isn’t just marketing. You literally use one bowl and a spatula. I’ve made this in a hotel room with a fork and a coffee mug. It works.
- Simple Ingredients — Butter, sugar, eggs, flour, baking soda, salt, bananas. That’s it. No buttermilk, no sour cream, no obscure extracts you have to hunt down.
- Perfect for Ripe Bananas — You know those sad, brown bananas everyone ignores? This is their moment. The riper the banana, the better the bread. It’s nature’s sweetener.
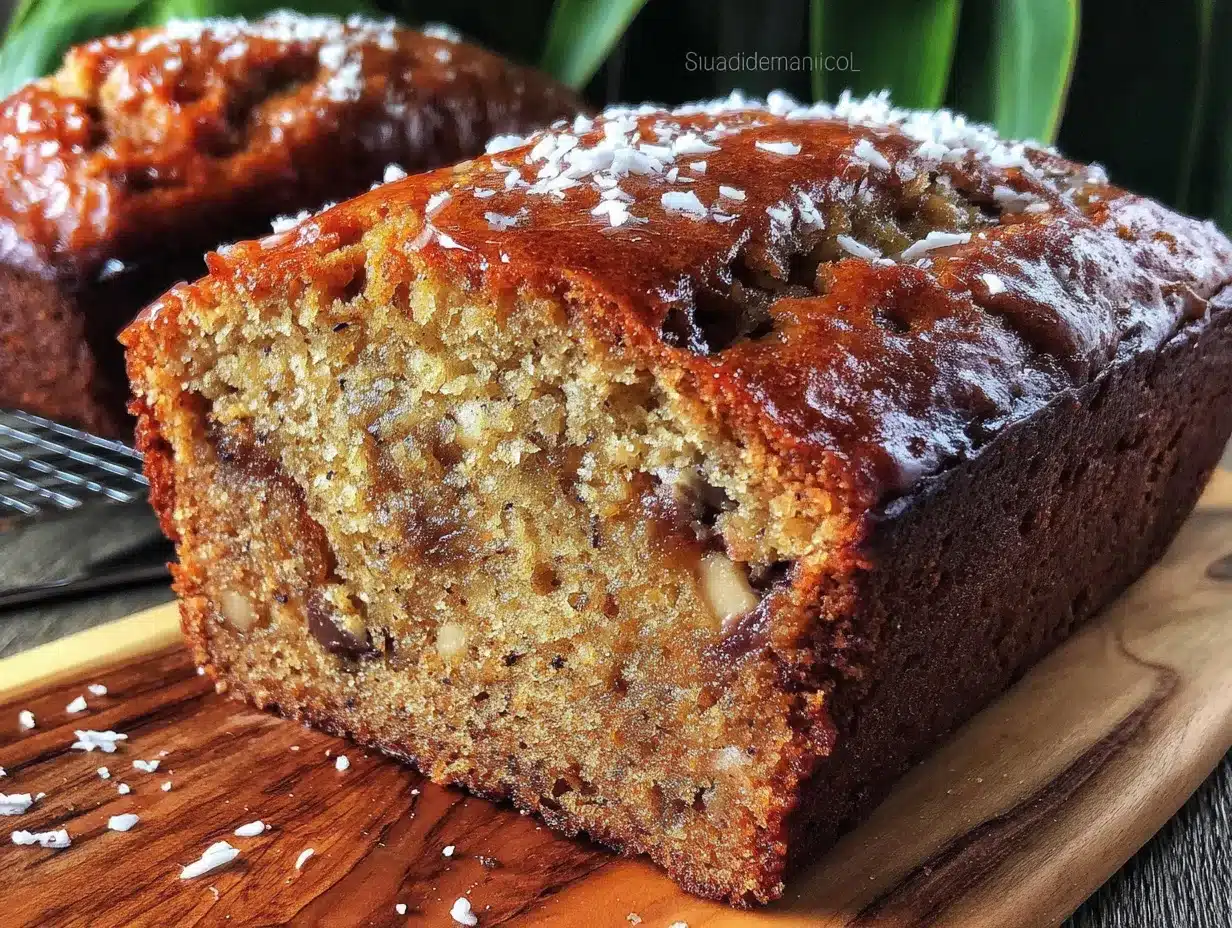
- Foolproof Texture — The crumb is moist without being dense, and the edges are slightly caramelized while the center stays tender. It’s the kind of texture that makes you close your eyes after the first bite.
- Customizable — I’ll give you the base recipe, but you can add chocolate chips, nuts, dried fruit, or swirls of peanut butter. It’s a forgiving recipe that takes well to experimentation.
This isn’t just another banana bread recipe. It’s the one you’ll make on a Tuesday morning when you’re out of cereal and need something fast. It’s the one you’ll bake when you want to use up bananas without a trip to the store. And honestly? It’s the one that’ll make you wonder why you ever bothered with a mixer in the first place.
What Ingredients You Will Need
This recipe uses simple, pantry-friendly ingredients. You probably have most of them already, which is the whole point. Here’s what you need and why each one matters:
- Ripe Bananas (3 medium, about 1 cup mashed) — The darker the better. Brown spots mean the starches have converted to sugar, which gives you maximum sweetness and moisture. If your bananas are still yellow, you can speed up ripening by baking them at 300°F for 15 minutes, but honestly, just wait a day or two.
- Unsalted Butter (1/3 cup, melted) — Melted butter gives the bread a rich flavor and tender crumb without needing a mixer. If you only have salted butter, reduce the added salt to 1/4 teaspoon.
- Granulated Sugar (1/2 cup) — Just enough sweetness to balance the bananas. You can swap in coconut sugar or brown sugar for a deeper flavor, but the texture will be slightly denser.
- Large Egg (1, room temperature) — The egg binds everything together and adds structure. If your egg is cold, place it in a bowl of warm water for 5 minutes before adding it to the batter.
- Vanilla Extract (1 teaspoon) — Pure vanilla is best, but imitation works fine. It rounds out the banana flavor without overpowering it.
- All-Purpose Flour (1 1/2 cups) — Standard AP flour gives the best texture. For a whole wheat version, swap half the flour for whole wheat pastry flour—don’t use 100% whole wheat or the bread will be heavy. I recommend King Arthur Flour for consistent results.
- Baking Soda (1 teaspoon) — This is your leavener. Make sure it’s fresh (test it by dropping a pinch into vinegar—it should fizz).
- Salt (1/2 teaspoon) — Salt doesn’t just season; it balances sweetness and strengthens the gluten structure. Don’t skip it.
Optional Add-Ins: 1/2 cup chocolate chips, chopped walnuts, or dried cranberries. If you’re using frozen banana slices, thaw them first and drain off excess liquid before mashing.
Equipment Needed
You don’t need a fancy kitchen for this recipe. Here’s what you’ll actually use:
- Large Mixing Bowl — Any bowl works, but a wide, shallow bowl makes mashing and mixing easier. I use a ceramic bowl because it doesn’t slide around on the counter.
- Fork or Potato Masher — A fork is fine, but a potato masher cuts the mashing time in half. I’ve used both, and the masher is my preference for even consistency.
- Spatula or Wooden Spoon — A silicone spatula is ideal for folding the batter without overworking it. A wooden spoon works too, just be gentle.
- 9×5-inch Loaf Pan — Standard size. If you use an 8×4-inch pan, the bread will take longer to bake and may dome higher. Glass pans require a slightly lower oven temperature (325°F instead of 350°F).
- Parchment Paper — Not strictly necessary, but it makes removal effortless. Cut a strip long enough to overhang the long sides of the pan.
- Cooling Rack — Allows air to circulate so the bottom doesn’t get soggy. If you don’t have one, you can use the inverted loaf pan lid or just let it cool in the pan for 10 minutes, then transfer to a plate.
Budget tip: Dollar stores often sell loaf pans and silicone spatulas for under $5. They won’t last forever, but they’ll get you through many loaves.
Preparation Method
Preheat your oven to 350°F (175°C). Grease your loaf pan with butter or non-stick spray, then line it with a strip of parchment paper that hangs over the two long sides. This makes lifting the bread out ridiculously easy.
- Mash the bananas. Place the three ripe bananas in your large mixing bowl. Use a fork or potato masher to mash them until they’re mostly smooth with a few small lumps. You want about 1 cup of mashed banana. If you over-mash, it’s fine—just don’t turn it into a liquid puree. The lumps add texture.
- Add the wet ingredients. Pour the melted butter, granulated sugar, egg, and vanilla extract into the bowl with the mashed bananas. Stir everything together with your spatula until the mixture is uniform. It’ll look a little grainy from the sugar, and that’s okay. Don’t worry if there are tiny butter streaks—they’ll disappear once the flour goes in.
- Add the dry ingredients. Sprinkle the flour, baking soda, and salt evenly over the wet mixture. Here’s the critical part: fold gently. Use a cutting motion with your spatula, scraping from the bottom and turning the mixture over itself. Stop as soon as the flour streaks disappear. The batter will look lumpy and slightly thick—that’s perfect. If you stir until it’s smooth, you’ll activate the gluten and get a tough, rubbery loaf. Trust the lumps.
- Pour into the pan. Scrape the batter into your prepared loaf pan. Use the spatula to spread it evenly, but don’t smooth the top too much. A slightly uneven surface creates a more rustic, bakery-style look.
- Bake. Place the pan on the middle rack of your preheated oven. Bake for 50–60 minutes. At the 45-minute mark, start checking for doneness. Insert a toothpick or skewer into the center—it should come out clean or with just a few moist crumbs attached. If the top is browning too quickly (after about 40 minutes), tent the pan loosely with aluminum foil.
- Cool. Let the bread cool in the pan for 10 minutes. Then use the parchment paper overhang to lift it out and transfer it to a wire rack. Cool completely before slicing—at least 1 hour. I know it’s tempting to cut into it warm, but it’ll crumble if you do. Patience pays off here.
Sensory cue: The kitchen should smell like caramelized bananas and butter by the 30-minute mark. The top will crack naturally as the bread rises, and the edges will pull away from the pan slightly when it’s done.
Cooking Tips & Techniques
I’ve made this recipe at least two dozen times, and I’ve messed it up in almost every way possible. Here’s what I learned:
- Don’t overmix. I said it before, but it’s worth repeating. Overmixing develops gluten, which makes the bread tough. Fold until the flour is just incorporated—20 to 30 seconds max. A few dry streaks are better than a dense loaf.
- Use room temperature eggs. Cold eggs seize the melted butter, creating lumps in the batter. If you forgot to take the egg out, place it in a cup of warm water for 5 minutes. It’s a small step that makes a big difference.
- Measure flour correctly. Scooping flour directly from the bag compacts it, leading to dry bread. Instead, spoon the flour into your measuring cup, then level it off with a knife. Or use a kitchen scale: 180 grams per cup.
- Check your baking soda. Old baking soda won’t give you enough lift. If your bread doesn’t dome or the center sinks, your baking soda might be expired. Test it by adding a teaspoon to a tablespoon of vinegar—if it fizzes vigorously, it’s good.
- Let it cool completely. I once sliced into a warm loaf after 20 minutes. The middle was gummy, and the whole thing fell apart. Cooling allows the steam to redistribute and the crumb to set. Trust the process.
Variations & Adaptations
This recipe is a blank canvas. Here are a few ways to change it up:
- Chocolate Chip Banana Bread — Fold in 1/2 cup semi-sweet chocolate chips after the flour is incorporated. I’ve used dark, milk, and even white chocolate—all work beautifully.
- Nutty Banana Bread — Add 1/2 cup toasted walnuts or pecans. Toast them first in a dry pan over medium heat for 3–4 minutes to bring out their flavor. It’s worth the extra step.
- Gluten-Free Version — Swap the all-purpose flour for a 1:1 gluten-free baking blend (I like Bob’s Red Mill). Add 1 teaspoon of xanthan gum if your blend doesn’t include it. The texture will be slightly more delicate, so handle gently.
- Vegan Option — Replace the egg with a flax egg (1 tablespoon ground flaxseed + 3 tablespoons water, let sit for 5 minutes). Use melted coconut oil instead of butter. The bread will be a bit denser but still delicious.
- Spiced Banana Bread — Add 1 teaspoon cinnamon, 1/2 teaspoon nutmeg, and a pinch of cloves to the dry ingredients. It gives the bread a cozy, fall-apart warmth.
I once tried a version with peanut butter swirls—just drop spoonfuls of peanut butter on top of the batter and swirl with a knife before baking. It turned out incredible. Don’t be afraid to experiment.
Serving & Storage Suggestions
Serve this banana bread at room temperature. It’s perfect on its own, but a smear of salted butter or a drizzle of honey takes it to another level. For breakfast, I like it with a cup of black coffee. For dessert, a scoop of vanilla ice cream on a warm slice is hard to beat.
Storage: Wrap the cooled loaf tightly in plastic wrap or aluminum foil. It stays fresh at room temperature for up to 4 days. If you live in a humid climate, store it in the fridge to prevent mold—just bring slices to room temperature before eating.
Freezing: This bread freezes beautifully. Wrap the whole loaf or individual slices in plastic wrap, then place in a freezer-safe bag. It keeps for up to 3 months. To thaw, leave it on the counter for an hour, or pop a frozen slice in the toaster for a quick treat. The flavor actually improves after freezing—the bananas get even sweeter.
Reheating: Microwave a slice for 10–15 seconds for a just-baked warmth. Or toast it in a skillet with a little butter for crispy edges.
Nutritional Information & Benefits
Per slice (based on 10 slices): Approximately 220 calories, 8g fat, 34g carbohydrates, 2g fiber, 16g sugar, 4g protein. These values are estimates and will vary based on your specific ingredients and add-ins.
Bananas are a good source of potassium, vitamin B6, and vitamin C. They also contain resistant starch when slightly underripe, which supports gut health. Using melted butter instead of creamed butter reduces the need for additional fats, and the one-bowl method means fewer dishes—a small win for your sanity.
This recipe is vegetarian and can be made dairy-free with a simple swap. For those watching sugar intake, you can reduce the sugar to 1/3 cup without major texture changes. The bananas provide natural sweetness, so don’t be afraid to cut back.
Conclusion
This easy one-bowl banana bread isn’t fancy, and that’s exactly why I love it. It’s the recipe I turn to when I need something reliable—when the bananas are too far gone to eat but too good to waste, when I want the house to smell like comfort without spending an hour on prep. It’s forgiving, adaptable, and genuinely foolproof once you learn to stop stirring.
I hope you make it your own. Add chocolate chips if that’s your thing, or leave it plain with a pat of butter. Toss in some walnuts, or swirl in peanut butter. The base is solid, and the possibilities are endless. When you do make it, drop a comment below and tell me how it turned out. Did you add something unexpected? Did you burn the first one like I did? I want to hear about it. Happy baking, friends.
Frequently Asked Questions
Can I use frozen bananas?
Yes! Thaw them completely, then drain off any excess liquid before mashing. Frozen bananas are actually sweeter, so your bread will be even more flavorful.
Why did my banana bread sink in the middle?
This usually happens from overmixing or underbaking. Make sure you fold gently and check doneness with a toothpick. If the center is still wet, it needs more time.
Can I make this without eggs?
Absolutely. Use a flax egg (1 tablespoon ground flaxseed + 3 tablespoons water) or a commercial egg replacer. The texture will be slightly denser but still delicious.
How do I know when the bread is done?
Insert a toothpick into the center. It should come out clean or with a few moist crumbs attached. The edges will also pull away from the pan slightly.
Can I double this recipe?
Yes. Double all ingredients and bake in two separate loaf pans. Don’t try to bake it all in one pan—it won’t cook through properly.
Pin This Recipe!
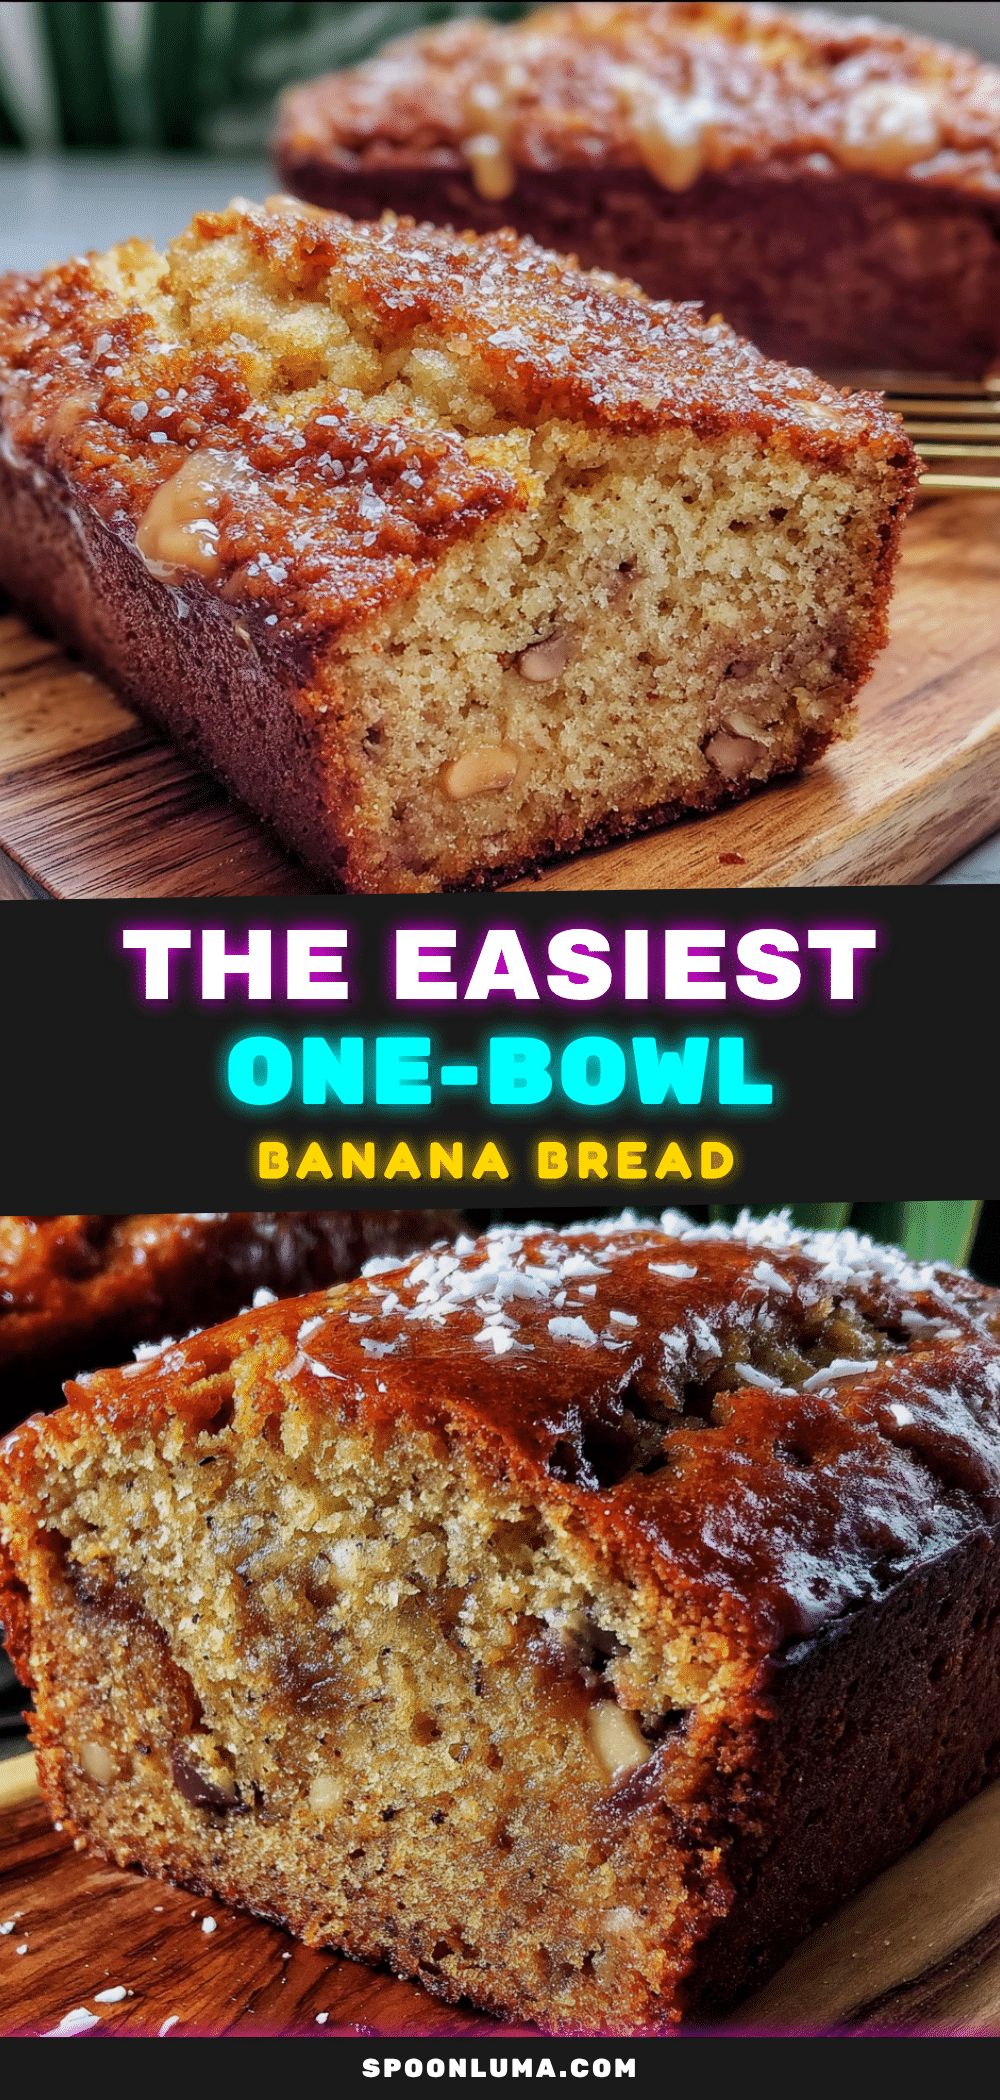
Easy One-Bowl Banana Bread (No Mixer)
This easy one-bowl banana bread requires no mixer and comes together in about 10 minutes of hands-on time. It’s the perfect way to use up ripe bananas, yielding a tender, moist loaf with a caramelized crust.
- Prep Time: 10 minutes
- Cook Time: 55 minutes
- Total Time: 1 hour 5 minutes
- Yield: 10 servings 1x
- Category: Dessert
- Cuisine: American
Ingredients
- 3 medium ripe bananas (about 1 cup mashed)
- 1/3 cup unsalted butter, melted
- 1/2 cup granulated sugar
- 1 large egg, room temperature
- 1 teaspoon vanilla extract
- 1 1/2 cups all-purpose flour
- 1 teaspoon baking soda
- 1/2 teaspoon salt
- Optional: 1/2 cup chocolate chips, chopped walnuts, or dried cranberries
Instructions
- Preheat oven to 350°F (175°C). Grease a 9×5-inch loaf pan and line with parchment paper, leaving overhang on the long sides.
- In a large mixing bowl, mash the bananas with a fork or potato masher until mostly smooth with a few small lumps.
- Add melted butter, sugar, egg, and vanilla extract to the mashed bananas. Stir with a spatula until uniform.
- Sprinkle flour, baking soda, and salt evenly over the wet mixture. Fold gently with a cutting motion until just combined—do not overmix. Batter will be lumpy.
- Pour batter into prepared loaf pan and spread evenly. Do not smooth the top too much.
- Bake on the middle rack for 50–60 minutes, checking at 45 minutes. A toothpick inserted in the center should come out clean or with a few moist crumbs. If top browns too quickly, tent with foil after 40 minutes.
- Cool in pan for 10 minutes, then lift out using parchment overhang and transfer to a wire rack. Cool completely before slicing (at least 1 hour).
Notes
Do not overmix the batter—fold until flour is just incorporated. Use room temperature egg to prevent butter from seizing. Measure flour by spooning into cup and leveling off. Let bread cool completely before slicing to avoid crumbling.
Nutrition
- Serving Size: 1 slice
- Calories: 220
- Sugar: 16
- Sodium: 220
- Fat: 8
- Saturated Fat: 4.5
- Carbohydrates: 34
- Fiber: 2
- Protein: 4
Keywords: banana bread, easy banana bread, one bowl banana bread, no mixer banana bread, quick bread, ripe banana recipe


