This was supposed to be a pumpkin pie. I mean, that was the plan. I had the can of pumpkin puree ready, the spices measured, and the pie crust chilling in the fridge. But somewhere between answering a work email and helping my kid find a missing shoe, I grabbed the wrong bag of flour. Instead of all-purpose, I grabbed self-rising. And honestly? I was already running late for a dinner party. The pie was a lost cause.
I stood there staring at the bowl of what was now a weird, thick dough. It was too sticky for pie crust, too dry for cake. I was about to just toss it and order pizza when my husband walked in and said, “Smells like fall in here. Are those biscuits?” Biscuits. That’s when the lightbulb went off. I mean, not a bright one — more like a flickering, desperate kitchen light. I added a little more pumpkin, a splash of maple syrup, and a heavy hand with the cinnamon. I shaped them into triangles, threw them in the oven, and crossed my fingers.
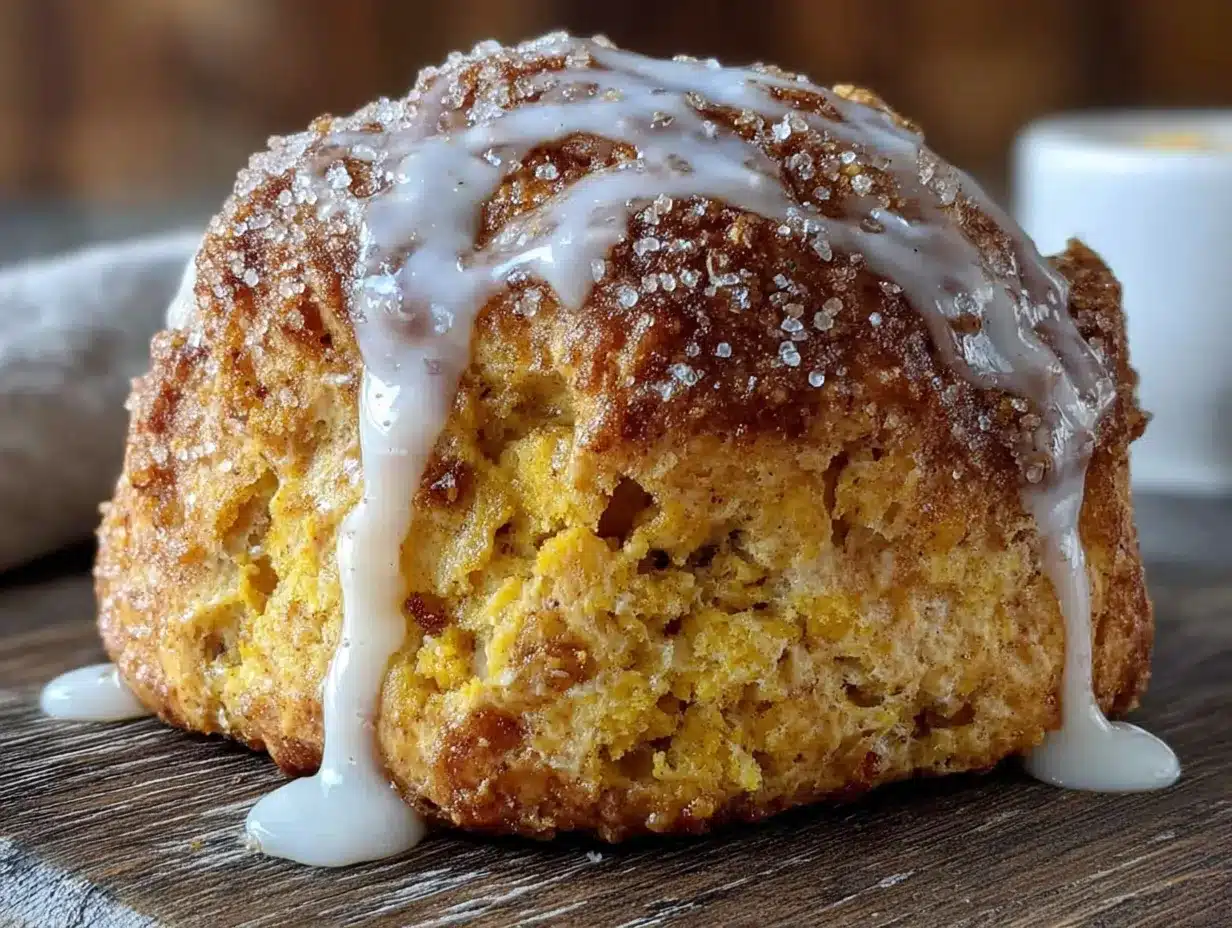
What came out of that oven was nothing like the pie I’d planned. It was better. These little triangles of golden-brown goodness had crispy edges, soft centers, and a smell that made the whole house stop and pay attention. I drizzled a quick cinnamon glaze over the top while they were still warm, and by the time we got to the party, the scones were gone. I didn’t even get to try one myself until the next morning when I made another batch — on purpose this time. That second batch confirmed what the happy accident had hinted at: these Easy Maple Pumpkin Scones with Cinnamon Glaze were a keeper. Maybe you’ve been there — a kitchen failure that turns into a win. This is one of those stories. And I’m still making them years later.
Why You’ll Love This Recipe
Let’s be real for a second. Weeknights are chaos. You’re tired, the kids are hungry, and the last thing you want is a complicated baking project. These Easy Maple Pumpkin Scones with Cinnamon Glaze are the answer to that exact problem. They come together in about 30 minutes from start to finish, and I promise you don’t need any fancy equipment or a pastry degree to pull them off.
- Quick & Easy: From mixing bowl to your mouth in under 30 minutes. No chilling, no rolling, no fuss.
- Simple Ingredients: You probably have most of this in your pantry right now. Pumpkin puree, flour, butter, maple syrup — all basics.
- Perfect for Fall Mornings (or Anytime): These scones work for breakfast, a coffee break, or even a quick dessert. They’re not picky.
- Crowd-Pleaser: I’ve brought these to work, to playdates, and to family dinners. They disappear every single time.
- Unbelievably Delicious: The texture is spot-on — crisp on the outside, tender on the inside. And that cinnamon glaze? It’s the kind of thing you want to eat with a spoon.
What makes these scones different from every other pumpkin scone recipe out there? It’s the technique. I use a simple trick of freezing the butter and grating it into the flour. This gives you those flaky, buttery layers without any complicated folding. Plus, the maple syrup isn’t just for show — it adds a deep, woodsy sweetness that pairs perfectly with the pumpkin. This isn’t just another pumpkin recipe. It’s the one you’ll make again and again because it actually works with your busy life.
What Ingredients You Will Need
This recipe uses simple, wholesome ingredients that come together to deliver big flavor without any stress. Most of these are pantry staples, and the ones that aren’t are easy to find at any grocery store. Here’s what you’ll need to make these Easy Maple Pumpkin Scones with Cinnamon Glaze.
For the Scones
- 2 cups all-purpose flour (spooned and leveled — don’t scoop directly from the bag or you’ll pack it down)
- 1/3 cup packed light brown sugar (adds moisture and a subtle molasses flavor)
- 1 tablespoon baking powder (make sure it’s fresh — this is what gives the scones their lift)
- 1 teaspoon ground cinnamon (I prefer Saigon cinnamon for its stronger, sweeter flavor)
- 1/2 teaspoon ground ginger
- 1/4 teaspoon ground nutmeg (freshly grated if you have it, but pre-ground works fine)
- 1/4 teaspoon ground cloves
- 1/2 teaspoon salt
- 1/2 cup cold unsalted butter (frozen is even better — I’ll explain why in the tips section)
- 1/2 cup pumpkin puree (not pumpkin pie filling — pure pumpkin only, like Libby’s or store brand)
- 1/4 cup pure maple syrup (use the real stuff, not pancake syrup — it makes a difference)
- 1/4 cup heavy cream (plus a little extra for brushing the tops)
- 1 large egg
For the Cinnamon Glaze
- 1 cup powdered sugar
- 2 tablespoons maple syrup
- 1/2 teaspoon ground cinnamon
- 2-3 tablespoons milk or heavy cream (adjust for desired consistency)
A quick note on the pumpkin puree: I’ve tested this with both canned and homemade, and honestly, canned is more consistent. Homemade pumpkin can be more watery, which throws off the dough. If you’re using homemade, pat it dry with a paper towel first. And for the maple syrup, don’t skip the real stuff. The flavor is deeper and less cloying than the artificially flavored syrups. Your taste buds will thank you.
Equipment Needed
You don’t need a lot of fancy gear for this recipe, which is exactly how I like it on a busy weeknight. Here’s what you’ll need:
- Large mixing bowl (any bowl will do, but a wide one makes mixing easier)
- Pastry cutter or a box grater (I use a box grater for the frozen butter — it’s a game changer)
- Baking sheet (lined with parchment paper for easy cleanup)
- Parchment paper (non-stick and saves you from scrubbing)
- Whisk (for combining dry ingredients)
- Rubber spatula or wooden spoon (for mixing the dough)
- Sharp knife or bench scraper (for cutting the scones into triangles)
- Pastry brush (for the cream wash — a silicone one works great)
- Cooling rack (optional, but helps the glaze set properly)
If you don’t have a pastry cutter, don’t worry. I’ve used two butter knives to cut the butter into the flour, and it works just fine. A food processor also works in a pinch, but be careful not to overmix. The box grater method is my favorite because it’s fast and gives you perfectly sized butter pieces every time.
Preparation Method
Alright, let’s get these Easy Maple Pumpkin Scones with Cinnamon Glaze into your oven. Follow these steps, and you’ll have warm, glazed scones in no time.
- Preheat your oven to 400°F (200°C). Line a baking sheet with parchment paper. This is one of those steps you don’t want to skip — the parchment makes cleanup a breeze and prevents the scones from sticking.
- Freeze your butter. Pop the 1/2 cup of unsalted butter into the freezer for at least 15 minutes. I do this while I’m gathering the other ingredients. Frozen butter grates much easier and creates those flaky layers we’re after.
- Mix the dry ingredients. In a large bowl, whisk together the 2 cups of flour, 1/3 cup brown sugar, 1 tablespoon baking powder, 1 teaspoon cinnamon, 1/2 teaspoon ginger, 1/4 teaspoon nutmeg, 1/4 teaspoon cloves, and 1/2 teaspoon salt. Make sure everything is evenly distributed — nobody wants a pocket of baking powder in their scone.
- Grate the butter. Take the frozen butter out of the freezer and grate it directly into the flour mixture using the large holes of a box grater. Toss the grated butter with the flour to coat each piece. This prevents the butter from clumping together and ensures it stays cold.
- Combine the wet ingredients. In a separate small bowl, whisk together the 1/2 cup pumpkin puree, 1/4 cup maple syrup, 1/4 cup heavy cream, and 1 large egg until smooth. The mixture should look like a thick, creamy orange liquid.
- Bring it all together. Pour the wet ingredients into the dry ingredients and stir with a rubber spatula until just combined. Do not overmix. You should see some streaks of flour and a few lumps — that’s totally fine. Overmixing will make the scones tough.
- Shape the dough. Turn the dough out onto a lightly floured surface. It will be sticky, so flour your hands too. Gently pat the dough into a 3/4-inch thick circle, about 8 inches in diameter. Don’t use a rolling pin — your hands are gentler and won’t overwork the dough.
- Cut the scones. Use a sharp knife or bench scraper to cut the circle into 8 wedges, like you’re cutting a pizza. Transfer the wedges to the prepared baking sheet, spacing them about 2 inches apart.
- Brush with cream. Brush the tops of the scones with a little extra heavy cream. This gives them that beautiful golden-brown color as they bake. Sprinkle a tiny bit of coarse sugar on top if you’re feeling fancy.
- Bake. Place the baking sheet in the preheated oven and bake for 14-16 minutes, or until the scones are golden brown on the edges and a toothpick inserted in the center comes out clean. The kitchen should smell like a pumpkin spice dream at this point.
- Make the glaze. While the scones are baking, whisk together the 1 cup powdered sugar, 2 tablespoons maple syrup, 1/2 teaspoon cinnamon, and 2-3 tablespoons of milk or cream. Start with 2 tablespoons and add more until you reach a thick but pourable consistency.
- Glaze and serve. Let the scones cool on the baking sheet for 5 minutes, then transfer them to a cooling rack. Drizzle the glaze over the warm scones. The glaze will set as they cool, creating that perfect crackly top.
Cooking Tips & Techniques
I’ve made these Easy Maple Pumpkin Scones with Cinnamon Glaze more times than I can count, and I’ve learned a few things along the way. Here are my best tips to make sure yours turn out perfect every time.
Keep everything cold. This is the number one rule of scone-making. Cold butter creates steam pockets in the oven, which gives you those flaky layers. If your butter starts to soften, pop the whole bowl in the fridge for 10 minutes. I once made the mistake of using room-temperature butter, and the scones came out flat and dense. Never again.
Don’t overmix the dough. I know it’s tempting to keep stirring until everything looks smooth, but stop as soon as the dough comes together. Overmixing develops the gluten, which makes scones tough and chewy instead of tender. A few floury streaks are actually a good sign.
Use a light hand when shaping. Pat the dough gently with your hands. Pressing too hard or rolling it too thin will result in dense, flat scones. You want that 3/4-inch thickness — it’s the sweet spot for a good rise and a soft interior.
Test your baking powder. If your baking powder is old, your scones won’t rise properly. Here’s a quick test: drop a teaspoon of baking powder into a cup of hot water. If it fizzes vigorously, it’s good to go. If it barely bubbles, toss it and buy a new can.
Freeze for later. These scones freeze beautifully. Shape and cut the dough, then place the unbaked scones on a baking sheet and freeze until solid. Transfer them to a freezer bag. When you’re ready to bake, pop them straight from the freezer onto a lined baking sheet and add 2-3 minutes to the baking time. Fresh scones anytime you want them.
Variations & Adaptations
One of the best things about this recipe is how flexible it is. Here are some ways to make it your own.
Gluten-Free Version: Substitute the all-purpose flour with a 1:1 gluten-free baking flour blend. I’ve used Bob’s Red Mill with great results. The texture will be slightly more crumbly, but the flavor is still spot on.
Dairy-Free Version: Use cold coconut oil or vegan butter in place of the regular butter. Swap the heavy cream with full-fat coconut cream or oat milk. The scones will be a little less rich, but still delicious.
Add Mix-Ins: Fold in 1/2 cup of chopped pecans, walnuts, or dried cranberries right before shaping the dough. The nuts add a nice crunch, and the cranberries give a tart pop that balances the sweetness.
Spice It Up: If you love a stronger spice profile, add 1/4 teaspoon of cardamom or allspice to the dry ingredients. I did this once when I ran out of cloves, and it was a happy accident — the cardamom gave the scones a slightly floral note that paired beautifully with the maple.
Change the Glaze: Not a fan of cinnamon? Make a simple maple glaze by omitting the cinnamon and adding an extra tablespoon of maple syrup. Or go for a cream cheese glaze by swapping the milk for 2 ounces of softened cream cheese. It’s richer and tangier — perfect for a special brunch.
Serving & Storage Suggestions
These Easy Maple Pumpkin Scones with Cinnamon Glaze are best served warm, right after the glaze has set. That first bite with the crackly glaze and the soft, tender interior is pure magic. But they’re also fantastic at room temperature, which makes them perfect for packing into lunchboxes or taking to a fall gathering.
Serving Ideas: Pair them with a hot cup of coffee or a chai latte for the ultimate fall treat. For brunch, serve them alongside scrambled eggs and fresh fruit for a balanced meal. They also make a great dessert — just warm them up and add a scoop of vanilla ice cream.
Storage: Store leftover scones in an airtight container at room temperature for up to 3 days. If you stack them, place a piece of parchment paper between the layers to prevent the glaze from sticking. Do not refrigerate them — the fridge dries out baked goods and makes them stale faster.
Freezing: Baked scones freeze well for up to 3 months. Let them cool completely, then wrap each scone individually in plastic wrap and place them in a freezer-safe bag. To reheat, unwrap and microwave for 20-30 seconds, or pop them in a 300°F oven for 5-7 minutes. The glaze might get a little sticky, but the flavor is still amazing.
Make-Ahead Tip: You can prepare the dry ingredient mix and the wet ingredient mix separately the night before. Store them in the fridge, then combine and bake in the morning. Fresh scones for breakfast with zero morning stress.
Nutritional Information & Benefits
Here’s an approximate nutritional breakdown for one scone (with glaze), based on a recipe that makes 8 scones:
| Nutrient | Amount per Scone |
|---|---|
| Calories | 320 |
| Total Fat | 14g |
| Saturated Fat | 9g |
| Carbohydrates | 46g |
| Sugar | 24g |
| Protein | 4g |
| Fiber | 1g |
| Vitamin A | 45% DV |
These scones are a source of Vitamin A thanks to the pumpkin puree, which is great for eye health and immune function. The maple syrup provides antioxidants and minerals like zinc and manganese, though it’s still sugar, so enjoy in moderation. If you’re watching your intake, you can reduce the glaze or use a sugar substitute, but honestly? These scones are a treat. And sometimes, a treat is exactly what you need.
Conclusion
These Easy Maple Pumpkin Scones with Cinnamon Glaze started as a kitchen mistake, but they’ve become one of my most-requested recipes. They’re quick enough for a busy weekday morning, special enough for a holiday brunch, and forgiving enough for a beginner baker. The combination of warm pumpkin spices, sweet maple, and that crackly cinnamon glaze is just unbeatable.
I hope you give them a try. Don’t be afraid to make them your own — add some nuts, swap the glaze, or double the batch. And if your dough looks a little rough or your scones are slightly lopsided? That’s okay. That’s how mine turned out the first time, and they were still the best thing I’d made in weeks. Let me know in the comments how yours turn out. Do you have a favorite fall recipe that came from a happy accident? I’d love to hear about it. Happy baking!
Frequently Asked Questions
Can I use pumpkin pie filling instead of pumpkin puree?
No, I wouldn’t recommend it. Pumpkin pie filling is pre-sweetened and spiced, which will throw off the balance of the recipe. Stick with pure pumpkin puree for the best results.
Why did my scones turn out flat?
This usually happens for one of two reasons: your butter was too warm, or your baking powder is old. Make sure your butter is cold and your baking powder is fresh. Also, avoid overmixing the dough.
Can I make these scones vegan?
Yes, with a few swaps. Use cold coconut oil or vegan butter instead of regular butter. Replace the heavy cream with full-fat coconut cream, and use a flax egg (1 tablespoon ground flaxseed mixed with 3 tablespoons water) instead of the egg. The texture will be slightly different, but they’ll still be delicious.
How do I get the glaze to set properly?
Let the scones cool for about 5-10 minutes before glazing. If they’re too hot, the glaze will melt and run off. If they’re completely cool, the glaze will sit on top and set nicely. A cooling rack helps with even glazing.
Can I double this recipe?
Absolutely. This recipe doubles beautifully. Just make sure you have a large enough mixing bowl and two baking sheets. Bake one sheet at a time, keeping the second batch in the fridge while the first one bakes.
Pin This Recipe!
Easy Maple Pumpkin Scones with Cinnamon Glaze

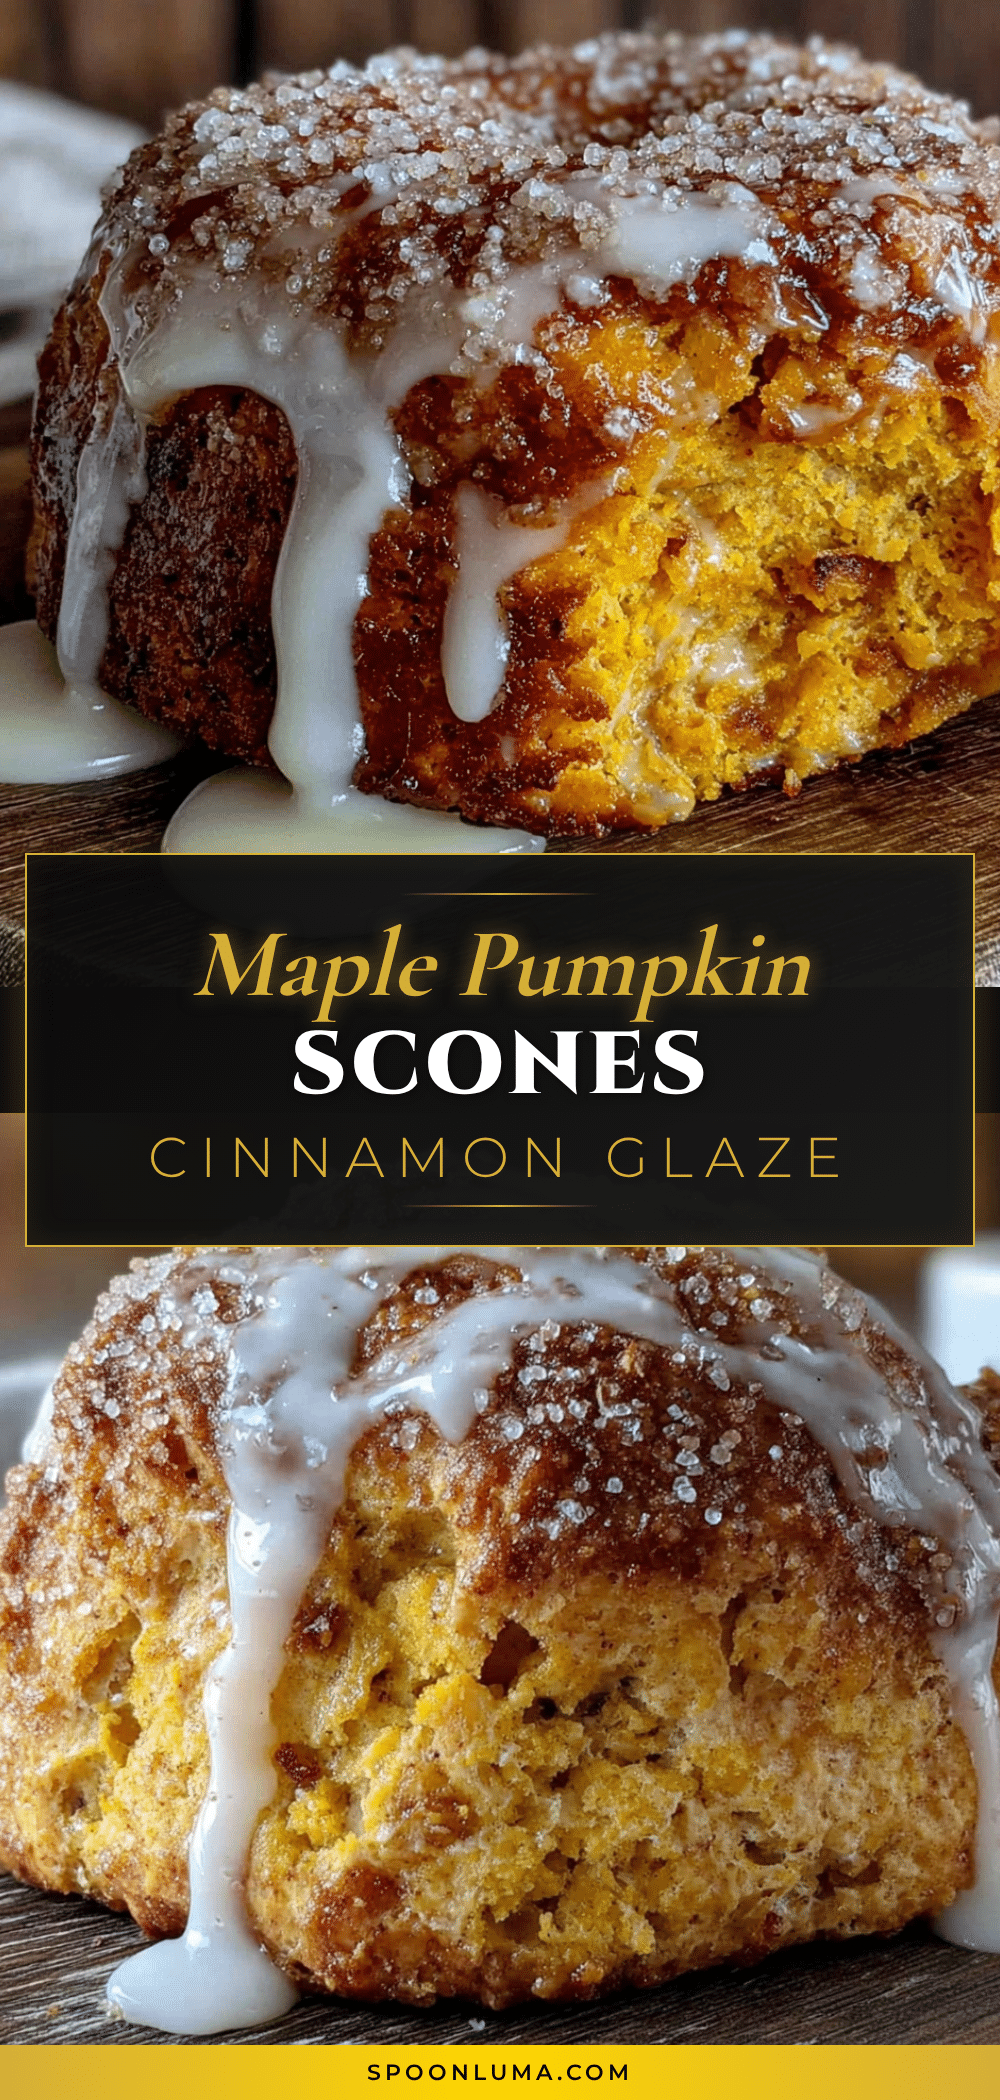
These Easy Maple Pumpkin Scones with Cinnamon Glaze are a happy accident turned into a beloved fall recipe. Quick to make in under 30 minutes, they feature flaky, buttery layers, warm pumpkin spices, and a sweet cinnamon glaze that makes them perfect for breakfast, brunch, or a cozy treat.
- Prep Time: 15 minutes
- Cook Time: 16 minutes
- Total Time: 31 minutes
- Yield: 8 servings 1x
- Category: Breakfast
- Cuisine: American
Ingredients
- 2 cups all-purpose flour (spooned and leveled)
- 1/3 cup packed light brown sugar
- 1 tablespoon baking powder
- 1 teaspoon ground cinnamon
- 1/2 teaspoon ground ginger
- 1/4 teaspoon ground nutmeg
- 1/4 teaspoon ground cloves
- 1/2 teaspoon salt
- 1/2 cup cold unsalted butter (frozen is better)
- 1/2 cup pumpkin puree (not pumpkin pie filling)
- 1/4 cup pure maple syrup
- 1/4 cup heavy cream (plus extra for brushing)
- 1 large egg
- 1 cup powdered sugar
- 2 tablespoons maple syrup
- 1/2 teaspoon ground cinnamon
- 2–3 tablespoons milk or heavy cream
Instructions
- Preheat your oven to 400°F (200°C). Line a baking sheet with parchment paper.
- Freeze the 1/2 cup of unsalted butter for at least 15 minutes.
- In a large bowl, whisk together the flour, brown sugar, baking powder, cinnamon, ginger, nutmeg, cloves, and salt.
- Grate the frozen butter directly into the flour mixture using the large holes of a box grater. Toss to coat each piece.
- In a separate small bowl, whisk together the pumpkin puree, 1/4 cup maple syrup, 1/4 cup heavy cream, and egg until smooth.
- Pour the wet ingredients into the dry ingredients and stir with a rubber spatula until just combined. Do not overmix.
- Turn the dough out onto a lightly floured surface. Gently pat into a 3/4-inch thick circle, about 8 inches in diameter.
- Cut the circle into 8 wedges. Transfer to the prepared baking sheet, spacing them about 2 inches apart.
- Brush the tops of the scones with a little extra heavy cream.
- Bake for 14-16 minutes, or until golden brown on the edges and a toothpick inserted in the center comes out clean.
- While the scones are baking, whisk together the powdered sugar, 2 tablespoons maple syrup, 1/2 teaspoon cinnamon, and 2-3 tablespoons of milk or cream until thick but pourable.
- Let the scones cool on the baking sheet for 5 minutes, then transfer to a cooling rack. Drizzle the glaze over the warm scones.
Notes
Keep all ingredients cold for flaky layers. Do not overmix the dough. For best results, use real maple syrup and fresh baking powder. Scones can be frozen unbaked or baked.
Nutrition
- Serving Size: 1 scone
- Calories: 320
- Sugar: 24
- Sodium: 320
- Fat: 14
- Saturated Fat: 9
- Carbohydrates: 46
- Fiber: 1
- Protein: 4
Keywords: pumpkin scones, maple scones, cinnamon glaze, fall breakfast, easy scone recipe, pumpkin recipe


