That faint smell of black food coloring on my fingertips—the kind that lingers even after three washes—still takes me straight to my Aunt Lena’s tiny kitchen, the October before I turned twelve. She wasn’t a fancy baker, not by any stretch. Her cookie jar was always full, but the shapes were always a little lopsided, the icing always a little too thick. But that year, she pulled out a sheet of black cats. Not scary ones, you know? They had these big, goofy yellow eyes and little piped-on smiles. I thought they were the most ridiculous, wonderful things I’d ever seen. I remember trying to sneak one while they were still cooling on the wire rack, and she just laughed, handing me a warm, slightly smudged one. It tasted like butter and vanilla and pure, unadulterated Halloween fun. That’s the feeling I chase every year when I make these Adorable Black Cat Halloween Sugar Cookies.
Honestly, most Halloween cookies are either terrifyingly elaborate or just… boring. You get the same pumpkin shapes and the same orange sprinkles. But these little guys? They have personality. They look like they’re about to pounce on a stray piece of candy corn. I wanted a cookie that captured that playful, slightly mischievous spirit of Halloween without requiring a pastry degree. A cookie that’s more “friendly neighborhood familiar” and less “haunted house horror.”
So, I spent a few weekends in my own kitchen, testing batch after batch. I messed up the icing consistency more times than I’d like to admit—one batch had cats that looked like they were melting in the rain. Not cute. But finally, I landed on a simple sugar cookie base that holds its shape perfectly and a royal icing that’s forgiving enough for beginners but sharp enough for details. These cookies are the ones I now bring to every Halloween party, and they disappear before the punch bowl gets touched. They’re just… happy. And isn’t that what a good cookie should be?
Why You’ll Love This Recipe
Let’s face it, Halloween baking can be stressful. You’re juggling candy, costumes, and the general chaos of the season. This recipe is designed to be the opposite of that. It’s your little pocket of calm, creative fun.
- Beginner-Friendly, Pro-Level Results: You don’t need to be a cake decorator to make these cats look adorable. The icing technique is simple—flood and pipe—and I’ll walk you through every step. The first time I made these, I was still figuring out how to use a piping bag without making a mess, and they still came out cute!
- Perfect for Halloween Parties & Treat Exchanges: These cookies are total showstoppers. They’re the kind of treat that makes people say, “Wait, YOU made these?” They’re perfect for classroom parties, office potlucks, or just a fun afternoon activity with the kids. I’ve even packed them up as little gifts for my neighbors.
- Simple, Pantry-Friendly Ingredients: No weird, hard-to-find ingredients here. You probably have most of the sugar cookie base staples in your pantry right now. The magic comes from the black gel food coloring and the royal icing, which are both easy to find at any grocery store or online.
- Make-Ahead Dream: The cookie dough freezes beautifully, and the baked cookies can be stored for days. You can break this project up over a whole weekend. Bake the cookies on Saturday, decorate them on Sunday. No rush, no stress.
- Endlessly Customizable: Once you master the basic black cat, you can change the colors for different holidays—pink cats for Valentine’s Day, green cats for St. Patrick’s Day. The cookie cutter is an investment in year-round cuteness!
This isn’t just another sugar cookie recipe. It’s the one that makes you feel like a kitchen rockstar. It’s the recipe that turns a simple baking session into a cherished memory, just like my Aunt Lena’s did for me. You’ll close your eyes after the first bite—not because it’s fancy, but because it tastes exactly like Halloween should.
What Ingredients You Will Need
This recipe uses simple, wholesome ingredients to create a sturdy, flavorful cookie that holds its shape and a silky icing that’s a dream to work with. The magic is in the balance—not too sweet, not too bland, just perfectly buttery.
For the Sugar Cookies
- Unsalted Butter (1 cup / 226g), softened: The foundation of any great sugar cookie. I always use unsalted so I can control the salt level. Make sure it’s truly softened to room temperature—if you press it with your finger, it should leave a gentle indent. Cold butter won’t cream properly, and melted butter will make your cookies spread too much.
- Granulated Sugar (1 cup / 200g): Provides sweetness and structure. Don’t substitute with brown sugar here, as it would change the texture and color.
- Large Egg (1): Binds the dough together and adds richness. Make sure it’s at room temperature so it emulsifies smoothly into the butter-sugar mixture.
- Vanilla Extract (1 ½ teaspoons): Pure vanilla extract is a must. It adds a warm, aromatic depth that imitation just can’t match. I’m a fan of Nielsen-Massey, but any good quality brand works.
- All-Purpose Flour (2 ½ cups / 312g): Spoon and level your flour! Scooping directly from the bag packs it down and can lead to dry, crumbly cookies. Fluff the flour, spoon it into your measuring cup, and level it off with a knife.
- Baking Powder (1 teaspoon): Gives the cookies a gentle lift, making them tender but not cakey.
- Salt (½ teaspoon): Balances the sweetness and enhances the overall flavor. Don’t skip it!
For the Royal Icing
- Powdered Sugar (3 cups / 360g), sifted: Sifting is non-negotiable here. Lumps in your powdered sugar will turn into lumps in your icing, and nobody wants a lumpy cat face.
- Meringue Powder (2 tablespoons): This is the secret to a stable, shiny royal icing that dries hard. It’s far more forgiving than using raw egg whites. I always keep a tub of Wilton brand in my pantry.
- Warm Water (4-5 tablespoons): The amount you need will vary slightly depending on humidity. Start with 4 tablespoons and add more, one teaspoon at a time, until you reach the perfect consistency.
- Black Gel Food Coloring (1-2 teaspoons): Liquid food coloring won’t give you that deep, true black—you’ll end up with a sad, grayish-purple. Gel or paste coloring is concentrated and won’t thin out your icing. I use Americolor Super Black.
- Yellow Gel Food Coloring (for the eyes): A tiny dab goes a long way for those bright, goofy eyes.
Equipment Needed
You don’t need a professional bakery setup for these cookies, but a few key tools will make your life significantly easier.
- Cat-shaped cookie cutter (3-4 inches): This is your star player. I found a great set of Halloween cutters on Amazon for under ten bucks. Look for one with a simple, clear shape—no tiny, intricate tails that will break off in the dough.
- Stand mixer or hand mixer: Creaming the butter and sugar by hand is a workout you don’t need. A stand mixer with the paddle attachment is ideal, but a hand mixer works perfectly fine.
- Rolling pin with thickness guides: This is my number one tip for even baking. Those little silicone rings that slide onto your rolling pin? Game changer. They ensure your dough is a perfect, even ¼-inch thick.
- Parchment paper or silicone baking mats: Prevents sticking and ensures even browning. I prefer silicone mats because they’re reusable and give a slightly softer bottom to the cookie.
- Piping bags (disposable or reusable): You’ll need a few. I use disposable ones for easy cleanup. For the black icing, I just snip a tiny tip off the end. For the yellow eyes and pink noses, I use a #2 round piping tip for more control.
- Cooling rack: Crucial for letting your cookies cool completely before icing. Icing on a warm cookie is a recipe for a puddle.
Preparation Method
Alright, let’s get our hands dirty. Remember, the first time I made these, my dough was too sticky, and I had to add flour by the tablespoon, muttering under my breath. You’ll do better than I did!
Step 1: Make the Sugar Cookie Dough (15 minutes)
In the bowl of your stand mixer, beat the softened butter and granulated sugar together on medium speed until it’s light, fluffy, and pale in color—about 3 minutes. Scrape down the sides of the bowl. Add the egg and vanilla extract, and beat until combined. It might look a little curdled; that’s totally normal.
In a separate bowl, whisk together the flour, baking powder, and salt. With the mixer on low, gradually add the dry ingredients to the wet ingredients. Mix until just combined—you don’t want to overwork the gluten. The dough will be soft and slightly crumbly but should hold together when you pinch it.
Step 2: Chill the Dough (1 hour minimum)
Divide the dough into two discs, wrap each tightly in plastic wrap, and flatten them into a disc shape. Flattening helps it chill faster and more evenly. Refrigerate for at least 1 hour, or up to 3 days. Chilling is non-negotiable. It firms up the butter, which prevents the cookies from spreading into blobs in the oven. If you’re in a rush, you can pop the discs in the freezer for 20 minutes.
Step 3: Roll, Cut, and Bake (30 minutes)
Preheat your oven to 350°F (175°C). Line two baking sheets with parchment paper or silicone mats.
Lightly flour your work surface and rolling pin. Roll out one disc of dough to a ¼-inch thickness. Use your thickness guides if you have them! Cut out your cat shapes and place them about 2 inches apart on the prepared baking sheets.
Here’s a tip I learned the hard way: if the dough gets too soft and sticky while you’re cutting, just pop the baking sheet into the fridge for 10 minutes to firm up the shapes. Bake for 8-10 minutes, or until the edges are just barely starting to turn a light golden brown. The centers should still look pale and set. Let them cool on the baking sheet for 5 minutes, then transfer to a wire rack to cool completely. You must wait until they are 100% cool before icing.
Step 4: Prepare the Royal Icing (10 minutes)
In the bowl of your stand mixer (use the whisk attachment) or with a hand mixer, combine the sifted powdered sugar and meringue powder. Add 4 tablespoons of warm water and beat on low until combined, then turn the speed up to medium-high and beat for 5-7 minutes. The icing should be glossy and form stiff peaks. You’re looking for the “10-second rule”: when you lift the whisk, the ribbon of icing that falls back into the bowl should disappear into the surface in about 10 seconds. If it’s too thick, add water a teaspoon at a time. If it’s too thin, add a little more sifted powdered sugar.
Divide the icing. Color the majority with black gel food coloring until it’s a deep, dark black. Reserve a few tablespoons for the yellow eyes and a tiny bit for pink noses (you can use a drop of red and white gel coloring to make pink). Keep the icing bowls covered with a damp paper towel to prevent them from drying out.
Step 5: Decorate the Cats (Time varies, but it’s the fun part!)
Transfer the black icing to a piping bag and snip a very small tip off the end. Outline each cat cookie, then immediately fill in the outline by “flooding” the center with more icing. Use a toothpick to guide the icing into the corners and pop any air bubbles. Let the black base dry for at least 2 hours, or until it’s completely set to the touch.
Once the black is dry, it’s face time! Use your yellow icing with a #2 tip to pipe two big, round eyes. Let those dry for 30 minutes, then use a tiny dot of white icing or a white gel pen to add a little highlight to each eye—it makes them look alive! Pipe a tiny pink triangle for the nose and a little curved line for the mouth. You can also pipe little whiskers if you’re feeling fancy.
Cooking Tips & Techniques
I’ve made every mistake in the book so you don’t have to. Here are the hard-won lessons from my kitchen.
- The Dough Spreading Nightmare: This happens to everyone. If your cookies are losing their shape, your dough was too warm. Don’t skip the chill time, and if your kitchen is hot, pop the cut-out cookies back in the fridge for 10 minutes before they go in the oven. I once made a batch of cats that looked more like melted blobs—they were delicious, but not very cat-like.
- Getting the Perfect Black: Don’t be shy with the gel coloring. You need more than you think. Start with a teaspoon, mix it in, and then add more until you get a deep, inky black. The color will also deepen slightly as the icing dries.
- The “Flood” Consistency is Everything: If your icing is too thick, it won’t spread out smoothly. If it’s too thin, it will run right off the cookie. The “10-second rule” is your best friend. Test it on a spare cookie or a piece of parchment paper first.
- Patience, Young Grasshopper: Letting each layer of icing dry completely is the secret to a professional-looking cookie. If you pipe the eyes onto wet black icing, they will sink in and look messy. I usually decorate the black base one evening and do the faces the next morning.
Variations & Adaptations
Once you’ve mastered the classic black cat, the possibilities are endless! This is where you can really make the recipe your own.
- Dietary Swaps: For a gluten-free version, substitute the all-purpose flour with a good 1-to-1 gluten-free baking flour blend. I’ve had great results with Cup4Cup. For a dairy-free option, use a high-quality vegan butter stick. The texture will be slightly different, but still delicious.
- Spooky Season Extravaganza: Use the same dough and icing technique to make other Halloween shapes! Ghosts (white icing with black eyes), pumpkins (orange icing with a green stem), or bats (black icing with red eyes). It’s a whole Halloween village of cookies.
- Flavor Twists: Add ½ teaspoon of almond extract along with the vanilla for a classic sugar cookie flavor. Or, for a festive touch, add ½ teaspoon of pumpkin pie spice to the dry ingredients. You could even add a tablespoon of unsweetened cocoa powder to the dough for a chocolate black cat base.
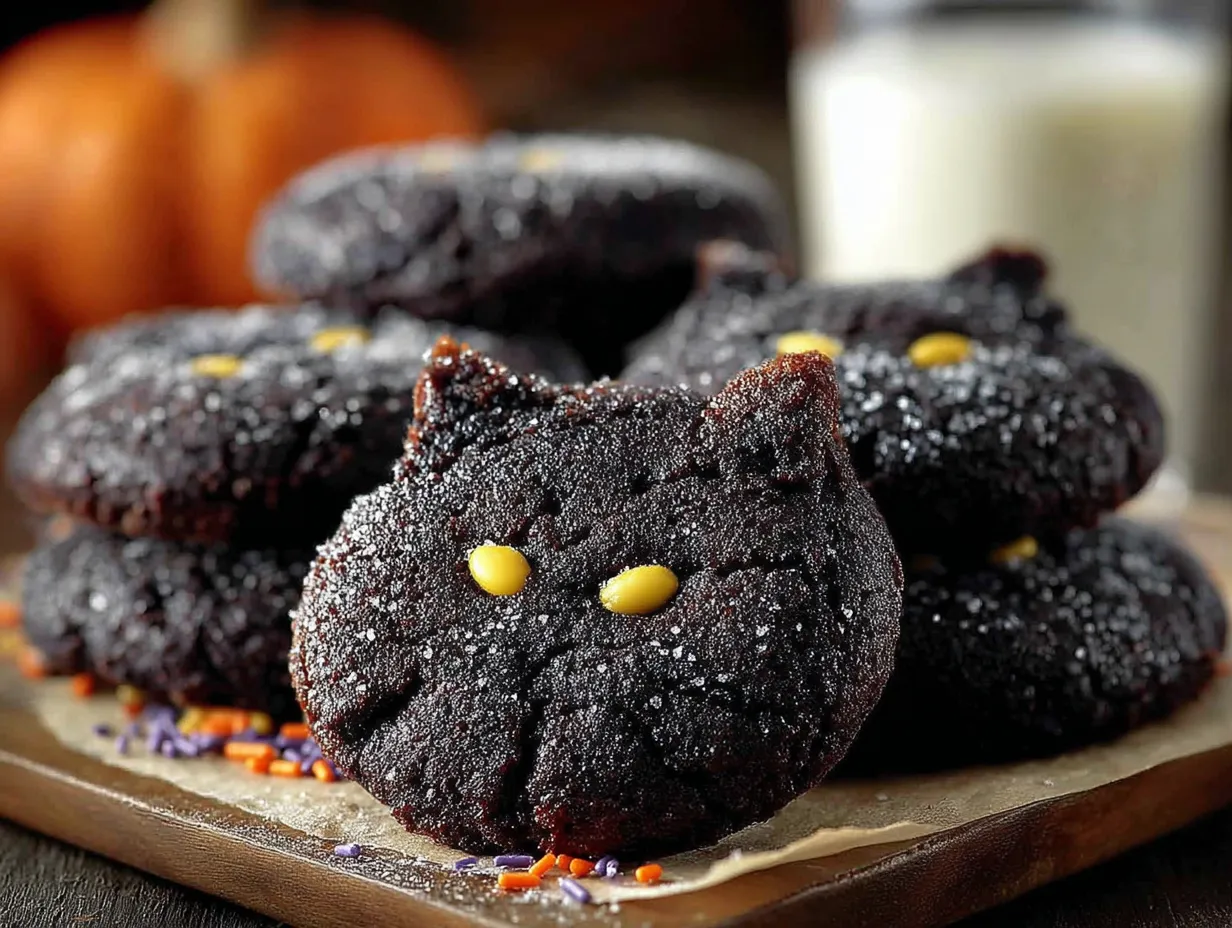
- No-Icing Shortcut: If royal icing feels intimidating, you can absolutely just bake the plain sugar cookies and dust them with black sanding sugar or black sprinkles before baking. They won’t have faces, but they’ll still be festive and delicious.
One year, I made a batch of these as Rice Krispie treat stars for the 4th of July, but for Halloween, these cats are my absolute go-to. I also love making a batch of fudgy chocolate zucchini brownies for a totally different kind of Halloween treat.
Serving & Storage Suggestions
These cookies are best enjoyed at room temperature, where the icing is firm and the cookie is tender. They make a fantastic centerpiece for a Halloween dessert table. Arrange them on a platter with a few candy corns scattered around for a cute, spooky vibe.
For gifting, stack them in a pretty cellophane bag tied with a black and orange ribbon. They travel surprisingly well because the icing hardens completely. I’ve even mailed them to friends across the country with no issues.
Storage: Store your fully decorated cookies in an airtight container at room temperature. They will stay fresh for up to 2 weeks. Seriously. The sugar cookie base actually gets a little softer and more tender after a day or two. Do not refrigerate them, as the moisture in the fridge can make the icing tacky.
Freezing: You can freeze the undecorated, baked cookies for up to 3 months. Just layer them between sheets of parchment paper in a freezer-safe container. When you’re ready to decorate, thaw them at room temperature, then ice as directed. You can also freeze the raw cookie dough discs for up to 3 months.
Nutritional Information & Benefits
Let’s be real—these are a treat, not a health food. But that doesn’t mean they can’t have a place in a balanced life! A single cookie (based on a 3-inch cutter) is approximately 150-180 calories, depending on the amount of icing.
- Butter & Eggs: Provide fat and protein for satiety.
- Vanilla Extract: Contains small amounts of antioxidants.
- Mindful Indulgence: The best “benefit” of this recipe is the joy it brings. Baking is a form of mindfulness and creativity. Sharing these cookies is an act of generosity. And honestly, sometimes your soul just needs a perfectly decorated black cat cookie.
Allergen Note: This recipe contains dairy (butter), gluten (flour), and eggs. For a nut-free version, be sure to check your vanilla extract and food coloring labels for any nut-based additives.
Conclusion
These Adorable Black Cat Halloween Sugar Cookies are more than just a recipe; they’re a little piece of my childhood, recreated and shared. They’re a reminder that Halloween doesn’t have to be about scary things—it can be about goofy, lovable black cats with big yellow eyes and crooked smiles. The dough is forgiving, the icing is fun, and the end result is a cookie that brings pure, unadulterated joy.
I really hope you give these a try. Don’t stress about making them perfect. My first batch of cats looked like they’d been caught in a rainstorm, and they were still the hit of the party. Let me know how yours turn out! Leave a comment below and tell me about your own Halloween baking memories. And if you loved this recipe, share it with a friend who needs a little spooky sweetness in their life. Happy baking, my friends!
Frequently Asked Questions
Can I use a different type of icing?
Absolutely! If you don’t want to make royal icing, a simple glaze made from powdered sugar and milk will work. Just know it won’t dry as hard, so stacking the cookies will be trickier. A buttercream frosting is also delicious, but it stays soft, so the cookies are best served the same day.
My dough is too sticky! What do I do?
Don’t panic! This usually means the dough is too warm or you added a bit too much liquid. Pop it back in the fridge for 20-30 minutes to firm up. If it’s still sticky after chilling, you can knead in a tablespoon of flour at a time until it feels right.
How do I get the black icing to be so dark?
You need to use a high-quality black gel food coloring, not liquid drops. Start with a teaspoon, mix it in, and then add more until you reach your desired shade. The color will also deepen slightly as the icing dries and sets.
Can I freeze the decorated cookies?
I don’t recommend freezing the cookies once they are decorated with royal icing. The condensation from the freezer can make the icing sticky and lose its shine. It’s much better to freeze the undecorated baked cookies or the raw dough and decorate them fresh.
My cookies spread in the oven. What went wrong?
This is the most common sugar cookie problem! The number one culprit is dough that was too warm. Make sure you chill the dough for the full hour. Also, ensure your butter was softened, not melted. Finally, check your baking powder—if it’s old, it might not give the cookies the right structure.
Pin This Recipe!
40 Adorable Black Cat Halloween Sugar Cookies

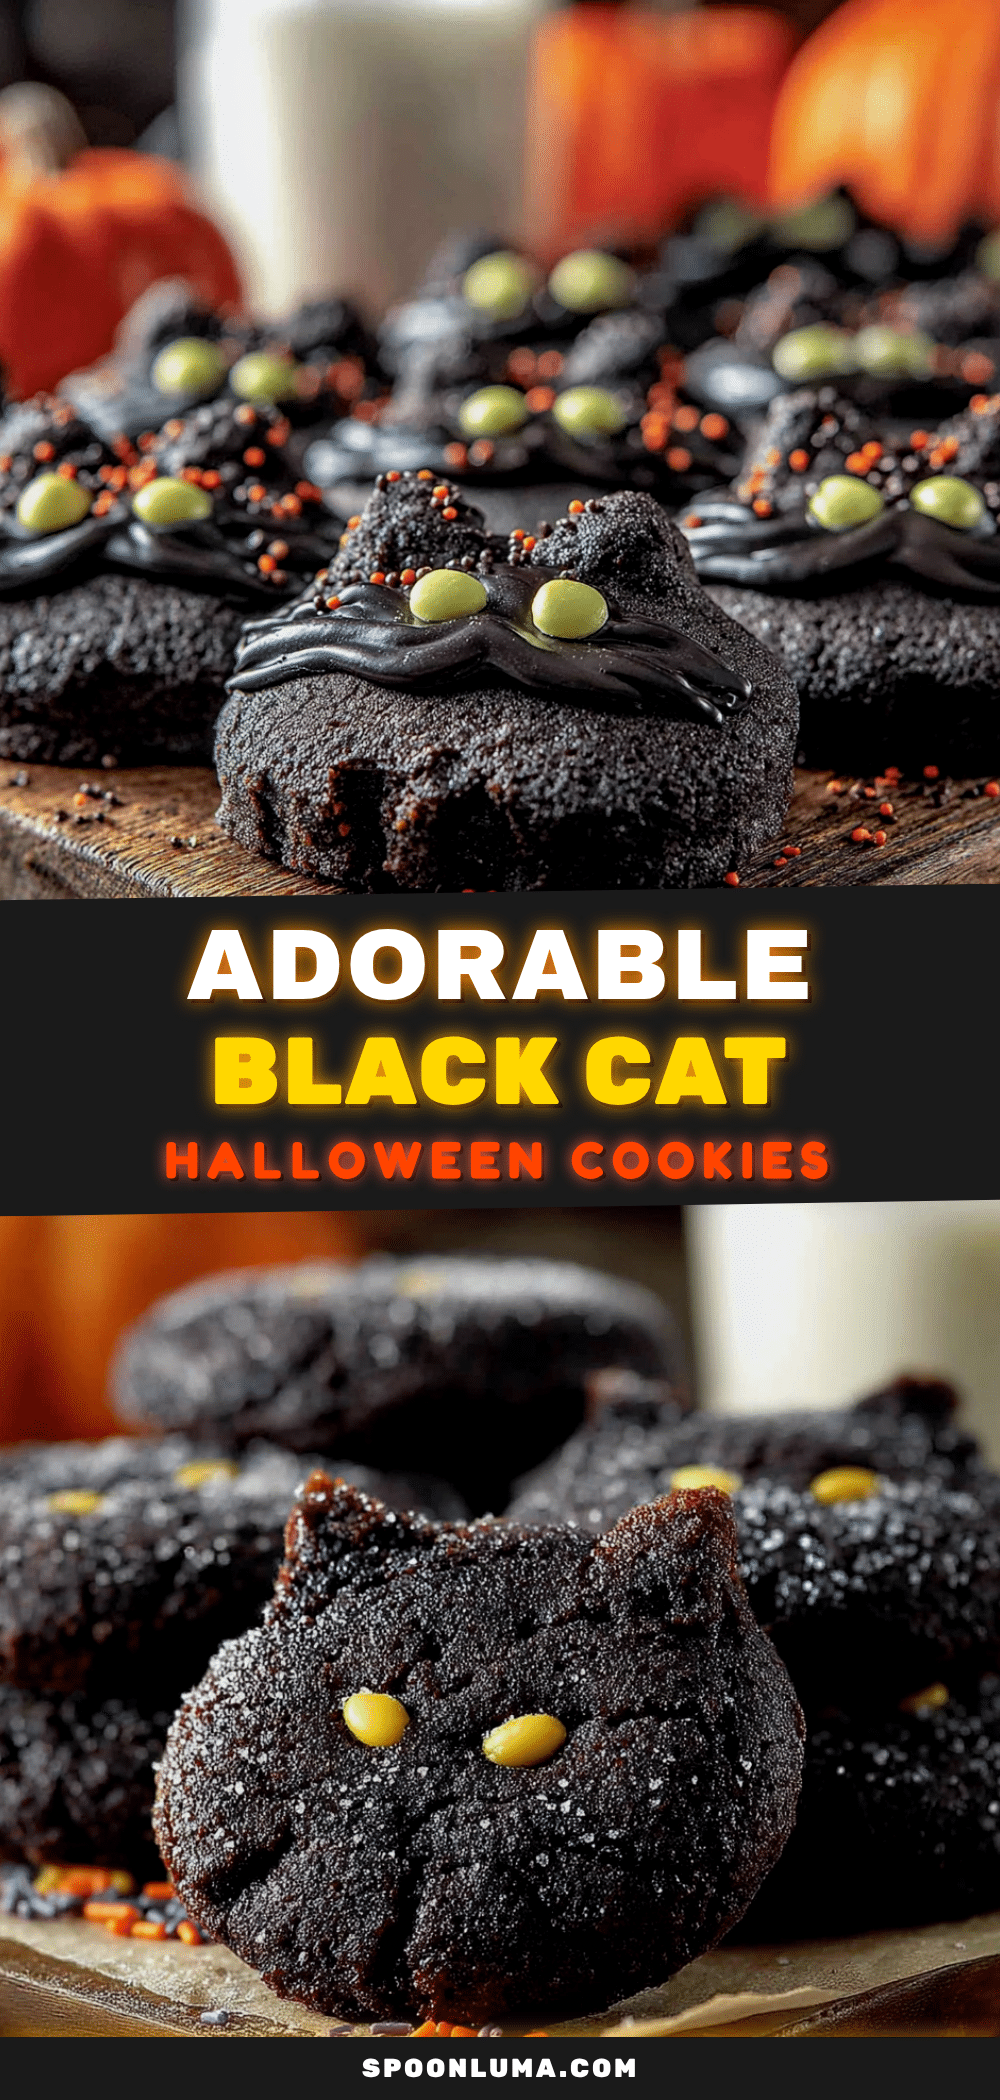
These adorable black cat Halloween sugar cookies are beginner-friendly, pro-level results. They feature a simple sugar cookie base that holds its shape perfectly and a forgiving royal icing for cute, goofy cat faces with big yellow eyes.
- Prep Time: 1 hour 15 minutes
- Cook Time: 10 minutes
- Total Time: 1 hour 25 minutes (plus 2+ hours drying time)
- Yield: 40 cookies 1x
- Category: Dessert
- Cuisine: American
Ingredients
- 1 cup (226g) unsalted butter, softened
- 1 cup (200g) granulated sugar
- 1 large egg, room temperature
- 1 ½ teaspoons vanilla extract
- 2 ½ cups (312g) all-purpose flour, spooned and leveled
- 1 teaspoon baking powder
- ½ teaspoon salt
- 3 cups (360g) powdered sugar, sifted
- 2 tablespoons meringue powder
- 4–5 tablespoons warm water
- 1–2 teaspoons black gel food coloring
- Yellow gel food coloring (for eyes)
- Pink gel food coloring (for noses, optional)
Instructions
- Make the sugar cookie dough: In a stand mixer, beat softened butter and granulated sugar on medium speed until light, fluffy, and pale (about 3 minutes). Scrape down sides. Add egg and vanilla extract; beat until combined.
- In a separate bowl, whisk together flour, baking powder, and salt. With mixer on low, gradually add dry ingredients to wet ingredients. Mix until just combined. Dough will be soft and slightly crumbly but should hold together when pinched.
- Divide dough into two discs, wrap tightly in plastic wrap, and flatten into discs. Refrigerate for at least 1 hour, or up to 3 days.
- Preheat oven to 350°F (175°C). Line two baking sheets with parchment paper or silicone mats.
- Lightly flour work surface and rolling pin. Roll out one disc of dough to ¼-inch thickness. Cut out cat shapes and place 2 inches apart on prepared baking sheets.
- Bake for 8-10 minutes, until edges are just barely starting to turn light golden brown. Centers should still look pale and set. Cool on baking sheet for 5 minutes, then transfer to wire rack to cool completely.
- Prepare royal icing: In a stand mixer with whisk attachment, combine sifted powdered sugar and meringue powder. Add 4 tablespoons warm water and beat on low until combined, then medium-high for 5-7 minutes until glossy and stiff peaks form (10-second rule).
- Divide icing. Color majority with black gel food coloring until deep black. Reserve some for yellow eyes and pink noses. Keep bowls covered with damp paper towel.
- Transfer black icing to piping bag with small tip. Outline each cat cookie, then flood center with icing. Use toothpick to guide icing into corners and pop air bubbles. Let black base dry for at least 2 hours until completely set.
- Once black is dry, pipe two big round eyes with yellow icing using #2 tip. Let dry 30 minutes. Add tiny white highlight to each eye. Pipe tiny pink triangle for nose and curved line for mouth. Add whiskers if desired.
Notes
Chill dough thoroughly to prevent spreading. Use gel food coloring for deep black color. Let each layer of icing dry completely before adding details. Cookies can be stored in airtight container at room temperature for up to 2 weeks. Undecorated baked cookies can be frozen for up to 3 months.
Nutrition
- Serving Size: 1 cookie
- Calories: 165
- Sugar: 16
- Sodium: 75
- Fat: 7
- Saturated Fat: 4
- Carbohydrates: 24
- Protein: 2
Keywords: Halloween cookies, black cat cookies, sugar cookies, royal icing cookies, Halloween baking, decorated cookies, cat cookies, spooky cookies


