Late October, and the only thing I want is this pumpkin dump cake. The kitchen is quiet, the windows are fogged up from the steam of a pot of tea, and the whole house smells like cinnamon and nutmeg. Not the kind of smell that comes from a candle, either. The real kind. The kind that means something good is about to happen in a baking dish.
I found this recipe by accident, honestly. I had a can of pumpkin puree leftover from a failed attempt at homemade ravioli (don’t ask), and a box of yellow cake mix that was just sitting there in the pantry. I was tired, it was a Tuesday, and I didn’t have the energy for a multi-step dessert that required a stand mixer and a degree in patience. So I dumped everything in a dish. Baked it. And then stood over the counter eating it straight from the pan with a fork.
That was three years ago, and I haven’t stopped making it since. It’s not fancy. It’s not complicated. But it is the kind of dessert that makes you slow down and take a real breath. The kind you make when you need a win in the kitchen without the stress.
Why You’ll Love This Recipe
This isn’t just another pumpkin dessert. It is the one that disappears before the whipped cream even hits the table. I’ve tested this version more times than I can count, tweaking the baking time, the spice level, the way the cake mix crisps up on top. What I landed on is the perfect balance of creamy, spiced pumpkin filling and a buttery, crunchy topping.
- Only 4 Ingredients: Pumpkin puree, evaporated milk, yellow cake mix, and butter. That’s it. No eggs, no sugar, no fuss.
- No Mixing Bowls: You literally dump everything into the baking dish. The layers form on their own. It’s magic.
- Perfect for Fall Gatherings: Whether it’s a Thanksgiving potluck or a casual Sunday dinner, this cake fits right in.
- Crowd-Pleaser: I’ve brought this to parties where people asked for the recipe before they finished their first bite.
- Unbelievably Easy: If you can open a can and sprinkle a box of cake mix, you can make this. No baking skills required.
What makes this recipe different from all the other pumpkin dump cakes out there? It’s the ratio. I found that using a full can of evaporated milk (not sweetened condensed milk) gives the pumpkin layer a silky, almost custard-like texture without being too heavy. And the yellow cake mix? It creates a golden, slightly crisp topping that contrasts perfectly with the soft pumpkin underneath. It’s not just good. It’s the kind of dessert that makes you close your eyes after the first bite.
What Ingredients You Will Need
This recipe uses simple, pantry-friendly ingredients to deliver a dessert that tastes like you spent hours in the kitchen. The magic is in how they layer together in the pan.
- 1 can (15 oz) pumpkin puree – Not pumpkin pie filling. Make sure you grab 100% pure pumpkin. I personally prefer Libby’s for its consistent texture and flavor. It’s not watery and blends beautifully with the milk.
- 1 can (12 oz) evaporated milk – This is key for the custard-like layer. Do not substitute with sweetened condensed milk unless you want a dessert that is cloyingly sweet. Evaporated milk adds richness without the sugar overload.
- 1 box (15.25 oz) yellow cake mix – Any brand works. I’ve used Betty Crocker, Duncan Hines, and store brands. They all work. The cake mix creates the crunchy, buttery topping. If you want a little extra texture, you can use a butter recipe yellow cake mix.
- 1/2 cup (1 stick) unsalted butter, melted – Salted butter works too if that’s what you have on hand. Just cut back on any added salt if you’re sensitive. The butter gets poured over the dry cake mix and creates that golden, crispy crust as it bakes.
- Optional: 1 teaspoon pumpkin pie spice – I add this to the pumpkin layer for extra warmth. You can skip it if you only have plain pumpkin, but the spice really brings out the fall flavors.
- Optional: 1/2 cup chopped pecans or walnuts – For a little crunch on top. I’ve made it with and without, and honestly, both versions are fantastic.
One thing I learned the hard way: don’t stir the layers. The whole point of a dump cake is that you pour the pumpkin mixture in the pan, sprinkle the dry cake mix on top, and then drizzle the melted butter over the cake mix. Stirring ruins the texture. Trust the process.
Equipment Needed
You don’t need much for this recipe, which is part of why I love it. Here’s what you’ll need:
- 9×13-inch baking dish – Glass or ceramic works best. Metal pans can work too, but you might need to adjust the baking time slightly. I use a 9×13 glass dish and it comes out perfect every time.
- Mixing bowl and whisk – For combining the pumpkin puree and evaporated milk. Nothing fancy needed.
- Measuring cups and spoons – For the melted butter and any optional spices or nuts.
- Spatula or spoon – For spreading the pumpkin mixture evenly in the dish.
- Small saucepan or microwave-safe bowl – For melting the butter. I usually just pop it in the microwave for 30 seconds.
If you don’t have a 9×13 dish, you can use a similar-sized baking dish. Just keep an eye on the baking time since different materials conduct heat differently. I’ve used a disposable aluminum pan before when bringing this to a potluck, and it worked fine. Just be careful not to overfill it.
Preparation Method
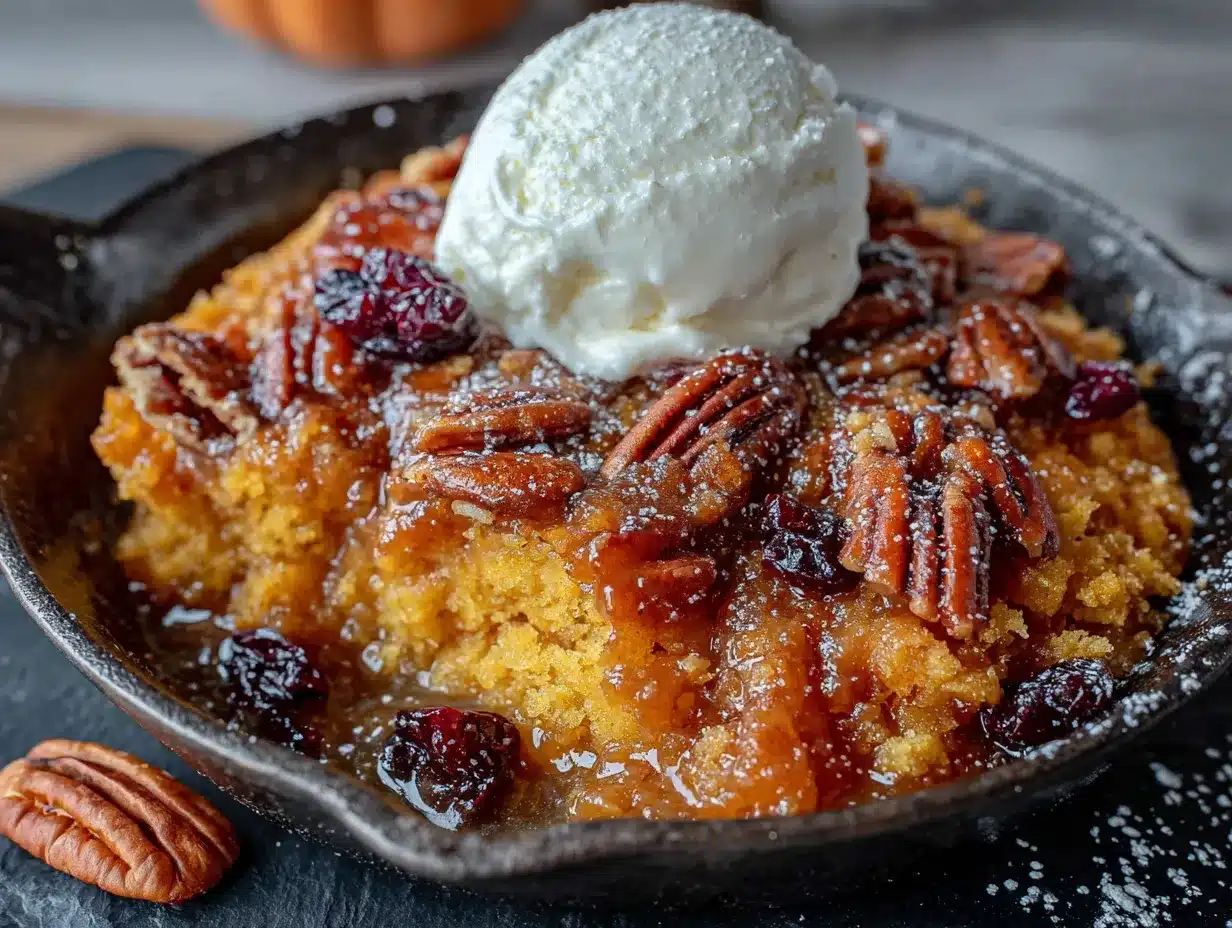
This is where the magic happens. Follow these steps, and you’ll have a dessert that looks like you fussed over it for hours.
- Preheat your oven to 350°F (175°C). While it’s heating up, lightly grease your 9×13 baking dish with butter or non-stick spray. This makes cleanup easier and prevents the bottom layer from sticking.
- In a mixing bowl, combine the pumpkin puree and evaporated milk. Whisk them together until smooth. The mixture should be thick but pourable. If you’re using pumpkin pie spice, stir it in now. The spice will bloom as it bakes, filling your kitchen with that irresistible fall aroma.
- Pour the pumpkin mixture into the prepared baking dish. Use a spatula to spread it evenly across the bottom. Don’t worry if it seems thin. It will thicken as it bakes and create a beautiful custard layer.
- Sprinkle the entire box of yellow cake mix evenly over the pumpkin mixture. This is important: don’t stir it in. Just dump the dry mix straight from the box and spread it out with your fingers or a spoon. Make sure every inch of the pumpkin layer is covered. This dry layer is what creates the crunchy topping.
- Drizzle the melted butter over the cake mix. Try to get it as even as possible. Don’t pour it all in one spot. I like to drizzle in a zigzag pattern, then gently tilt the pan to help it spread. The butter will soak into the cake mix and create pockets of crispy, golden goodness.
- If using, sprinkle the chopped nuts on top. This adds a lovely crunch and a little extra texture. I usually add pecans because they pair so well with pumpkin.
- Bake for 45 to 50 minutes. The top should be golden brown and the edges should be bubbly. The center might still jiggle slightly when you take it out, but that’s okay. It will set as it cools. If the top is browning too quickly, tent the dish loosely with foil for the last 10 minutes.
- Let it cool for at least 15 minutes before serving. I know it’s tempting to dig in right away, but letting it rest allows the layers to set properly. Serve warm or at room temperature.
One thing I always tell people: don’t overbake it. The pumpkin layer should be set but still soft and creamy. If you bake it until it’s completely firm, it will be dry. You want that slight jiggle in the center. Trust me on this one.
Cooking Tips & Techniques
Over the years, I’ve made this pumpkin dump cake more times than I can count. Here are the things I wish someone had told me the first time.
Don’t skip the evaporated milk. I tried using heavy cream once because I thought it would be richer. It was too thick and the layers didn’t separate properly. Evaporated milk has just the right consistency to create that silky pumpkin custard. It’s also lower in fat, so you don’t feel like you need a nap after eating a slice.
Spread the cake mix evenly. If you dump it all in one spot, you’ll end up with dry patches of cake mix that never get moistened by the butter. Take the extra 30 seconds to spread it out evenly. Your future self will thank you.
Use cold butter if you want bigger crumbles. If you grate cold butter over the cake mix instead of drizzling melted butter, you’ll get larger, more pronounced crumbles on top. It’s a different texture, but some people prefer it. I’ve done it both ways, and honestly, I prefer the melted butter method because it creates a more even, crispy topping.
Let it cool completely if you want clean slices. If you serve it warm, it will be a little messy. That’s not a bad thing, honestly. The warm, gooey pumpkin layer is absolutely divine. But if you want those Instagram-worthy slices, let it cool for at least an hour, or even refrigerate it for a few hours.
Watch the edges. The edges of the cake will get darker and crispier than the center. That’s normal. If you like a softer topping, you can pull the cake out a few minutes early. If you love the crunchy bits (and I do), let it bake the full 50 minutes.
I once forgot to add the butter entirely. I was in a rush, sprinkled the cake mix on top, and popped it in the oven. Twenty minutes later, I realized my mistake. I pulled it out, drizzled the butter on top, and put it back in. It still worked! Not my best work, but it taught me that this recipe is forgiving.
Variations & Adaptations
This pumpkin dump cake is incredibly versatile. Here are some ways to make it your own.
- Gluten-Free Version: Use a gluten-free yellow cake mix. Most brands work well. I’ve used King Arthur’s gluten-free yellow cake mix with great results. The texture is slightly different, but the flavor is spot on.
- Dairy-Free Version: Substitute the butter with a dairy-free alternative like Miyoko’s or Earth Balance. Use full-fat coconut milk instead of evaporated milk. It adds a subtle coconut flavor that actually pairs beautifully with pumpkin.
- Spice It Up: Add a pinch of cayenne pepper or chipotle powder to the pumpkin mixture for a spicy-sweet kick. I tried this on a whim last year and it was a hit at a Friendsgiving dinner. The heat sneaks up on you in the most pleasant way.
- Add a Cream Cheese Layer: Drop spoonfuls of softened cream cheese over the pumpkin mixture before adding the cake mix. Swirl it in gently with a knife. It creates pockets of tangy richness that take this dessert to another level.
- Use a Different Cake Mix: Spice cake mix works beautifully here. So does butter pecan. I’ve even used white cake mix when I was out of yellow. It’s a little less rich, but still delicious.
If you love easy, forgiving desserts, you might also enjoy this cast iron s’mores dip. It follows the same dump-and-bake philosophy, and it’s perfect for sharing.
Serving & Storage Suggestions
This pumpkin dump cake is best served warm, with a generous scoop of vanilla ice cream or a dollop of freshly whipped cream. The contrast between the warm, spiced pumpkin and the cold, creamy topping is pure comfort food magic.
For presentation, I like to scoop it into shallow bowls so you can see the layers. A sprinkle of cinnamon or a drizzle of caramel sauce on top makes it look extra special without any extra effort.
Storage: Cover the baking dish with foil or plastic wrap and store it in the refrigerator for up to 5 days. The texture will firm up as it chills, but it softens again when reheated.
Reheating: The best way to reheat individual servings is in the microwave for 20-30 seconds. For a larger portion, pop the whole dish in a 300°F oven for 10-15 minutes. The topping will crisp back up nicely.
Freezing: This cake freezes surprisingly well. Let it cool completely, then wrap the entire dish tightly in plastic wrap and foil. Freeze for up to 3 months. Thaw overnight in the refrigerator and reheat before serving. The texture of the pumpkin layer stays creamy, and the topping retains its crunch.
One thing I’ve noticed: the flavors actually deepen after a day in the fridge. The spices meld together and the pumpkin becomes even more pronounced. If you can resist eating it all on day one, day two is even better.
Nutritional Information & Benefits
While this is definitely a treat, there are some nutritional bright spots worth mentioning.
Estimated per serving (1/12 of recipe): 290 calories, 14g fat, 38g carbohydrates, 4g protein, 2g fiber, 22g sugar.
Pumpkin is packed with vitamin A, which supports eye health and immune function. It’s also a good source of fiber, which helps with digestion and keeps you feeling full. The evaporated milk adds calcium and protein, making this dessert a little more substantial than your average cake.
If you’re watching your sugar intake, you can use a sugar-free yellow cake mix and reduce the butter slightly. The texture will be a bit different, but it’s a decent alternative. I’ve also made this with a keto-friendly cake mix and it worked, though the topping was less crispy.
For a healthier fall baked good, try this healthy zucchini bread with Greek yogurt. It’s packed with veggies and protein, and it’s just as satisfying.
Conclusion
This easy pumpkin dump cake is the kind of recipe that becomes a tradition. It’s the dessert you make when you want to impress without the stress. The one that gets requested year after year, even by people who claim they don’t like pumpkin desserts.
I love how forgiving it is. How it doesn’t require precision or fancy techniques. How it fills your house with the smell of fall and makes everyone who walks through the door feel welcome. It’s not a fussy dessert. It’s the kind you make in your favorite sweatpants, with a cup of coffee nearby, and a fork in your hand before it’s even fully cooled.
If you make this recipe, I’d love to hear about it. Leave a comment below and tell me how it turned out. Did you add nuts? Serve it with ice cream? Eat it straight from the pan at midnight? No judgment here. That’s exactly how I discovered it in the first place.
And if you’re looking for more easy, crowd-pleasing desserts, check out our full collection of recipes. There’s a whole world of simple, delicious baking waiting for you.
Frequently Asked Questions
Can I use pumpkin pie filling instead of pumpkin puree?
I don’t recommend it. Pumpkin pie filling already has sugar and spices added, which will make the dessert overly sweet and throw off the texture. Stick with 100% pure pumpkin puree for the best results.
Do I need to refrigerate pumpkin dump cake?
Yes, because of the evaporated milk and butter, this cake should be stored in the refrigerator after it has cooled completely. It will keep for up to 5 days. Let it come to room temperature or reheat before serving for the best texture.
Can I make this in a slow cooker?
You can, but the texture will be different. The topping won’t get as crispy since there’s no dry heat. If you want to try it, cook on low for 3-4 hours or on high for 1.5-2 hours. Place a paper towel under the lid to catch condensation.
Why is my pumpkin dump cake watery?
This usually happens if the pumpkin puree was too watery or if the cake wasn’t baked long enough. Make sure you’re using pure pumpkin puree (not pumpkin pie filling) and bake until the edges are bubbly and the center is set but still slightly jiggly.
Can I double this recipe?
Absolutely. Use a 9×13 dish for a single batch. For a double batch, use a larger baking dish like an 11×15 or two 9×13 dishes. You’ll need to increase the baking time by about 10-15 minutes. Check for doneness by looking for bubbly edges and a golden top.
Pin This Recipe!
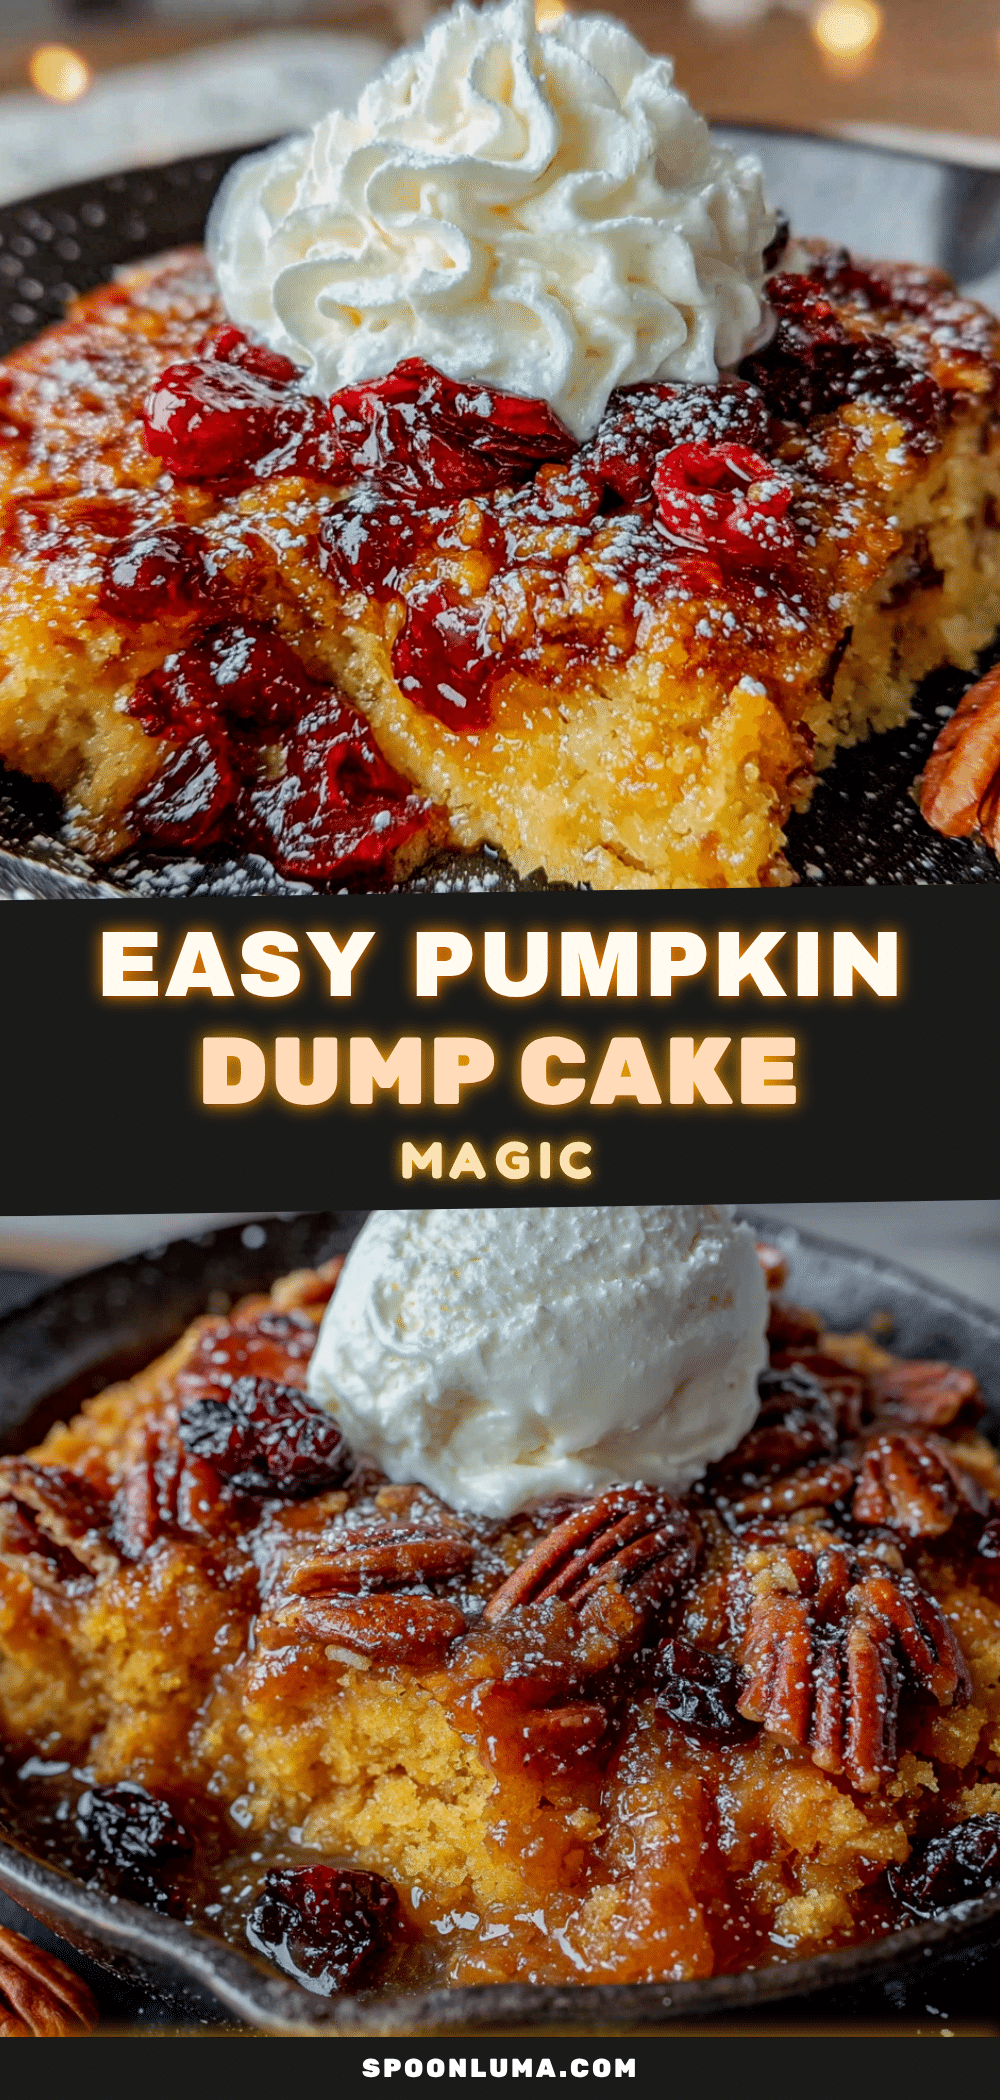
Easy Pumpkin Dump Cake: The Best 4-Ingredient Fall Dessert
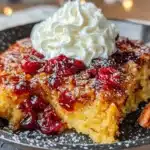
This easy pumpkin dump cake is a simple, 4-ingredient dessert that combines a creamy pumpkin custard layer with a buttery, crunchy cake mix topping. Perfect for fall gatherings, it’s a forgiving recipe that requires no mixing bowls and delivers incredible flavor.
- Prep Time: 10 minutes
- Cook Time: 45 minutes
- Total Time: 55 minutes
- Yield: 12 servings 1x
- Category: Dessert
- Cuisine: American
Ingredients
- 1 can (15 oz) pumpkin puree
- 1 can (12 oz) evaporated milk
- 1 box (15.25 oz) yellow cake mix
- 1/2 cup (1 stick) unsalted butter, melted
- Optional: 1 teaspoon pumpkin pie spice
- Optional: 1/2 cup chopped pecans or walnuts
Instructions
- Preheat your oven to 350°F (175°C). Lightly grease a 9×13-inch baking dish with butter or non-stick spray.
- In a mixing bowl, combine the pumpkin puree and evaporated milk. Whisk until smooth. If using pumpkin pie spice, stir it in now.
- Pour the pumpkin mixture into the prepared baking dish and spread evenly with a spatula.
- Sprinkle the entire box of yellow cake mix evenly over the pumpkin mixture. Do not stir.
- Drizzle the melted butter over the cake mix in a zigzag pattern. Gently tilt the pan to help it spread evenly.
- If using, sprinkle the chopped nuts on top.
- Bake for 45 to 50 minutes, until the top is golden brown and the edges are bubbly. The center may still jiggle slightly.
- Let cool for at least 15 minutes before serving. Serve warm or at room temperature.
Notes
Don’t stir the layers. The whole point of a dump cake is that you pour the pumpkin mixture in the pan, sprinkle the dry cake mix on top, and then drizzle the melted butter over the cake mix. Stirring ruins the texture. Let it cool completely if you want clean slices. The flavors deepen after a day in the fridge.
Nutrition
- Serving Size: 1/12 of recipe
- Calories: 290
- Sugar: 22
- Sodium: 320
- Fat: 14
- Saturated Fat: 8
- Carbohydrates: 38
- Fiber: 2
- Protein: 4
Keywords: pumpkin dump cake, easy pumpkin dessert, 4-ingredient dessert, fall dessert, pumpkin cake, dump cake