That first crackle of wax paper being peeled away from a bakery box. It’s a sound that, honestly, still makes my heart skip a beat. For me, it always takes me straight back to my grandmother’s kitchen, where a simple, single-layer cake sat waiting on her worn turquoise counter. It wasn’t a towering, fondant-covered masterpiece. It was just her cake—a perfectly golden, tender vanilla cake, studded with a handful of rainbow sprinkles. No fuss, no stress. Just pure, unadulterated birthday joy. I remember watching her, convinced she was a wizard. She wasn’t. She just knew that the best celebrations didn’t require a three-tiered production. They just needed a little bit of butter, a lot of love, and a cake that tasted like pure happiness.
This recipe is my grown-up tribute to that feeling. It’s the Perfect Small-Batch Vanilla Birthday Cake with Sprinkles you turn to when you want that nostalgic, celebratory taste without committing to a whole sheet cake. Maybe it’s just a Tuesday and you need a pick-me-up. Maybe it’s a quiet birthday for two. Or maybe, like me, you just want a slice of something simple and perfect. This cake is all of that. It’s moist, it’s fluffy, and that vanilla flavor is just right—not too sweet, with a tender crumb that practically melts. It’s the kind of cake that doesn’t need a fancy occasion to be made. It is the occasion.
Why You’ll Love This Recipe
I’ve tested this recipe more times than I care to admit. Sometimes the cake was too dry. Other times, it sank in the middle. But this version? This one is the winner. It’s the one I make for my own birthday now, because it’s simply the best.
- Perfectly Portioned: This recipe makes a single 6-inch layer or a small loaf cake. It’s just enough for two to four people, with no leftovers to tempt you all week. No more half-eaten cakes drying out in the fridge!
- Simple, Pantry Ingredients: You don’t need buttermilk, sour cream, or any fancy extracts. Just butter, sugar, eggs, flour, and vanilla. You probably have everything right now.
- Unbelievably Tender Crumb: The secret is in the creaming method and the perfect balance of fat to flour. This cake is soft, moist, and stays that way for days (if it lasts that long).
- Crowd-Pleaser for Small Gatherings: It’s the perfect ending to a dinner party for four, a sweet treat for a movie night, or a heartfelt birthday surprise for a roommate or partner.
- Customizable Fun: The base is a blank canvas. You can keep it classic with sprinkles, or dress it up with chocolate chips, citrus zest, or a simple glaze.
What makes this recipe different from the rest is the technique. I use a reverse-creaming method, which means you mix the dry ingredients with the fat first. This coats the flour in butter, preventing too much gluten from forming and guaranteeing a super-tender, almost velvety texture. It sounds fancy, but it’s actually easier than the traditional method. This isn’t just another vanilla cake recipe—it’s your new go-to for when you need a little celebration in your day.
What Ingredients You Will Need
This recipe uses simple, wholesome ingredients to deliver that classic birthday cake flavor and texture. The magic really is in how they come together.
- Unsalted Butter (4 tablespoons, softened): This is crucial. I prefer using unsalted butter so I can control the salt level. Make sure it’s at room temperature—soft to the touch but not melty. This ensures it creams properly with the sugar and creates air pockets for a light cake. I personally love using Kerrygold for its rich flavor, but any good-quality butter works.
- Granulated Sugar (½ cup): This does more than sweeten. It helps tenderize the gluten and gives the cake a beautiful golden-brown crust.
- Large Egg (1, room temperature): The egg provides structure and richness. A room-temperature egg emulsifies into the batter much better than a cold one, creating a smoother, more uniform crumb. If you forget to take it out of the fridge, just place it in a bowl of warm water for 5 minutes.
- Pure Vanilla Extract (1 teaspoon): Don’t skimp here! Vanilla is the star flavor. Use pure vanilla extract, not imitation, for the warmest, most authentic taste. You can also use vanilla bean paste for those beautiful little vanilla specks.
- All-Purpose Flour (¾ cup + 2 tablespoons): This is the backbone of the cake. I use unbleached all-purpose flour. Spoon it into your measuring cup and level it off with a knife—don’t scoop directly from the bag, or you’ll pack in too much flour and end up with a dry cake.
- Baking Powder (½ teaspoon): Our leavening agent. Make sure it’s fresh! Expired baking powder won’t give your cake the lift it needs. To test, drop a little into hot water; if it fizzes, it’s good to go.
- Salt (¼ teaspoon): A small amount of salt is non-negotiable. It balances the sweetness and enhances the vanilla flavor. I use fine sea salt.
- Milk (¼ cup + 1 tablespoon, room temperature): Whole milk is best for a rich, tender crumb, but 2% will also work. The milk adds moisture and helps the cake rise evenly.
- Rainbow Sprinkles (¼ cup): Use jimmies (the long, rod-shaped sprinkles), not nonpareils (the tiny round balls). Nonpareils can bleed their color into the batter and turn your cake a muddy grey. Jimmies hold their shape and color beautifully.
Equipment Needed
You don’t need a professional bakery setup for this one. A few basic tools will get the job done perfectly.
- One 6-Inch Round Cake Pan or Small Loaf Pan: This is the perfect size for this small-batch recipe. If you don’t have a 6-inch pan, you can use a 5×9-inch loaf pan, but you may need to adjust the baking time by a few minutes.
- Electric Hand Mixer or Stand Mixer: While you can mix this by hand with a whisk and some elbow grease, an electric mixer makes the creaming process much easier and ensures a lighter texture. I’ve used my trusty KitchenAid for years, and it’s never let me down.
- Mixing Bowls: You’ll need a medium-sized bowl for the dry ingredients and a larger one for the batter.
- Rubber Spatula: Essential for scraping down the sides of the bowl and folding in the sprinkles without overmixing.
- Parchment Paper: Lining your pan with a parchment paper sling is the best way to guarantee your cake comes out in one piece. Cut a circle for the bottom and a strip for the sides.
- Cooling Rack: A wire rack allows air to circulate around the cake, cooling it evenly and preventing a soggy bottom.
Preparation Method
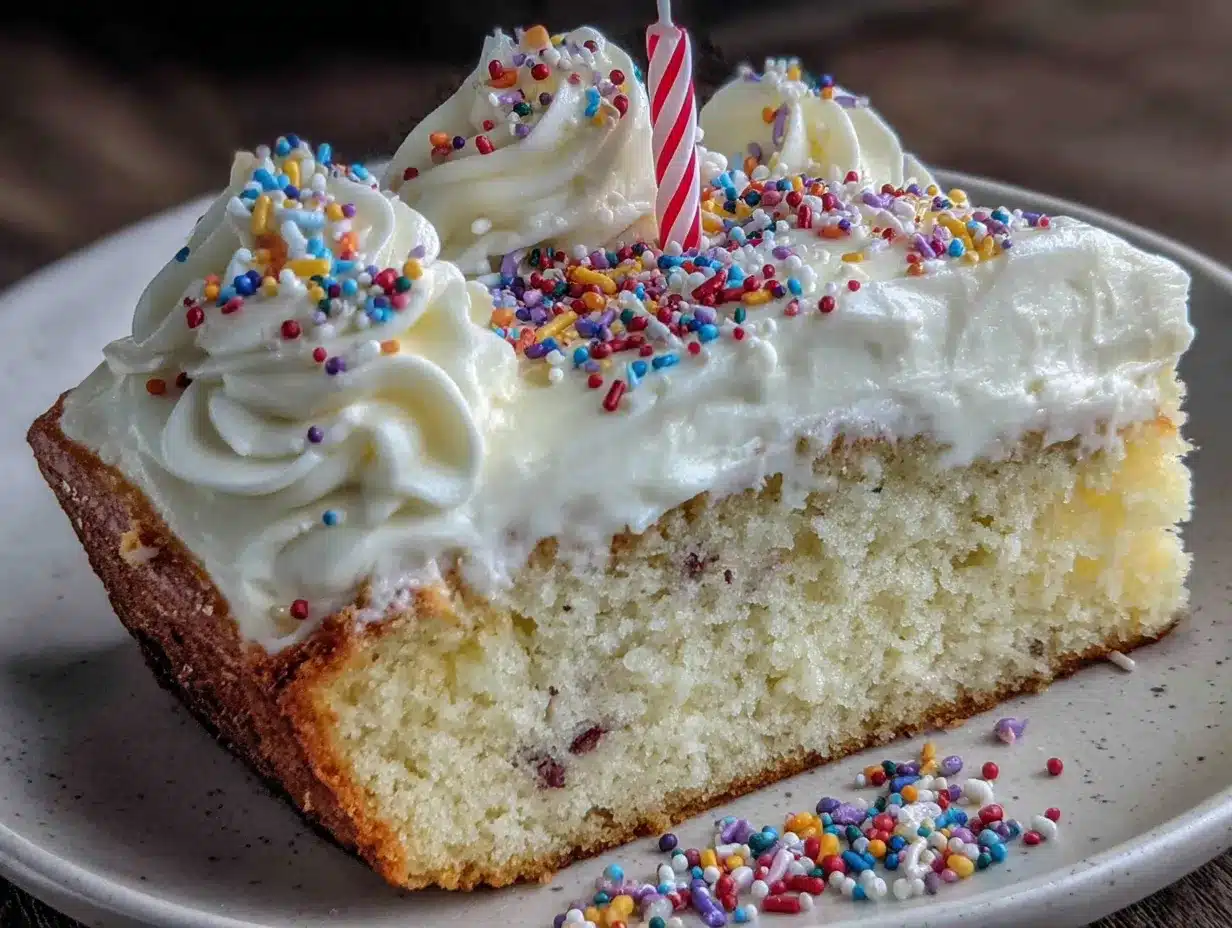
Let’s get baking. Trust the process, and you’ll be rewarded with the most perfect little cake.
- Preheat and Prep (5 minutes): Preheat your oven to 350°F (175°C). Grease your 6-inch cake pan with a little butter or non-stick spray. Line the bottom with a circle of parchment paper and grease that too. This step is your insurance policy against a stuck cake.
- Whisk the Dry Ingredients (2 minutes): In a medium bowl, whisk together the ¾ cup + 2 tablespoons of all-purpose flour, ½ teaspoon of baking powder, and ¼ teaspoon of salt. Whisking aerates the flour and distributes the leavening agent evenly. Set this aside.
- Cream the Butter and Sugar (3-4 minutes): In a larger bowl, beat the 4 tablespoons of softened unsalted butter with an electric mixer on medium speed until it’s smooth and creamy. Add the ½ cup of granulated sugar and beat for a full 3-4 minutes. You want the mixture to look light, fluffy, and pale in color. This step is where you’re building the structure of your cake, so don’t rush it! Scrape down the sides of the bowl with your spatula once or twice.
- Add the Egg and Vanilla (1 minute): Crack the room-temperature egg into the butter-sugar mixture. Add the 1 teaspoon of pure vanilla extract. Beat on medium speed until everything is fully combined and smooth. It might look a little curdled for a second, but it will come back together. Scrape the bowl again.
- Alternate Dry and Wet Ingredients (2 minutes): This is the reverse-creaming part. With the mixer on low speed, add about one-third of the flour mixture to the wet ingredients. Mix until just combined. Pour in half of the ¼ cup + 1 tablespoon of milk and mix again. Repeat with another third of the flour, the remaining milk, and then the final third of the flour. Mix only until the flour disappears. Overmixing at this stage will develop gluten and make your cake tough.
- Fold in the Sprinkles (30 seconds): This is the fun part. Using your rubber spatula, gently fold the ¼ cup of rainbow jimmies into the batter. Fold just a few times until they are evenly distributed. Don’t stir vigorously or the sprinkles might start to bleed.
- Bake (25-30 minutes): Pour the batter into your prepared cake pan and spread it into an even layer. Bake for 25-30 minutes. The cake is done when a toothpick inserted into the center comes out clean or with a few moist crumbs attached. The top should be golden and spring back lightly when you touch it.
- Cool (1 hour): Let the cake cool in the pan on a wire rack for 10 minutes. Then, run a knife around the edge to loosen it, invert the cake onto the rack, peel off the parchment paper, and let it cool completely. This is very important—if you try to frost or glaze a warm cake, it will all slide right off. Patience is a virtue, especially when cake is involved.
Cooking Tips & Techniques
I’ve learned a few things the hard way (like the time I used nonpareils and ended up with a grey cake). Here are my best tips for success.
- Room Temperature is Not a Suggestion: I cannot stress this enough. Cold butter won’t cream properly, and cold eggs can cause your batter to curdle and separate. Taking the time to let your ingredients come to room temperature (about 30-60 minutes) is the single best thing you can do for a tender crumb. I once made this cake with cold eggs out of impatience, and the texture was dense and slightly greasy. Never again.
- The Toothpick Test is King: Ovens can be liars. Some run hot, some run cold. Don’t rely solely on the timer. At the 25-minute mark, start checking with a toothpick. If it comes out clean, it’s done. If there’s wet batter, give it 2-3 more minutes and check again.
- Don’t Overmix the Batter: Once you add the flour, you are just one overzealous stir away from a tough, rubbery cake. Mix until the streaks of flour are gone, then stop. It’s okay if the batter isn’t perfectly smooth at that point; it will sort itself out in the oven.
- Weigh Your Flour for Perfection: For the most accurate results, use a kitchen scale. 1 cup of all-purpose flour should weigh about 120-125 grams. This eliminates the guesswork of scooping and ensures you get the perfect texture every single time.
Variations & Adaptations
This cake is a fantastic base for creativity. Here are a few ways I love to change it up.
- Chocolate Chip Birthday Cake: Swap the rainbow sprinkles for ¼ cup of mini chocolate chips. The mini chips distribute more evenly and don’t sink to the bottom of the batter. This is my husband’s favorite variation.
- Lemon-Blueberry Cake: Add the zest of one lemon to the sugar and rub it in with your fingers before creaming the butter. This releases the lemon oils and infuses the whole cake with flavor. Fold in ½ cup of fresh or frozen blueberries (tossed in a tablespoon of flour to prevent sinking) instead of the sprinkles.
- Gluten-Free Option: Substitute the all-purpose flour with a 1:1 gluten-free baking flour blend that contains xanthan gum (like Bob’s Red Mill or King Arthur). Make sure to let the batter rest for 15 minutes before baking to allow the gluten-free flours to hydrate. The texture will be slightly more delicate, but still delicious.
- Simple Vanilla Buttercream: For a classic birthday cake experience, top the cooled cake with a simple buttercream. Beat 4 tablespoons of softened butter with 1 cup of powdered sugar, 1 tablespoon of milk, and ½ teaspoon of vanilla until light and fluffy. Spread it on top and add more sprinkles!
Serving & Storage Suggestions
This cake is best served at room temperature. The flavors are more pronounced and the texture is at its peak.
- Serving: Slice it with a sharp, serrated knife for clean cuts. It’s wonderful on its own, but a dollop of lightly sweetened whipped cream or a scoop of vanilla ice cream takes it over the top. It’s also lovely with a cup of coffee or a cold glass of milk.
- Storage: Store any leftover cake in an airtight container at room temperature for up to 3 days. The cake actually gets more moist and flavorful on the second day as the flavors meld together. Do not refrigerate it, as the cold air will dry it out.
- Freezing: This cake freezes beautifully! Wrap the completely cooled, unfrosted cake tightly in plastic wrap, then in a layer of aluminum foil. Freeze for up to 3 months. To thaw, let it sit on the counter for a few hours or overnight in the refrigerator. I like to bake a double batch and freeze one for a rainy day.
Nutritional Information & Benefits
While this is a treat, it’s made with simple, real ingredients. Here is the estimated nutritional breakdown for one slice (assuming 4 servings).
- Calories: Approximately 320-350 per slice
- Fat: 15g
- Carbohydrates: 45g
- Protein: 4g
- Sugar: 28g
The butter provides a source of fat-soluble vitamins, and the eggs are a great source of protein and choline. By making it at home, you have complete control over the quality of ingredients. You can also easily adapt it to be lower in sugar by using a sugar substitute, though I haven’t tested that myself. It’s a celebration cake, after all—meant to be enjoyed without guilt!
Conclusion
This Perfect Small-Batch Vanilla Birthday Cake with Sprinkles is more than just a recipe. It’s a little moment of joy. It’s the cake you make when you want to tell someone (or yourself) that they are special, without all the stress and fuss. It’s proof that you don’t need a huge production to create something truly wonderful. I love this recipe because it feels like a hug. It’s simple, it’s reliable, and it always, always makes me smile.
I truly hope you give this little cake a try. Don’t be afraid to make it your own—swap in your favorite sprinkles, add a pinch of cinnamon, or top it with a mountain of frosting. When you do, I’d love to hear about it! Leave a comment below and tell me how it turned out, or share a photo on Pinterest and tag me. Happy (almost) birthday, or happy Tuesday, or just happy day. You deserve a slice of cake.
Frequently Asked Questions
Can I double this recipe to make a two-layer cake?
Absolutely! Simply double all the ingredients and bake the batter in two 6-inch pans. The baking time will remain roughly the same. You can then stack them with your favorite frosting for a classic layer cake.
Why did my cake sink in the middle?
This usually happens for one of two reasons: the oven door was opened too early (before the structure set), or the baking powder is old. Make sure your oven is fully preheated and you don’t peek for the first 20 minutes. Always check the expiration date on your baking powder.
Can I use a different type of sprinkles?
Yes, but stick to jimmies or sanding sugar. Avoid nonpareils (the tiny round balls) as they tend to bleed their color into the batter. Chocolate jimmies or holiday-themed sprinkles are a great way to change the look.
How do I know when my butter is properly softened?
Softened butter should be cool to the touch but yield easily when you press it with your finger. It should leave a slight indentation without feeling greasy or melty. If your finger slides right through, it’s too soft.
Can I make this cake dairy-free?
Yes! You can substitute the butter with a high-quality vegan butter stick (like Earth Balance or Miyoko’s) and the milk with any unsweetened plant-based milk, such as oat milk or almond milk. The texture will be slightly different, but it will still be delicious and tender.
Pin This Recipe!
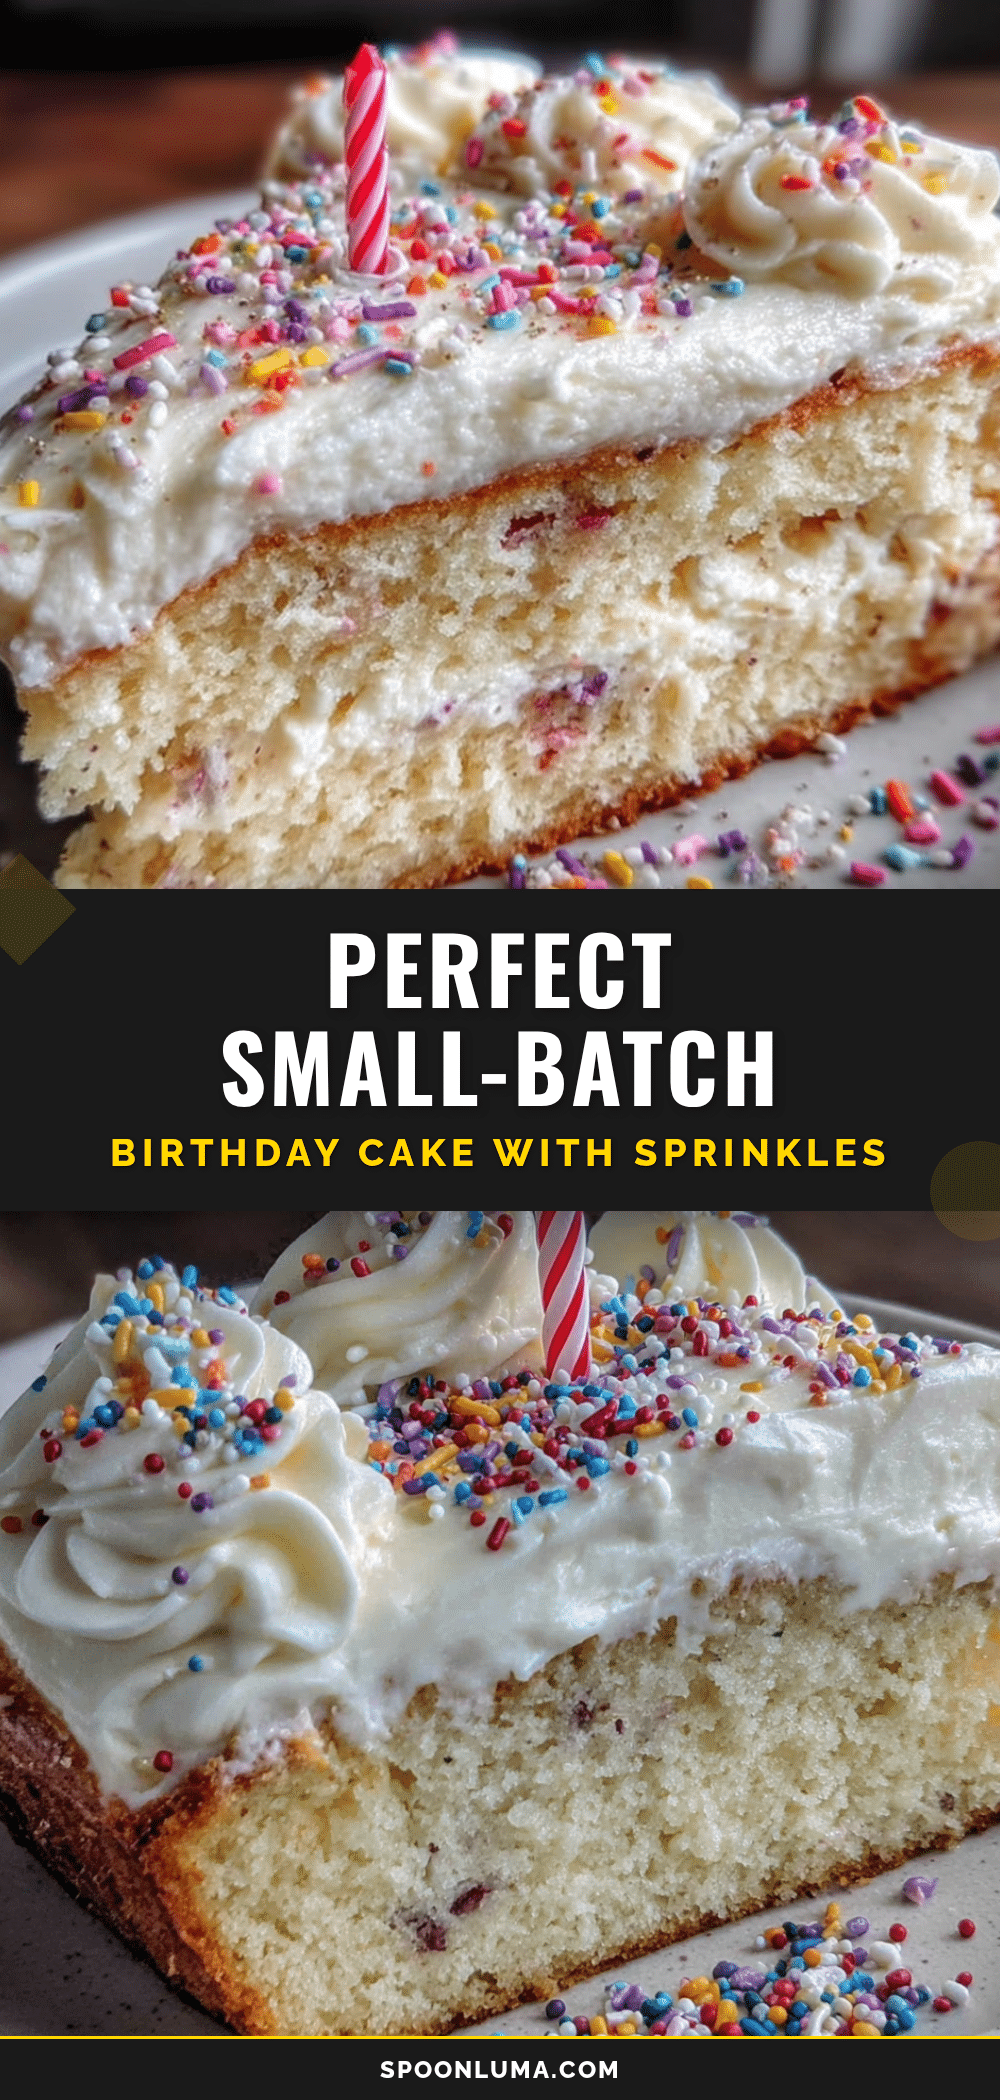
Perfect Small-Batch Vanilla Birthday Cake with Sprinkles
A nostalgic, perfectly portioned vanilla birthday cake with a tender crumb and rainbow sprinkles. This small-batch recipe is ideal for a quiet celebration or a simple, joyful treat.
- Prep Time: 15 minutes
- Cook Time: 30 minutes
- Total Time: 45 minutes
- Yield: 4 servings 1x
- Category: Dessert
- Cuisine: American
Ingredients
- 4 tablespoons unsalted butter, softened
- ½ cup granulated sugar
- 1 large egg, room temperature
- 1 teaspoon pure vanilla extract
- ¾ cup + 2 tablespoons all-purpose flour
- ½ teaspoon baking powder
- ¼ teaspoon salt
- ¼ cup + 1 tablespoon milk, room temperature
- ¼ cup rainbow sprinkles (jimmies)
Instructions
- Preheat oven to 350°F (175°C). Grease a 6-inch round cake pan and line the bottom with parchment paper.
- In a medium bowl, whisk together flour, baking powder, and salt.
- In a larger bowl, beat butter with an electric mixer on medium speed until smooth and creamy. Add sugar and beat for 3-4 minutes until light and fluffy.
- Add egg and vanilla extract; beat until fully combined and smooth.
- With mixer on low, add one-third of the flour mixture, mixing until just combined. Add half the milk, mix, then repeat with remaining flour and milk, ending with flour. Mix only until flour disappears.
- Gently fold in rainbow sprinkles with a rubber spatula until evenly distributed.
- Pour batter into prepared pan and spread evenly. Bake for 25-30 minutes, until a toothpick inserted in the center comes out clean or with a few moist crumbs.
- Cool in pan on a wire rack for 10 minutes. Loosen edges, invert onto rack, remove parchment, and cool completely.
Notes
Use room temperature ingredients for best texture. Avoid nonpareils sprinkles as they bleed color. For a two-layer cake, double all ingredients and bake in two 6-inch pans. Store in an airtight container at room temperature for up to 3 days.
Nutrition
- Serving Size: 1 slice (1/4 of cake
- Calories: 335
- Sugar: 28
- Sodium: 220
- Fat: 15
- Saturated Fat: 9
- Carbohydrates: 45
- Fiber: 1
- Protein: 4
Keywords: small-batch cake, vanilla birthday cake, sprinkle cake, single layer cake, easy birthday cake


