I did not trust browned butter in cookies. Honestly, it always felt like one of those tricks food bloggers use to make something ordinary sound fancy—like sprinkling flaky salt on a brownie and calling it artisanal. So when my sister texted me a photo of these brown butter pumpkin snickerdoodle cookies last October, I almost scrolled past. She was raving about how the nutty butter made the pumpkin taste “toasty” and “deep,” and I remember thinking, “That’s just burnt butter talking.” But she’s not a baker—she’s the person who uses the same stick of margarine for everything—so when she said she’d made them three times in one week, I had to pause.
The first batch I made, I burned the butter. Obviously. I was so busy being skeptical that I let the milk solids go from golden to black in about fifteen seconds flat. The second batch? I under-toasted the pecans and the cookies came out flat. But the third time—that was the one. The kitchen smelled like a Cracker Barrel had a baby with a pumpkin patch. Brown butter does something to pumpkin that I can’t fully explain. It doesn’t mask it. It deepens it. Like adding a warm blanket to an already cozy sweater. And the cinnamon-sugar coating? That crackly top that shatters when you bite into it? I ate four before they even cooled.
Why You’ll Love This Recipe
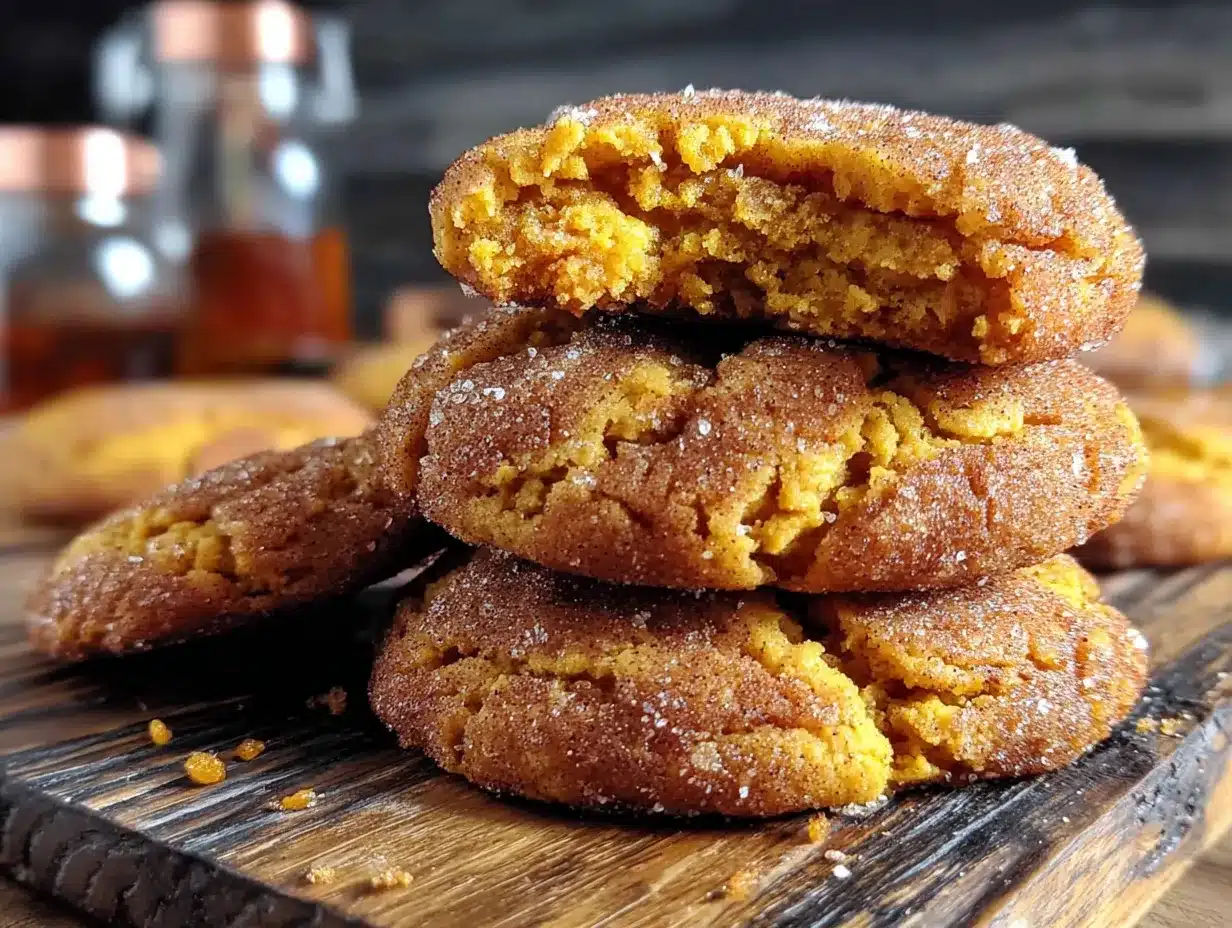
These brown butter pumpkin snickerdoodle cookies are not your average fall cookie. I tested six batches to get the texture right—soft in the center, slightly crisp at the edges, with that signature snickerdoodle crackle on top. Here is why they keep disappearing from my kitchen counter:
- Quick & Easy : From start to finish, these come together in about 35 minutes. No chilling required (though you can if you want a thicker cookie).
- Simple Ingredients : You probably have most of this in your pantry right now. The only “special” thing is pumpkin puree, and that is a fall staple anyway.
- Perfect for Fall Baking : Great for Thanksgiving cookie swaps, Halloween parties, or just a Tuesday when you need something warm and spiced.
- Crowd-Pleaser : I brought these to a potluck and three people asked for the recipe before I even sat down.
- Unbelievably Delicious : The brown butter adds a nutty, almost caramel-like depth that plain butter just cannot match. Paired with pumpkin and warm spices? It is next-level comfort food.
What makes these different from every other pumpkin cookie recipe out there? It is the technique. Browning the butter first changes everything. It adds a toasty richness that cuts through the sweetness and makes the pumpkin flavor taste roasted instead of just… pumpkin-y. Plus, the cream of tartar gives that classic snickerdoodle tang that balances the sugar perfectly. This is not just another version of a pumpkin cookie. It is the one you will make every single fall.
Honestly, these cookies are the kind that make you close your eyes after the first bite. That sounds dramatic, I know. But when you bite through that cinnamon-sugar crust and hit the soft, buttery, pumpkin-spiced center? You will get it.
What Ingredients You Will Need
This recipe uses simple, wholesome ingredients to deliver big flavor without the fuss. Most of these are pantry staples, especially if you bake during the fall months. Here is what you will need:
For the Brown Butter
- Unsalted butter, 1 cup (2 sticks) — I prefer Kerrygold for the higher fat content, but any good unsalted butter works. Salted butter will make the cookies too salty since we add salt separately.
For the Cookie Dough
- All-purpose flour, 2 ¾ cups (330g) — Spoon and level it. Scooping directly from the bag packs in too much flour and makes dry cookies.
- Cream of tartar, 2 teaspoons — This is non-negotiable for the classic snickerdoodle tang. Do not skip it.
- Baking soda, 1 teaspoon
- Ground cinnamon, 1 ½ teaspoons
- Ground nutmeg, ½ teaspoon
- Ground ginger, ¼ teaspoon
- Ground cloves, ¼ teaspoon (optional but recommended)
- Salt, ½ teaspoon — I use fine sea salt. If using table salt, reduce to ¼ teaspoon.
- Pumpkin puree, ½ cup (120g) — Make sure it is 100% pumpkin, not pumpkin pie filling. Libby’s is my go-to because it is consistently thick and not watery.
- Granulated sugar, 1 cup (200g)
- Light brown sugar, ½ cup (100g), packed — Adds moisture and a hint of molasses flavor that pairs beautifully with the brown butter.
- Large egg, 1, at room temperature
- Vanilla extract, 2 teaspoons — Pure vanilla, not imitation. It makes a difference here.
For the Cinnamon-Sugar Coating
- Granulated sugar, ¼ cup (50g)
- Ground cinnamon, 1 ½ tablespoons
Ingredient Tips & Substitutions:
If you are out of cream of tartar, you can substitute with 2 teaspoons of lemon juice or white vinegar mixed into the wet ingredients, but the texture will be slightly different. For a dairy-free version, use vegan butter (I like Miyoko’s) and brown it the same way—just watch it closely because vegan butter browns faster. If you want a gluten-free option, swap the all-purpose flour with a 1:1 gluten-free baking flour blend that contains xanthan gum. I have tested this with Bob’s Red Mill 1:1 and it worked beautifully. And if you are out of pumpkin puree? You can use sweet potato puree in a pinch. It is not exactly the same, but honestly, it is still delicious.
Equipment Needed
You do not need a fancy kitchen to make these cookies. Here is what you will need:
- Large skillet or saucepan — A light-colored skillet is best for browning butter because you can actually see the milk solids turn golden. Dark pans make it hard to tell when it is done.
- Mixing bowls — One large, one medium. I use glass or stainless steel.
- Whisk — For the dry ingredients and the cinnamon-sugar coating.
- Rubber spatula — For folding the dough together. A wooden spoon works too, but the spatula gets every last bit.
- Baking sheets — Two standard half-sheet pans. If you only have one, let it cool completely between batches.
- Parchment paper — Silicone baking mats work too, but parchment gives a slightly crisper bottom.
- Cookie scoop — A 1.5-tablespoon scoop is perfect for uniform cookies. If you do not have one, use two spoons.
- Cooling rack — Essential for letting the cookies set properly. If you leave them on the hot pan, they will keep cooking and get overdone.
I have made these with a cheap $5 cookie scoop from the grocery store and they turned out fine. Do not overthink the equipment. Just use what you have.
Preparation Method
Let me walk you through this step by step. Trust me, the first time you brown butter, it feels a little nerve-wracking. But after one or two tries, you will wonder why you ever used plain butter in cookies.
Step 1: Brown the Butter
Cut the butter into tablespoon-sized pieces and place them in a light-colored skillet or saucepan over medium heat. Stir constantly with a rubber spatula or wooden spoon. The butter will melt, then foam, then start to sizzle. After about 5-7 minutes, you will see little brown specks forming at the bottom of the pan—those are the milk solids toasting. The butter will smell nutty and amazing. As soon as it turns a golden-amber color and you see those brown specks, remove it from the heat immediately. Pour it into a heat-safe bowl (glass or ceramic) and let it cool for 10-15 minutes. Do not leave it in the hot pan or it will keep cooking and burn.
My tip: If you are nervous about burning it, take it off the heat a little early. It is better to under-brown than to burn it. Burnt butter tastes bitter and you will have to start over.
Step 2: Mix the Dry Ingredients
In a medium bowl, whisk together the flour, cream of tartar, baking soda, cinnamon, nutmeg, ginger, cloves, and salt. Whisk for about 20 seconds to make sure everything is evenly distributed. Set aside.
Step 3: Combine the Wet Ingredients
In a large bowl, whisk together the cooled brown butter, granulated sugar, and brown sugar until smooth. It will look a little grainy at first—that is normal. Add the pumpkin puree, egg, and vanilla extract. Whisk until fully combined and smooth. The mixture will look a bit thick and glossy.
Step 4: Combine Wet and Dry
Pour the dry ingredients into the wet ingredients. Fold gently with a rubber spatula until just combined. Do not overmix. A few streaks of flour are okay; they will disappear as the dough rests. The dough will be soft and slightly sticky—that is exactly what you want.
Step 5: Make the Cinnamon-Sugar Coating
In a small shallow bowl, stir together the ¼ cup granulated sugar and 1 ½ tablespoons cinnamon until well mixed.
Step 6: Shape and Coat the Cookies
Preheat your oven to 350°F (175°C). Line two baking sheets with parchment paper. Using a 1.5-tablespoon cookie scoop (or two spoons), scoop a portion of dough and roll it into a ball between your palms. The dough will be soft, so do not overhandle it. Roll each ball in the cinnamon-sugar mixture until fully coated. Place them on the prepared baking sheets, spacing them about 2 inches apart. They will spread, so give them room.
Step 7: Bake
Bake for 10-12 minutes, or until the edges are set and the tops look slightly cracked. The centers will look soft and puffy—that is good. Do not overbake. Overbaked snickerdoodles are dry and crumbly. Let the cookies cool on the baking sheet for 5 minutes. This allows them to set up properly. Then transfer them to a wire rack to cool completely.
Sensory cue: When they come out of the oven, the kitchen will smell like a fall candle factory exploded. The tops will be crackled and golden, the edges slightly darker. If you tap one gently, it should feel firm on the outside but give slightly underneath.
Step 8: Enjoy
These are amazing warm, but honestly, they get even better after an hour. The flavors meld together and the texture softens perfectly. Try not to eat the entire batch in one sitting. (I say that like I have any self-control around these.)
Cooking Tips & Techniques
After six batches and a few disasters, here is what I learned:
- Do not skip blotting the pumpkin puree. Pumpkin puree has a lot of water, which can make cookies flat and gummy. Before adding it to the dough, spread the ½ cup of puree on a paper towel-lined plate, cover with another paper towel, and press gently. Let it sit for 5 minutes. This removes excess moisture and gives you a thicker, chewier cookie.
- Room temperature egg matters. A cold egg will seize the brown butter and make the dough lumpy. If you forgot to take it out ahead of time, place the egg in a bowl of warm water for 5 minutes. Problem solved.
- Chill the dough if you want thicker cookies. If you have time, refrigerate the shaped dough balls for 30 minutes before baking. This solidifies the butter and prevents excessive spreading. The cookies will be thicker and softer in the center.
- Do not overmix the dough. Overmixing develops gluten, which makes cookies tough. Fold until the flour just disappears. A few streaks are fine.
- Use a light-colored pan. Dark baking sheets absorb more heat and can over-brown the bottoms of your cookies. If you only have dark pans, reduce the oven temperature by 25°F.
- Rotate the pans halfway through. Ovens have hot spots. Halfway through baking, swap the top and bottom pans and rotate them front to back. This ensures even baking.
I once forgot the cream of tartar entirely and ended up with flat, sad pancakes instead of cookies. Learn from my mistakes. Read the recipe twice before you start.
Variations & Adaptations
One of the best things about this recipe is how adaptable it is. Here are some ways to make it your own:
- Gluten-Free Version : Substitute the all-purpose flour with a 1:1 gluten-free baking flour blend that contains xanthan gum. I have used King Arthur Measure for Measure and it worked perfectly. The cookies will be slightly more delicate, so handle them gently.
- Vegan Version : Use vegan butter (brown it the same way) and a flax egg (1 tablespoon ground flaxseed mixed with 3 tablespoons water, let sit for 5 minutes). The texture will be a bit softer, but the flavor is still incredible.
- Add Chocolate Chips : Fold in ½ cup of semi-sweet chocolate chips or white chocolate chips after combining the dough. The chocolate pairs beautifully with the pumpkin and brown butter.
- Spice It Up : Add a pinch of cardamom or allspice to the cinnamon-sugar coating for a more complex flavor profile. I did this once for a holiday party and everyone raved.
- Make Them Sandwich Cookies : Bake the cookies slightly larger (use a 2-tablespoon scoop) and sandwich them with a cream cheese frosting. It is over-the-top in the best way possible.
- Pumpkin Seed Topping : Before baking, press a few pepitas (pumpkin seeds) into the top of each dough ball. It adds a nice crunch and looks pretty.
I personally love the chocolate chip version. Something about the combination of brown butter, pumpkin spice, and melted chocolate feels like a warm hug on a cold day.
Serving & Storage Suggestions
These cookies are best served slightly warm, when the edges are still a little soft and the cinnamon-sugar coating is perfectly crackly. I like to serve them with a cold glass of milk or a hot cup of chai tea. They also pair beautifully with a scoop of vanilla ice cream for a quick dessert.
For storage, place the cooled cookies in an airtight container at room temperature. They will stay fresh for up to 5 days. If you stack them, put a piece of parchment paper between layers to prevent sticking. After day two, the texture softens a bit—some people prefer them that way.
To freeze, place the baked and cooled cookies in a single layer on a baking sheet and freeze for 1 hour. Then transfer them to a freezer-safe bag or container. They will keep for up to 3 months. To thaw, leave them at room temperature for about 30 minutes. You can also reheat them in a 300°F oven for 5 minutes to bring back that fresh-baked feel.
You can also freeze the unbaked dough balls. Roll them in the cinnamon-sugar coating, place them on a baking sheet, and freeze until solid. Then transfer to a freezer bag. When you are ready to bake, place the frozen dough balls on a parchment-lined baking sheet and add 2-3 minutes to the baking time. No need to thaw first.
Honestly, these cookies taste even better on day two. The flavors meld together and the pumpkin and brown butter become more pronounced. If you can resist eating them all on day one, you are stronger than me.
Nutritional Information & Benefits
Here is the estimated nutritional breakdown for one cookie (based on 24 cookies per batch):
- Calories: 165
- Total Fat: 8g
- Saturated Fat: 5g
- Cholesterol: 25mg
- Sodium: 95mg
- Total Carbohydrates: 22g
- Dietary Fiber: 1g
- Sugars: 13g
- Protein: 2g
These cookies are not exactly health food, but they do have some redeeming qualities. Pumpkin is packed with vitamin A and antioxidants, and the cinnamon can help regulate blood sugar. The brown butter adds a richness that means you will feel satisfied with just one or two cookies (theoretically). If you are looking for a lighter option, try my Healthy Zucchini Bread with Greek Yogurt for a lower-calorie treat.
For those with dietary restrictions, this recipe contains gluten, dairy, and eggs. The variations section above includes gluten-free and vegan options. Always check your ingredient labels for hidden allergens.
Conclusion
Look, I was wrong about browned butter. Dead wrong. These brown butter pumpkin snickerdoodle cookies are proof that sometimes the hype is real. The nutty, toasty depth of the browned butter transforms pumpkin into something genuinely special—not just another fall cookie that disappears into the sea of pumpkin spice everything. These are the cookies that get requested. The ones you bring to a party and people hover around the plate.
I want you to try these and make them your own. Add chocolate chips if that is your thing. Double the cinnamon in the coating. Swap in your favorite gluten-free flour. The beauty of this recipe is that it is forgiving enough to adapt but perfect enough to follow exactly. If you make them, come back and let me know how they turned out. Did you try a variation? Did you burn the butter on your first attempt like I did? I want to hear about it.
Drop a comment below or tag me in your photos. And if you are looking for another cozy fall bake, check out my Cozy Brown Butter Banana Zucchini Bread with Cinnamon Streusel Topping—it uses the same browned butter technique and is absolutely incredible. Happy baking, friends. You have got this.
Frequently Asked Questions
Can I use pumpkin pie filling instead of pumpkin puree?
No, please do not. Pumpkin pie filling is pre-sweetened and spiced, which will throw off the sugar and spice balance completely. Stick with 100% pure pumpkin puree. Libby’s is the most reliable brand.
Why did my cookies turn out flat?
Flat cookies usually mean one of three things: your butter was too warm, you did not blot the pumpkin puree, or your baking soda is old. Make sure your brown butter has cooled to room temperature (not warm), blot the pumpkin puree well, and check that your baking soda is less than 6 months old.
Can I make the dough ahead of time?
Absolutely. You can refrigerate the dough (shaped into balls and coated in cinnamon-sugar) for up to 3 days. Let them sit at room temperature for 10 minutes before baking. You can also freeze the dough balls for up to 3 months—bake directly from frozen, adding 2-3 minutes to the baking time.
Do I have to use cream of tartar?
Yes, for the classic snickerdoodle texture and tang. Cream of tartar reacts with the baking soda to create a soft, chewy cookie with that signature crackly top. If you skip it, you will end up with a regular pumpkin cookie, which is fine, but it will not be a snickerdoodle.
How do I know when the brown butter is done?
Watch for three signs: the butter will turn a golden-amber color, you will see small brown specks forming at the bottom of the pan, and it will smell nutty and fragrant. As soon as you see those specks and smell that nutty aroma, remove it from the heat immediately. It goes from perfect to burnt very quickly.
Pin This Recipe!
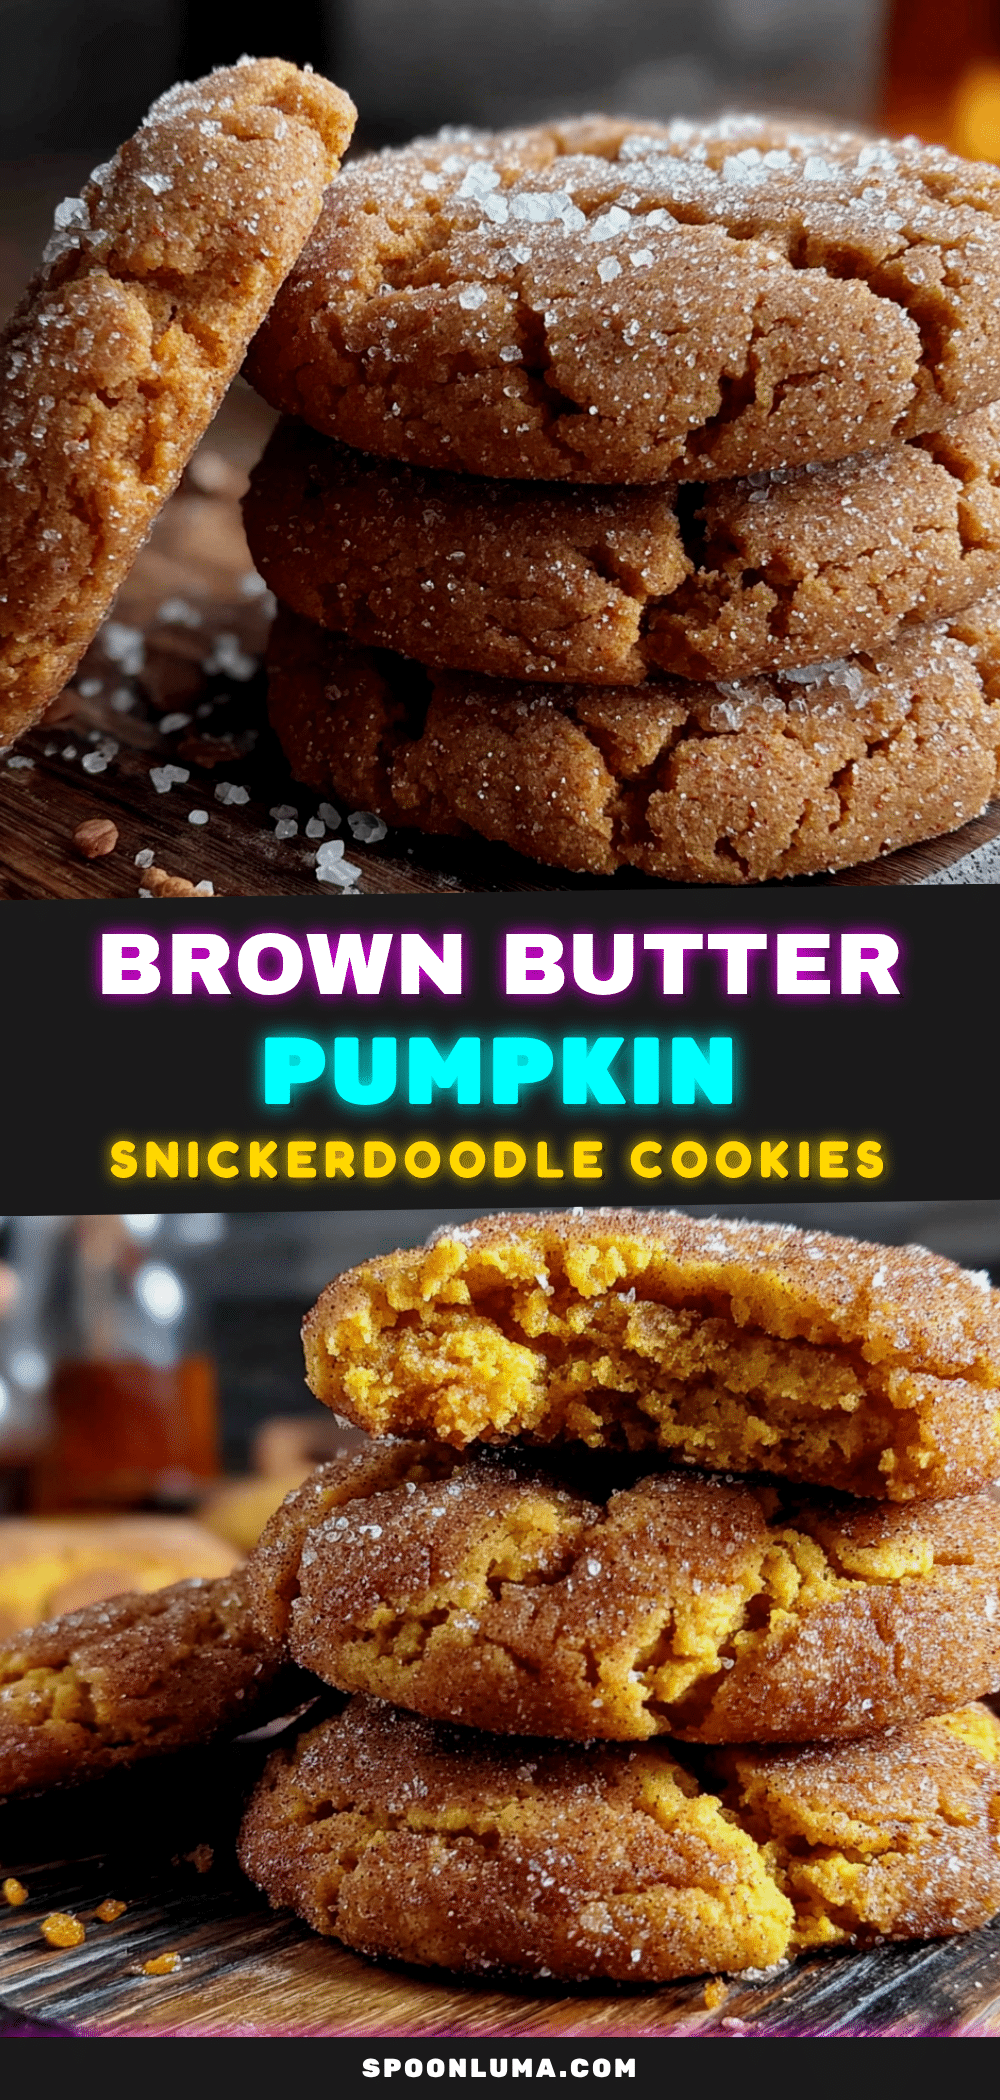
Easy Brown Butter Pumpkin Snickerdoodle Cookies
These brown butter pumpkin snickerdoodle cookies are soft in the center, slightly crisp at the edges, with a crackly cinnamon-sugar coating. The nutty brown butter deepens the pumpkin flavor, making these the ultimate fall cookie.
- Prep Time: 15 minutes
- Cook Time: 12 minutes
- Total Time: 35 minutes
- Yield: 24 cookies 1x
- Category: Dessert
- Cuisine: American
Ingredients
- 1 cup (2 sticks) unsalted butter
- 2 ¾ cups (330g) all-purpose flour
- 2 teaspoons cream of tartar
- 1 teaspoon baking soda
- 1 ½ teaspoons ground cinnamon
- ½ teaspoon ground nutmeg
- ¼ teaspoon ground ginger
- ¼ teaspoon ground cloves (optional but recommended)
- ½ teaspoon fine sea salt
- ½ cup (120g) pumpkin puree (100% pure, not pie filling)
- 1 cup (200g) granulated sugar
- ½ cup (100g) light brown sugar, packed
- 1 large egg, at room temperature
- 2 teaspoons pure vanilla extract
- ¼ cup (50g) granulated sugar (for coating)
- 1 ½ tablespoons ground cinnamon (for coating)
Instructions
- Brown the butter: Cut the butter into tablespoon-sized pieces and place in a light-colored skillet or saucepan over medium heat. Stir constantly. The butter will melt, foam, then sizzle. After 5-7 minutes, when it turns golden-amber with brown specks and smells nutty, remove from heat immediately. Pour into a heat-safe bowl and let cool for 10-15 minutes.
- Mix dry ingredients: In a medium bowl, whisk together flour, cream of tartar, baking soda, cinnamon, nutmeg, ginger, cloves, and salt. Set aside.
- Combine wet ingredients: In a large bowl, whisk together cooled brown butter, granulated sugar, and brown sugar until smooth. Add pumpkin puree, egg, and vanilla extract. Whisk until fully combined and smooth.
- Combine wet and dry: Pour dry ingredients into wet ingredients. Fold gently with a rubber spatula until just combined. Do not overmix. Dough will be soft and slightly sticky.
- Make cinnamon-sugar coating: In a small shallow bowl, stir together ¼ cup granulated sugar and 1 ½ tablespoons cinnamon.
- Shape and coat cookies: Preheat oven to 350°F (175°C). Line two baking sheets with parchment paper. Using a 1.5-tablespoon cookie scoop, scoop dough and roll into balls. Roll each ball in cinnamon-sugar mixture until fully coated. Place on prepared baking sheets, spacing 2 inches apart.
- Bake: Bake for 10-12 minutes, until edges are set and tops look slightly cracked. Centers will be soft and puffy. Do not overbake. Let cookies cool on baking sheet for 5 minutes, then transfer to a wire rack to cool completely.
- Enjoy: Serve warm or at room temperature. Cookies get even better after an hour as flavors meld.
Notes
Do not skip blotting the pumpkin puree to remove excess moisture. Use room temperature egg to prevent seizing the brown butter. For thicker cookies, chill shaped dough balls for 30 minutes before baking. Do not overmix the dough. Use a light-colored pan to prevent over-browning. Rotate pans halfway through baking. Cookies stay fresh in an airtight container at room temperature for up to 5 days. Freeze baked cookies for up to 3 months or unbaked dough balls for up to 3 months.
Nutrition
- Serving Size: 1 cookie
- Calories: 165
- Sugar: 13
- Sodium: 95
- Fat: 8
- Saturated Fat: 5
- Carbohydrates: 22
- Fiber: 1
- Protein: 2
Keywords: brown butter, pumpkin, snickerdoodle, cookies, fall baking, pumpkin cookies, snickerdoodle cookies, brown butter cookies


