I did not trust no-churn ice cream. That is the honest truth. For years, I watched people whip up condensed milk and cream, freeze it, and call it ice cream. I was convinced it would be icy, grainy, or just a frozen, sweet mess. My stand mixer and I had a good thing going with the traditional custard base, and I was not about to abandon it for a shortcut that felt too good to be true.
Then came a sweltering July afternoon. The kind of heat where the air feels thick and your brain stops working. I had a serious caramel craving, but the thought of tempering egg yolks over a double boiler was a hard no. My kitchen was already a sauna. I had a can of sweetened condensed milk in the pantry and a pint of heavy cream in the fridge. I figured, what’s the worst that could happen? A wasted can of milk? I was skeptical, but I was also desperate.
I whipped the cream, folded in the caramel, and tucked the container into the back of the freezer. I did not hold out much hope. Six hours later, I grabbed a spoon and took a hesitant scoop. It was not icy. It was not grainy. It was… perfect. Silky, creamy, and so much easier than the real deal. It was a quiet, stubborn victory. This recipe, this easy no-churn salted caramel ice cream, is the one that finally made me a believer. I have not made a custard base since.
Why You Will Love This Recipe
This is not just another frozen dessert recipe. It is the one that will make you question why you ever bothered with an ice cream maker. Honestly, I have tested this method more times than I can count, and it works every single time without fail. The texture is so smooth and scoopable, you will not believe it came from your freezer.
- No Machine Required: You do not need an ice cream maker, a churn, or any fancy gadget. Just a bowl and a hand mixer (or a strong arm and a whisk).
- Simple Pantry Ingredients: You likely have everything you need right now. Heavy cream, sweetened condensed milk, butter, sugar, and salt. That is it. No egg yolks, no corn syrup, no weird stabilizers.
- Perfect for Hot Days: When the temperature spikes, the last thing you want to do is stand over a stove. This recipe comes together in about 15 minutes of active work. It is the ultimate summer dessert.
- Better Than Store-Bought: The flavor of homemade caramel is just different. It is deeper, richer, and you can control the salt level. Plus, no weird aftertaste.
- Customizable to the Max: Once you master the base, you can add chocolate chips, swirl in peanut butter, or fold in crushed cookies. The possibilities are endless.
What makes this version different is the caramel itself. I do not just dump in store-bought sauce. I make a quick, foolproof stovetop caramel that turns into a ribbon of buttery, salted goodness. It is the kind of dessert that makes you close your eyes after the first bite. Trust me on this.
Ingredients You Will Need
This recipe relies on a handful of ingredients that work together to create a luscious, creamy texture without any special equipment. The magic is in the caramel, so do not skip the salt.
- For the Salted Caramel Sauce:
- 1 cup (200g) granulated sugar
- 6 tablespoons (85g) unsalted butter, cut into pieces (I use Kerrygold for the best flavor)
- 1/2 cup (120ml) heavy cream, at room temperature
- 1 teaspoon flaky sea salt (like Maldon), plus more for topping
- 1 teaspoon vanilla extract
- For the Ice Cream Base:
- 2 cups (480ml) cold heavy cream (or heavy whipping cream)
- 1 can (14 ounces / 397g) sweetened condensed milk
- 1 teaspoon vanilla extract
- A pinch of fine sea salt
Ingredient Tips & Substitutions:
For the cream, make sure it is very cold. I pop my bowl and beaters in the freezer for 10 minutes before I start. It helps the cream whip up faster and hold its shape better.
Do not use low-fat or light cream. The higher fat content is what gives this no-churn ice cream its silky texture. It is non-negotiable.
For the sweetened condensed milk, I prefer the classic Eagle Brand or Carnation. The generic store brands work fine, but I find the name brands give a slightly creamier result.
If you want a dairy-free version, you can try full-fat coconut cream (chilled overnight) and a dairy-free sweetened condensed milk. The texture will be a bit different, but still delicious.
The flaky sea salt is important. It provides little bursts of salty crunch that contrast beautifully with the sweet, creamy ice cream. Do not use regular table salt for the topping.
Equipment Needed
You do not need a lot of fancy tools for this recipe, which is part of its charm.
- Medium Heavy-Bottomed Saucepan: For making the caramel. A light-colored pan helps you see the color change of the sugar.
- Candy Thermometer (Optional): I do not use one for this caramel. I rely on the color. But if you are nervous about caramel, a thermometer can give you peace of mind. Aim for 340°F to 350°F (170°C to 175°C).
- Large Mixing Bowl: For whipping the cream. Metal or glass is best because it stays cold.
- Hand Mixer or Stand Mixer: A hand mixer is easier to clean. A stand mixer works too, but watch the cream carefully so it does not turn into butter.
- Rubber Spatula: For folding everything together gently.
- 9×5-inch Loaf Pan or Freezer-Safe Container: I use a standard loaf pan. It gives the perfect shape for scooping. You can also use a wide, shallow dish for faster freezing.
- Parchment Paper or Plastic Wrap: To line the pan for easy removal.
A silicone spatula is your best friend here. It gets every last bit of caramel out of the saucepan and folds the cream without deflating it. I have a cheap one from the grocery store that has lasted years.
Preparation Method
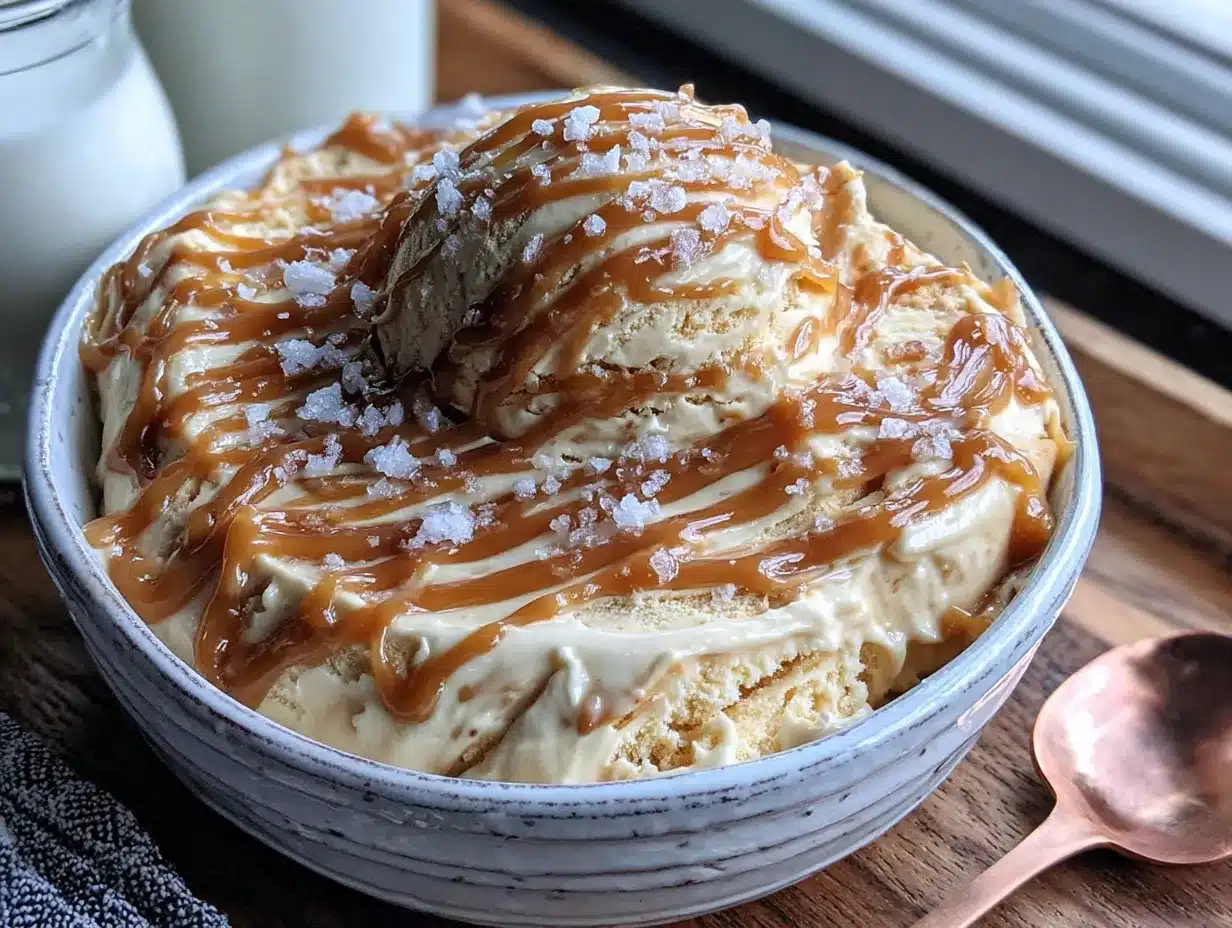
This process is deceptively simple. Do not rush the caramel, and be gentle when folding. That is the whole secret.
- Make the Salted Caramel Sauce: Place the granulated sugar in a medium, heavy-bottomed saucepan over medium heat. Stir constantly with a dry whisk or a wooden spoon. The sugar will clump up at first, then melt into a smooth, amber-colored liquid. This takes about 5 to 7 minutes. Do not walk away. Burnt sugar is bitter and cannot be saved.
- Add the Butter: Once the sugar is fully melted and a deep amber color (think the color of a copper penny), immediately add the butter pieces. The mixture will bubble up vigorously. Whisk constantly until the butter is fully melted and combined. It will be very hot.
- Add the Cream: Slowly drizzle in the room-temperature heavy cream while whisking. The mixture will bubble up again. Keep whisking until the sauce is smooth. If it seizes up into hard clumps, do not panic. Just keep it over low heat and whisk gently. It will come back together.
- Finish the Caramel: Remove the pan from the heat. Whisk in the vanilla extract and the flaky sea salt. Let the caramel cool in the pan for 15 minutes, then transfer it to a heat-safe bowl or glass measuring cup. Let it cool completely to room temperature. It will thicken as it cools.
- Whip the Cream: In a large mixing bowl, pour in the cold heavy cream. Using a hand mixer or stand mixer fitted with the whisk attachment, beat the cream on medium-high speed until stiff peaks form. You want it thick and billowy, like whipped topping. Be careful not to over-whip it into butter. This takes about 3 to 4 minutes.
- Combine the Base: In a separate large bowl, whisk together the sweetened condensed milk, vanilla extract, and a pinch of fine sea salt. It should be smooth and slightly thick.
- Fold It Together: Gently fold the whipped cream into the condensed milk mixture. Use a rubber spatula and a light hand. Fold just until no white streaks remain. You want to keep as much air in the mixture as possible. This air is what gives the ice cream its creamy texture.
- Layer the Ice Cream: Line your loaf pan with parchment paper, leaving some overhang on the sides. Spread about one-third of the vanilla ice cream base into the bottom of the pan. Drizzle a generous layer of the cooled salted caramel sauce on top. Repeat the layers: ice cream base, caramel sauce, ice cream base, caramel sauce. Use a knife or skewer to gently swirl the caramel into the ice cream. Do not over-swirl or you will lose the ribbons.
- Top and Freeze: Sprinkle the top with a little extra flaky sea salt. Cover the pan tightly with plastic wrap or aluminum foil. Place it in the freezer for at least 6 hours, but preferably overnight. The longer it freezes, the firmer and more scoopable it becomes.
- Serve: When you are ready to serve, let the pan sit at room temperature for 5 to 10 minutes. This makes scooping much easier. Use a warm ice cream scoop for perfect, smooth scoops.
Cooking Tips & Techniques
I have made this recipe at least a dozen times, and I have learned a few things the hard way. Here is how to get it right every time.
The caramel is the hardest part. The first time I made it, I got distracted and let the sugar go a shade too dark. The result was a bitter, almost burnt flavor that ruined the whole batch. Watch the sugar like a hawk. It goes from perfect to burnt in seconds. If you see smoke, you have gone too far. Start over.
Do not skip the cooling step. If you pour warm caramel into the whipped cream base, it will melt the cream and deflate all the air. You will end up with a dense, icy block instead of creamy ice cream. Patience is key. Let the caramel cool completely. I sometimes make it the day before and keep it in the fridge.
Use a light hand when folding. This is not the time for a vigorous workout. You want to incorporate the whipped cream without knocking out the air. Use a gentle, sweeping motion. Stop as soon as the mixture looks uniform.
For the creamiest texture, use full-fat everything. Low-fat cream or milk will result in ice crystals. The fat in the heavy cream and the sugar in the condensed milk act as natural anti-freeze agents. They keep the ice cream soft and scoopable straight from the freezer.
Variations & Adaptations
Once you have the base down, you can play around with flavors. This is where the fun really starts.
- Chocolate Salted Caramel: Add 1/4 cup of unsweetened cocoa powder to the sweetened condensed milk before folding in the cream. Swirl in the caramel as directed. It is like a fancy turtle sundae in a bowl.
- Cookie Butter Swirl: Instead of caramel, swirl in 1/2 cup of cookie butter (like Biscoff) that has been warmed slightly. It creates a spiced, creamy ribbon that is absolutely addictive.
- Vegan / Dairy-Free Version: Use full-fat coconut cream (chilled overnight, scoop out the solid top) and a dairy-free sweetened condensed milk. The texture will be slightly less creamy, but still very good. The caramel can be made with vegan butter and coconut cream.
- Add-Ins: Fold in 1/2 cup of crushed pretzels for a salty crunch, or 1/2 cup of toasted pecans for a nutty flavor. Chocolate chips are always a welcome addition.
- Boozy Version: Add 2 tablespoons of bourbon or dark rum to the ice cream base before folding. The alcohol lowers the freezing point, making the ice cream even softer and scoopable.
I once made a batch with a swirl of homemade strawberry jam and it was a revelation. The tartness of the berries cut through the sweetness of the caramel perfectly.
Serving & Storage Suggestions
This ice cream is best served straight from the freezer, but a little tempering goes a long way.
Serving: Let the ice cream sit at room temperature for 5 to 10 minutes before scooping. This softens it just enough to make perfect, round scoops. Serve it in chilled bowls or cones. A drizzle of extra caramel sauce and a final sprinkle of flaky sea salt on top makes it look professional.
Pairings: This ice cream is incredible on its own, but it also shines next to a warm slice of brown butter banana zucchini bread with cinnamon streusel topping. The warm, spiced bread against the cold, salty-sweet ice cream is a match made in heaven. It is also fantastic alongside a slice of healthy lemon blueberry zucchini bread for a bright, summery dessert.
Storage: Store the ice cream in an airtight container in the freezer. Press a piece of plastic wrap directly onto the surface of the ice cream before sealing the lid. This prevents ice crystals from forming. It will keep well for up to 2 weeks, but it is best within the first week.
Re-Scooping: If the ice cream gets too hard after a few days, just let it sit on the counter for 10 to 15 minutes. It will soften right up.
Nutritional Information & Benefits
Let’s be honest: this is a treat. It is not health food. But knowing what is in it is still important.
Estimated Nutritional Values (per 1/2 cup serving):
- Calories: 450-500
- Fat: 30-35g
- Carbohydrates: 45-50g
- Protein: 4-5g
- Sugar: 40-45g
- Sodium: 250-300mg (from the salt)
Dietary Considerations: This recipe is gluten-free and contains no eggs. It is not dairy-free unless you use the substitutions listed above. The main allergens are dairy (milk, cream, butter).
Health Perspective: While this is a dessert, it does use real, whole ingredients. You are not getting any artificial flavors, high-fructose corn syrup, or preservatives. The heavy cream provides some fat-soluble vitamins, and the salt adds electrolytes. It is a treat you can feel good about making from scratch.
If you are looking for a lighter dessert option, you could try a smaller serving alongside a bowl of fresh berries. It is all about balance.
Conclusion
This easy no-churn salted caramel ice cream is the dessert that made me a convert. It is proof that you do not need a fancy machine or a culinary degree to make something truly spectacular. The caramel is rich and buttery, the ice cream is creamy and smooth, and the whole thing comes together with minimal effort.
I love this recipe because it feels like a secret. It is so simple, yet the result is so impressive. It is the kind of dessert that makes people ask for the recipe, and you get to smile and say, “It is actually really easy.”
Now, I want to hear from you. Did you try this recipe? Did you add any fun mix-ins? Did the caramel give you any trouble? Drop a comment below and let me know how it turned out. Share your photos on social media and tag me—I love seeing your creations. And if you are looking for more no-fuss desserts, check out our full recipe collection for more inspiration. Happy scooping!
Frequently Asked Questions
Can I use store-bought caramel sauce instead of making my own?
You can, but the texture and flavor will not be the same. Homemade caramel is thicker and has a deeper, more complex flavor. Store-bought sauce is often thinner and can make the ice cream icy. If you are in a pinch, use a high-quality jarred caramel, but homemade is really worth the extra 10 minutes.
Why did my ice cream turn out icy and hard?
This usually happens for one of two reasons. First, the whipped cream was not stiff enough before folding. You need stiff peaks to trap air. Second, the caramel was too warm when you added it, which melted the cream and deflated the air. Make sure everything is cold or at room temperature before combining.
Can I make this recipe without a hand mixer?
Absolutely. You can whip the cream by hand with a whisk. It will take about 5 to 8 minutes of vigorous whisking, but it is a great arm workout. Make sure the cream and bowl are very cold. You can also use a stand mixer with the whisk attachment.
How long does this ice cream last in the freezer?
It is best within the first week. After that, it can start to develop ice crystals on the surface. Pressing a layer of plastic wrap directly onto the ice cream before sealing the container helps prevent this. It will still be safe to eat for up to a month, but the texture will decline.
Can I double this recipe?
Yes, this recipe doubles beautifully. Use a larger pan (like a 9×13-inch dish) or two loaf pans. Just make sure your mixing bowl is large enough to hold the whipped cream. The freezing time may increase by an hour or two for a larger batch.
Pin This Recipe!
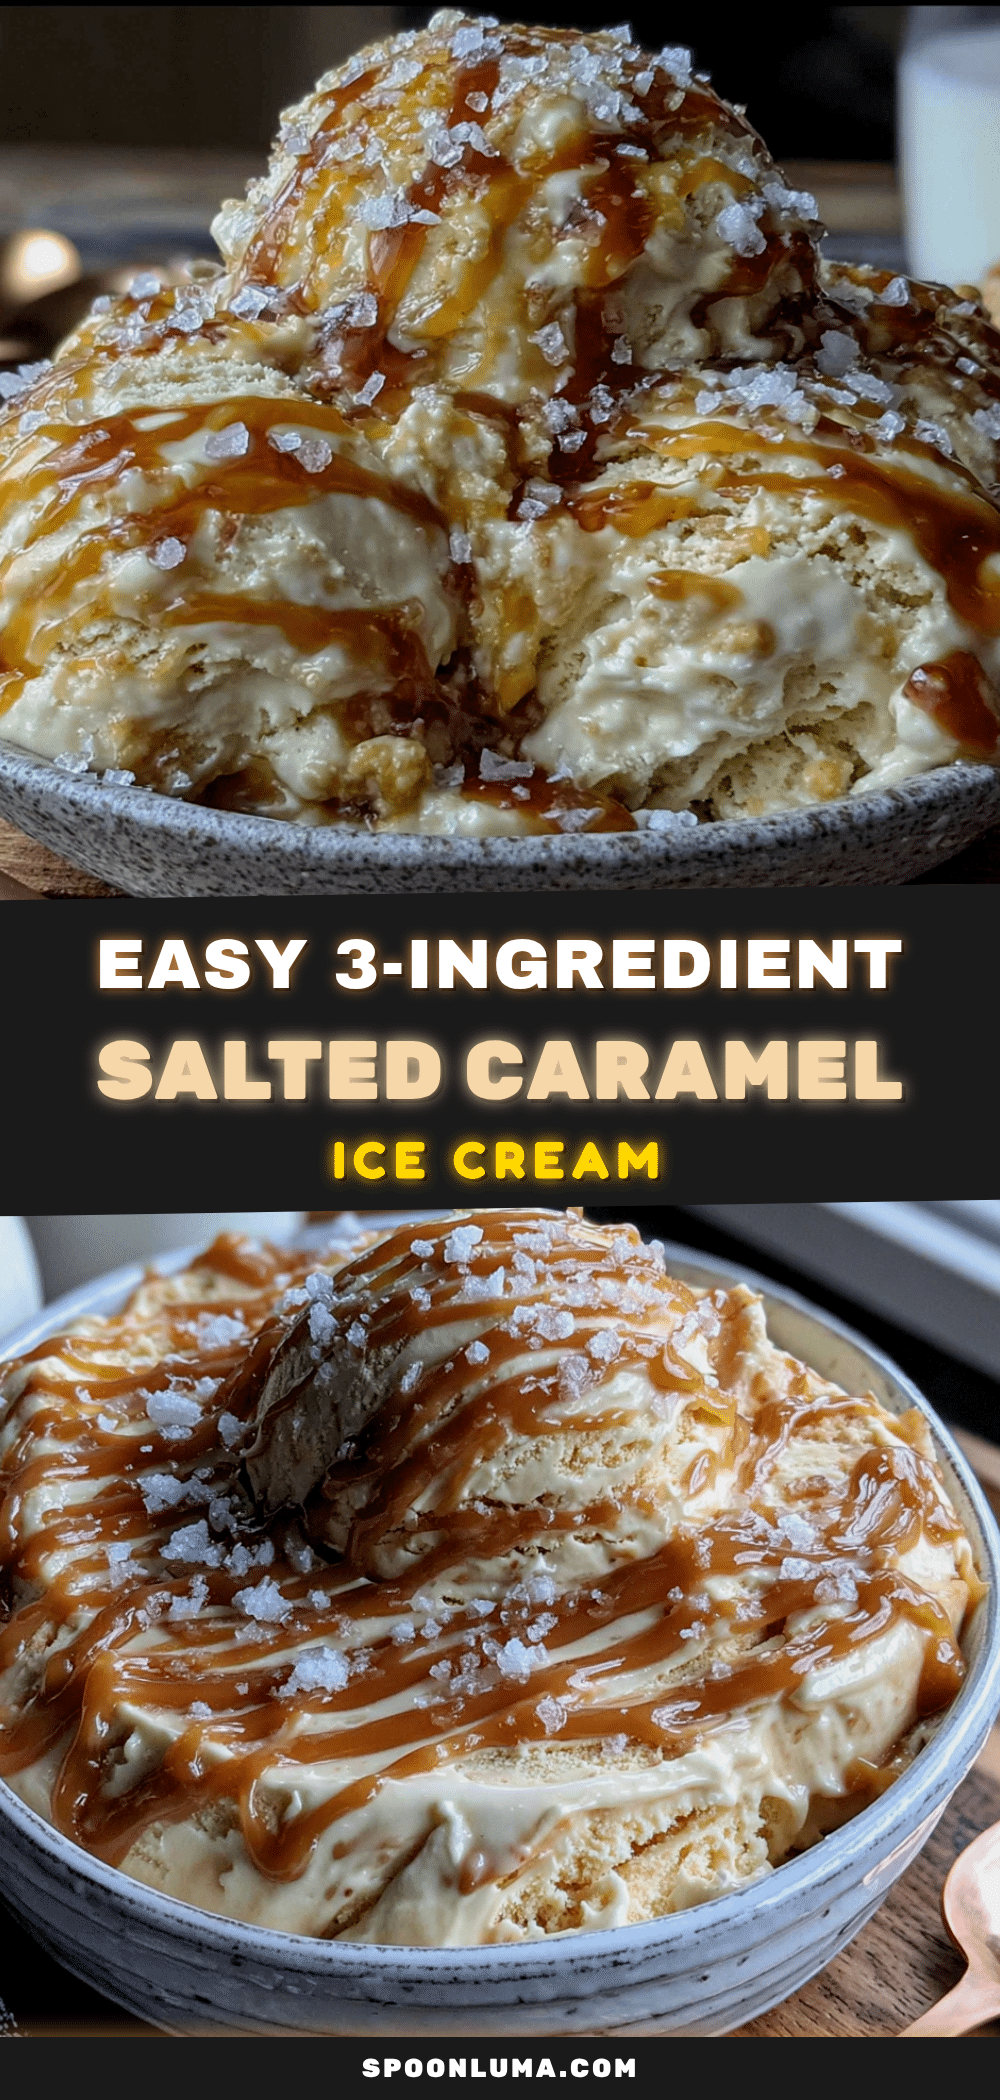
Easy No-Churn Salted Caramel Ice Cream Recipe (Best Homemade)

This easy no-churn salted caramel ice cream is the dessert that made me a convert. It is proof that you do not need a fancy machine or a culinary degree to make something truly spectacular.
- Prep Time: 15 minutes
- Cook Time: 10 minutes
- Total Time: 6 hours 25 minutes (includes freezing)
- Yield: 8 servings 1x
- Category: Dessert
- Cuisine: American
Ingredients
- 1 cup (200g) granulated sugar
- 6 tablespoons (85g) unsalted butter, cut into pieces
- 1/2 cup (120ml) heavy cream, at room temperature
- 1 teaspoon flaky sea salt, plus more for topping
- 1 teaspoon vanilla extract
- 2 cups (480ml) cold heavy cream (or heavy whipping cream)
- 1 can (14 ounces / 397g) sweetened condensed milk
- 1 teaspoon vanilla extract
- A pinch of fine sea salt
Instructions
- Make the Salted Caramel Sauce: Place the granulated sugar in a medium, heavy-bottomed saucepan over medium heat. Stir constantly with a dry whisk or a wooden spoon. The sugar will clump up at first, then melt into a smooth, amber-colored liquid. This takes about 5 to 7 minutes. Do not walk away.
- Add the Butter: Once the sugar is fully melted and a deep amber color (think the color of a copper penny), immediately add the butter pieces. The mixture will bubble up vigorously. Whisk constantly until the butter is fully melted and combined.
- Add the Cream: Slowly drizzle in the room-temperature heavy cream while whisking. The mixture will bubble up again. Keep whisking until the sauce is smooth. If it seizes up into hard clumps, do not panic. Just keep it over low heat and whisk gently. It will come back together.
- Finish the Caramel: Remove the pan from the heat. Whisk in the vanilla extract and the flaky sea salt. Let the caramel cool in the pan for 15 minutes, then transfer it to a heat-safe bowl or glass measuring cup. Let it cool completely to room temperature.
- Whip the Cream: In a large mixing bowl, pour in the cold heavy cream. Using a hand mixer or stand mixer fitted with the whisk attachment, beat the cream on medium-high speed until stiff peaks form. This takes about 3 to 4 minutes.
- Combine the Base: In a separate large bowl, whisk together the sweetened condensed milk, vanilla extract, and a pinch of fine sea salt. It should be smooth and slightly thick.
- Fold It Together: Gently fold the whipped cream into the condensed milk mixture. Use a rubber spatula and a light hand. Fold just until no white streaks remain.
- Layer the Ice Cream: Line your loaf pan with parchment paper, leaving some overhang on the sides. Spread about one-third of the vanilla ice cream base into the bottom of the pan. Drizzle a generous layer of the cooled salted caramel sauce on top. Repeat the layers: ice cream base, caramel sauce, ice cream base, caramel sauce. Use a knife or skewer to gently swirl the caramel into the ice cream.
- Top and Freeze: Sprinkle the top with a little extra flaky sea salt. Cover the pan tightly with plastic wrap or aluminum foil. Place it in the freezer for at least 6 hours, but preferably overnight.
- Serve: When you are ready to serve, let the pan sit at room temperature for 5 to 10 minutes. This makes scooping much easier. Use a warm ice cream scoop for perfect, smooth scoops.
Notes
The caramel is the hardest part. Watch the sugar like a hawk. Do not skip the cooling step. Use a light hand when folding. For the creamiest texture, use full-fat everything.
Nutrition
- Serving Size: 1/2 cup
- Calories: 475
- Sugar: 42.5
- Sodium: 275
- Fat: 32.5
- Saturated Fat: 20
- Carbohydrates: 47.5
- Protein: 4.5
Keywords: no-churn ice cream, salted caramel ice cream, homemade ice cream, easy ice cream, no machine ice cream


