The lunchbox came back empty. Not just the thermos or the snack container — the whole thing. My five-year-old, who has a talent for returning with at least half of whatever I pack, had actually eaten everything. Even the little silicone cup of peanut butter I’d tucked in as a backup came home licked clean. That was the third time in two weeks I’d made these peanut butter banana overnight oats, and the third time they’d vanished without a trace.
I wasn’t trying to invent anything fancy. I was just tired of the morning scramble — the yogurt pouches, the half-eaten granola bars, the pleading to just try one bite of the sandwich I’d made. Somewhere around midnight, after I’d already washed the dinner dishes and packed the school bags, I grabbed a mason jar, some oats, a ripe banana, and the jar of peanut butter that was always on my counter. I wasn’t thinking about a recipe. I was thinking about survival, honestly.
But here’s the thing about these peanut butter banana overnight oats — they solved a problem I didn’t even know I had. My kid actually wanted to eat them. Not just tolerated them, not just ate them under duress, but asked for them. And the best part? I could make a whole week’s worth on Sunday night and not think about breakfast again until Saturday.
This lunchbox jar version is just different. The layers stay separate until lunchtime, so nothing gets soggy. The banana stays fresh, the oats stay creamy, and the peanut butter stays right where it belongs — in every single bite. It’s the kind of recipe that makes you feel like you’ve finally figured something out. And honestly? I think I have.
Why You’ll Love This Recipe
Let me tell you why this one is different from every other overnight oats recipe you’ve seen. I tested this thing about seven times before I got it right. The first few batches were either too runny, too thick, or just plain boring. But this version? It’s the one that finally worked — for me, for my kid, and for every friend I’ve forced a jar on.
- No morning prep needed. You make these the night before (or the whole week if you’re organized like that) and grab one on your way out the door. That’s it. No measuring, no stirring, no fighting with a sleepy child over what they want for breakfast.
- Kid-approved and parent-approved. My daughter calls these “dessert breakfast” and I’m not mad about it. There’s enough protein and fiber to keep her full until lunch, but it tastes like a treat.
- Perfect for lunchboxes. The jar format means nothing leaks, nothing gets squished, and the layers stay pretty until your kid uncaps it at school. No more sad, soggy sandwiches.
- Simple ingredients you already have. Oats, milk, peanut butter, banana, a little sweetener. That’s it. No trips to a specialty store, no weird superfood powders.
- Endlessly customizable. I’ve made versions with chocolate chips, sliced almonds, chia seeds, and even a dollop of jam. It’s a base recipe that loves to be played with.
This isn’t just another overnight oats recipe. It’s the one that actually works for real life — the kind of breakfast that makes you feel like you’ve got your act together, even when you definitely don’t.
What Ingredients You Will Need
This recipe uses simple, everyday ingredients that come together to make something genuinely delicious. No fancy health food store finds, no obscure pantry items. Just good, honest food that works.
- Rolled oats — 1/2 cup (45g). Use old-fashioned rolled oats, not the quick-cooking kind. They hold their texture better and don’t turn to mush overnight. I prefer Bob’s Red Mill or Quaker, but any brand works.
- Milk — 1/2 cup (120ml). Whole milk gives the creamiest result, but 2% works fine too. For a dairy-free version, unsweetened almond milk or oat milk are both great. Coconut milk makes it extra rich.
- Plain Greek yogurt — 1/4 cup (60g). This is the secret to the creamy, almost pudding-like texture. It also adds protein and a little tang that balances the sweetness. I use Fage 2% or Chobani plain.
- Creamy peanut butter — 2 tablespoons (32g). Use the kind that’s just peanuts and salt — no added sugar or hydrogenated oils. The natural stuff separates, so stir it well before measuring. Skippy Natural or Justin’s are my go-tos.
- Ripe banana — 1 medium banana, sliced. The riper the banana, the sweeter your oats will be. Look for one with plenty of brown spots — that’s where the magic is.
- Honey or maple syrup — 1 tablespoon (15ml). Just enough to round out the flavors. Maple syrup adds a subtle warmth that pairs beautifully with peanut butter. Honey is a little more floral.
- Chia seeds — 1 tablespoon (12g) — optional but recommended. These little guys thicken the oats naturally and add omega-3s, fiber, and protein. You won’t even know they’re in there.
- Vanilla extract — 1/2 teaspoon. Pure vanilla extract makes everything taste more expensive than it is. Imitation works in a pinch, but the real stuff is worth it here.
- Pinch of salt — Just a tiny pinch. Salt makes the peanut butter and banana flavors pop. Don’t skip it.
That’s it. Seven ingredients (eight if you count the chia seeds) and you’re on your way to a week’s worth of easy, delicious breakfasts. I like to keep a jar of peanut butter on the counter so it’s always soft and spreadable — makes layering so much easier.
Equipment Needed
You don’t need much for this recipe, which is honestly my favorite part. Here’s what you’ll need:
- Mason jars — Wide-mouth pint-sized jars (16 oz) are perfect. The wide mouth makes layering easy and eating even easier. I use Ball or Kerr brand, but any glass jar with a tight-fitting lid works.
- Measuring cups and spoons — Standard set for dry and wet ingredients. A liquid measuring cup with a spout makes pouring milk into the jar less messy.
- Small bowl and whisk — For mixing the wet ingredients before layering. A fork works in a pinch, but a whisk gets things smoother.
- Sharp knife and cutting board — For slicing the banana. A serrated knife works best if your banana is very ripe.
- Spoon or spatula — For layering and spreading the peanut butter. A small offset spatula is nice but totally unnecessary.
- Funnel (optional) — If you’re particular about keeping the jar rim clean, a small funnel helps. I usually just wipe the rim with a paper towel before capping.
That’s really all you need. No blender, no food processor, no special equipment. Just a jar and a few basic kitchen tools. I found a set of six wide-mouth mason jars at Target for about twelve bucks, and they’ve lasted me years. Worth every penny.
Preparation Method
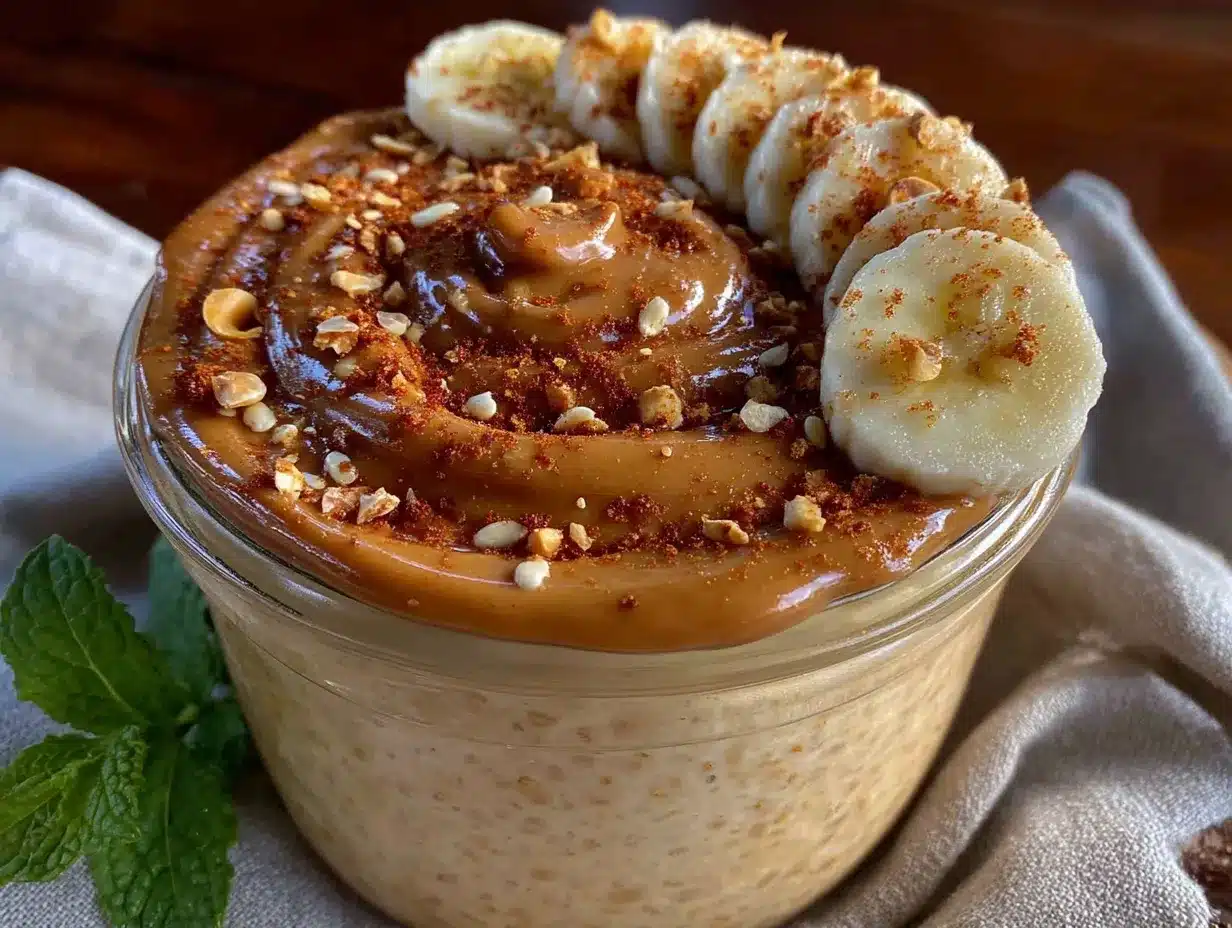
Making these peanut butter banana overnight oats is almost embarrassingly easy. But there’s a method to the layering that makes all the difference — especially if you’re packing these for lunch. Let me walk you through it.
- Mix the wet ingredients. In a small bowl, whisk together the milk, Greek yogurt, honey or maple syrup, and vanilla extract until smooth. The yogurt should be fully incorporated — no white streaks. This takes about 30 seconds. Set it aside.
- Warm the peanut butter (optional but genius). If your peanut butter is thick and stubborn (looking at you, natural peanut butter), microwave it for about 10 seconds. It’ll be much easier to spread and swirl. Don’t skip this step if you’re using the kind that separates — it makes a huge difference in how evenly it distributes.
- Start layering. Grab your clean mason jar. Add 1/4 cup of the rolled oats to the bottom. Don’t pack them down — just let them sit loose. This creates a nice base layer that will absorb the liquid evenly.
- Add the chia seeds. Sprinkle the chia seeds (if using) over the oats. This helps them hydrate evenly and prevents clumping. I learned this the hard way after finding a chia seed blob in my first batch.
- Pour in half the liquid mixture. Slowly pour about half the milk-yogurt mixture over the oats. Give the jar a gentle tap on the counter to help the liquid settle into the oats. Don’t stir — you want distinct layers.
- Add the banana layer. Arrange about half the sliced banana in a single layer over the oats. Press them down gently so they’re mostly submerged in the liquid. This keeps them from browning too much.
- Add the peanut butter layer. Spoon about 1 tablespoon of peanut butter over the banana. If you warmed it, it should spread easily. If not, just dollop it in a few places — it’ll distribute as you eat.
- Repeat the layers. Add the remaining 1/4 cup oats, then pour the rest of the liquid mixture over the top. Tap the jar again. Layer the remaining banana slices and finish with the remaining tablespoon of peanut butter on top.
- Swirl the top (optional). Use a knife or skewer to gently swirl the top layer of peanut butter into the top oats. This creates little pockets of peanut butter throughout the top layer — my daughter calls these “surprise bites.”
- Cap and refrigerate. Screw the lid on tightly and place the jar in the refrigerator. Let it sit for at least 4 hours, but overnight is best. The oats need time to soften and absorb all that creamy goodness.
If you’re making these for lunchboxes, I recommend assembling them the night before. The oats will be perfectly soft by morning, and you can just grab and go. For a whole week’s worth, make five jars on Sunday evening — they’ll stay good through Friday.
One thing I learned the hard way: don’t overfill the jar. Leave about half an inch of headspace at the top. The oats expand slightly as they absorb the liquid, and you don’t want the lid popping off in your kid’s lunchbox. Trust me on this one.
Cooking Tips & Techniques
After about fifteen batches of these overnight oats, I’ve picked up a few tricks that make them consistently perfect. Here’s what I wish someone had told me from the start:
Use room-temperature ingredients. Cold milk and yogurt straight from the fridge take longer to absorb into the oats. Let them sit on the counter for 10 minutes before mixing. It makes a noticeable difference in texture — creamier, softer, more like pudding.
Don’t overmix. The beauty of this recipe is the layers. If you stir everything together, you lose that lovely contrast between creamy oats, soft banana, and pockets of peanut butter. Plus, the banana will break down and turn the whole thing brown. Not the prettiest lunchbox surprise.
Slice bananas right before layering. Bananas brown quickly once cut. Slice them just as you’re ready to add them to the jar. If you’re making a big batch, slice one banana at a time and add it immediately. I learned this after my first batch turned an unappetizing shade of brown by morning.
Warm the peanut butter for easier layering. I mentioned this earlier, but it bears repeating. A few seconds in the microwave transforms stiff peanut butter into a spreadable dream. If you’re using the natural stuff that separates, stir it well first, then warm it.
Add a splash of extra milk for thinner oats. Some people like their overnight oats on the thicker side, others prefer them more pourable. If you’re in the second camp, add an extra tablespoon or two of milk before refrigerating. The oats will absorb it overnight and you’ll get a looser texture.
My biggest failure with this recipe? I once forgot the chia seeds and ended up with watery, sad oats. The chia seeds are optional, but they really do help thicken everything up. If you don’t have them, add an extra tablespoon of yogurt instead.
Variations & Adaptations
This recipe is a total chameleon. I’ve made so many versions that I’ve lost count, but here are the ones that actually worked:
Chocolate peanut butter. Add 1 tablespoon of cocoa powder to the milk mixture before layering. The chocolate and peanut butter combo is a classic for a reason. My kid calls these “Reese’s oats” and they disappear even faster than the original.
Berry banana. Swap half the banana for a handful of fresh or frozen berries. Blueberries, raspberries, or sliced strawberries all work beautifully. The berries add a tart pop that balances the sweet peanut butter. I love this version in the summer when berries are at their peak.
Vegan version. Use unsweetened almond milk or oat milk, swap the Greek yogurt for coconut yogurt, and use maple syrup instead of honey. Everything else stays the same. It’s just as creamy and delicious — I’ve served this to non-vegan friends and they didn’t notice a difference.
High-protein version. Add a scoop of vanilla or unflavored protein powder to the milk mixture. You might need an extra splash of milk to keep the texture right. I use collagen peptides because they dissolve without changing the flavor. Great for post-workout breakfasts.
Crunchy top. Before serving, sprinkle a tablespoon of chopped peanuts, sliced almonds, or granola over the top. The crunch against the creamy oats is textural heaven. I do this when I’m eating mine at home — not so much for lunchboxes, since the crunch tends to soften by lunchtime.
My personal favorite variation? A drizzle of warm peanut butter on top right before eating. It’s extra, I know, but sometimes you just need that warm, melty moment.
Serving & Storage Suggestions
These overnight oats are best served cold, straight from the fridge. The texture is at its peak — creamy, thick, and satisfying. If you’re packing them for lunch, just grab a jar from the fridge, pop it in a lunchbox with an ice pack, and you’re good to go.
For serving at home, I like to give the jar a gentle stir to redistribute the layers, then eat it straight from the jar. No bowls to wash, no extra dishes. My daughter eats hers with a small spoon and a napkin tucked under her chin — she’s five, so there’s always a little mess.
Storage: These jars will keep in the refrigerator for up to 5 days. Make sure the lids are screwed on tight to prevent the oats from absorbing any fridge odors. I don’t recommend freezing them — the texture gets weird and watery when thawed.
Reheating: If you prefer warm oats, you can microwave the jar (lid off!) for 30-45 seconds. The oats will be warm but the banana will be soft and almost jammy. Not my preferred way to eat them, but my husband loves them this way on cold mornings.
Flavor development: The flavors actually get better after a day or two in the fridge. The peanut butter and banana meld together, the oats get creamier, and everything just tastes more cohesive. Day 2 is my sweet spot — the oats are fully hydrated but still have a little bite.
If you’re packing these for school lunches, I recommend sending a small spoon and a napkin. The jar format is perfect for little hands, and the wide mouth makes it easy to eat without making a mess. My daughter’s teacher actually asked me for the recipe after seeing her eat these at lunch.
Nutritional Information & Benefits
These peanut butter banana overnight oats are more than just delicious — they’re genuinely good for you. Here’s the approximate nutritional breakdown for one jar (using whole milk and Greek yogurt):
- Calories: ~380
- Protein: 18g
- Fat: 16g
- Carbohydrates: 45g
- Fiber: 8g
- Sugar: 18g (naturally occurring from banana and milk)
The rolled oats provide slow-release energy that keeps blood sugar stable — no mid-morning crash. The Greek yogurt and peanut butter pack a serious protein punch that keeps you (or your kid) full until lunchtime. And the banana adds potassium, vitamin B6, and a natural sweetness that means you don’t need much added sugar.
The chia seeds, if you add them, are a powerhouse of omega-3 fatty acids, fiber, and calcium. They also help with hydration — chia seeds absorb up to 12 times their weight in water, which is great for keeping kids hydrated throughout the day.
This recipe is naturally vegetarian and can easily be made vegan or dairy-free. It’s also nut-free if you swap the peanut butter for sunflower seed butter or WowButter. Just keep in mind that school policies vary, so check with your child’s school before sending any nut-containing foods.
I’m not a nutritionist, but I’ve done enough research to feel good about serving these to my family. They’re a balanced meal in a jar — protein, healthy fats, complex carbs, and fruit. That’s a win in my book.
Conclusion
These peanut butter banana overnight oats have genuinely changed my mornings. No more scrambling, no more pleading, no more uneaten lunches coming home in a sad, squished bag. Just a jar of creamy, delicious oats that my kid actually wants to eat — and that I actually want to eat too.
The best part? You can make them your own. Add chocolate chips, swap in almond butter, throw in some berries, or keep it simple with just the basics. This recipe is a starting point, not a rulebook. Play with it, experiment, and find the version that makes your mornings easier.
If you try these, I’d love to hear how they turn out. Leave a comment below and let me know what variations you came up with — I’m always looking for new ideas. And if you’re looking for more easy breakfast recipes, check out my healthy zucchini bread with Greek yogurt or these strawberry watermelon popsicles for another grab-and-go option.
Happy cooking, friends. And may your lunchboxes always come back empty.
Frequently Asked Questions
Can I use quick-cooking oats instead of rolled oats?
You can, but the texture will be much softer — almost mushy. Rolled oats hold their shape better and give you that satisfying chewy texture. If you only have quick oats, reduce the milk by a tablespoon or two to compensate.
How long do these last in the fridge?
Up to 5 days in an airtight jar. The oats will continue to soften over time, so they’re best within the first 3 days. After that, they’re still safe to eat but the texture gets very soft.
Can I freeze these overnight oats?
I don’t recommend it. The texture gets watery and the banana turns mushy when thawed. These are best made fresh and stored in the fridge. If you need to prep ahead, just make a batch on Sunday and eat them through Friday.
Can I use a different nut butter?
Absolutely! Almond butter, cashew butter, or sunflower seed butter all work beautifully. Just keep in mind that different nut butters have different consistencies — you might need to adjust the amount slightly. Sunflower seed butter is thinner, so use a little less.
My oats turned out too thick. What did I do wrong?
You probably used too few oats or too much liquid. The ratio is 1:1 — equal parts oats and milk. If you prefer thinner oats, add an extra tablespoon or two of milk before refrigerating. You can also stir in a splash of milk right before eating to loosen things up.
Pin This Recipe!
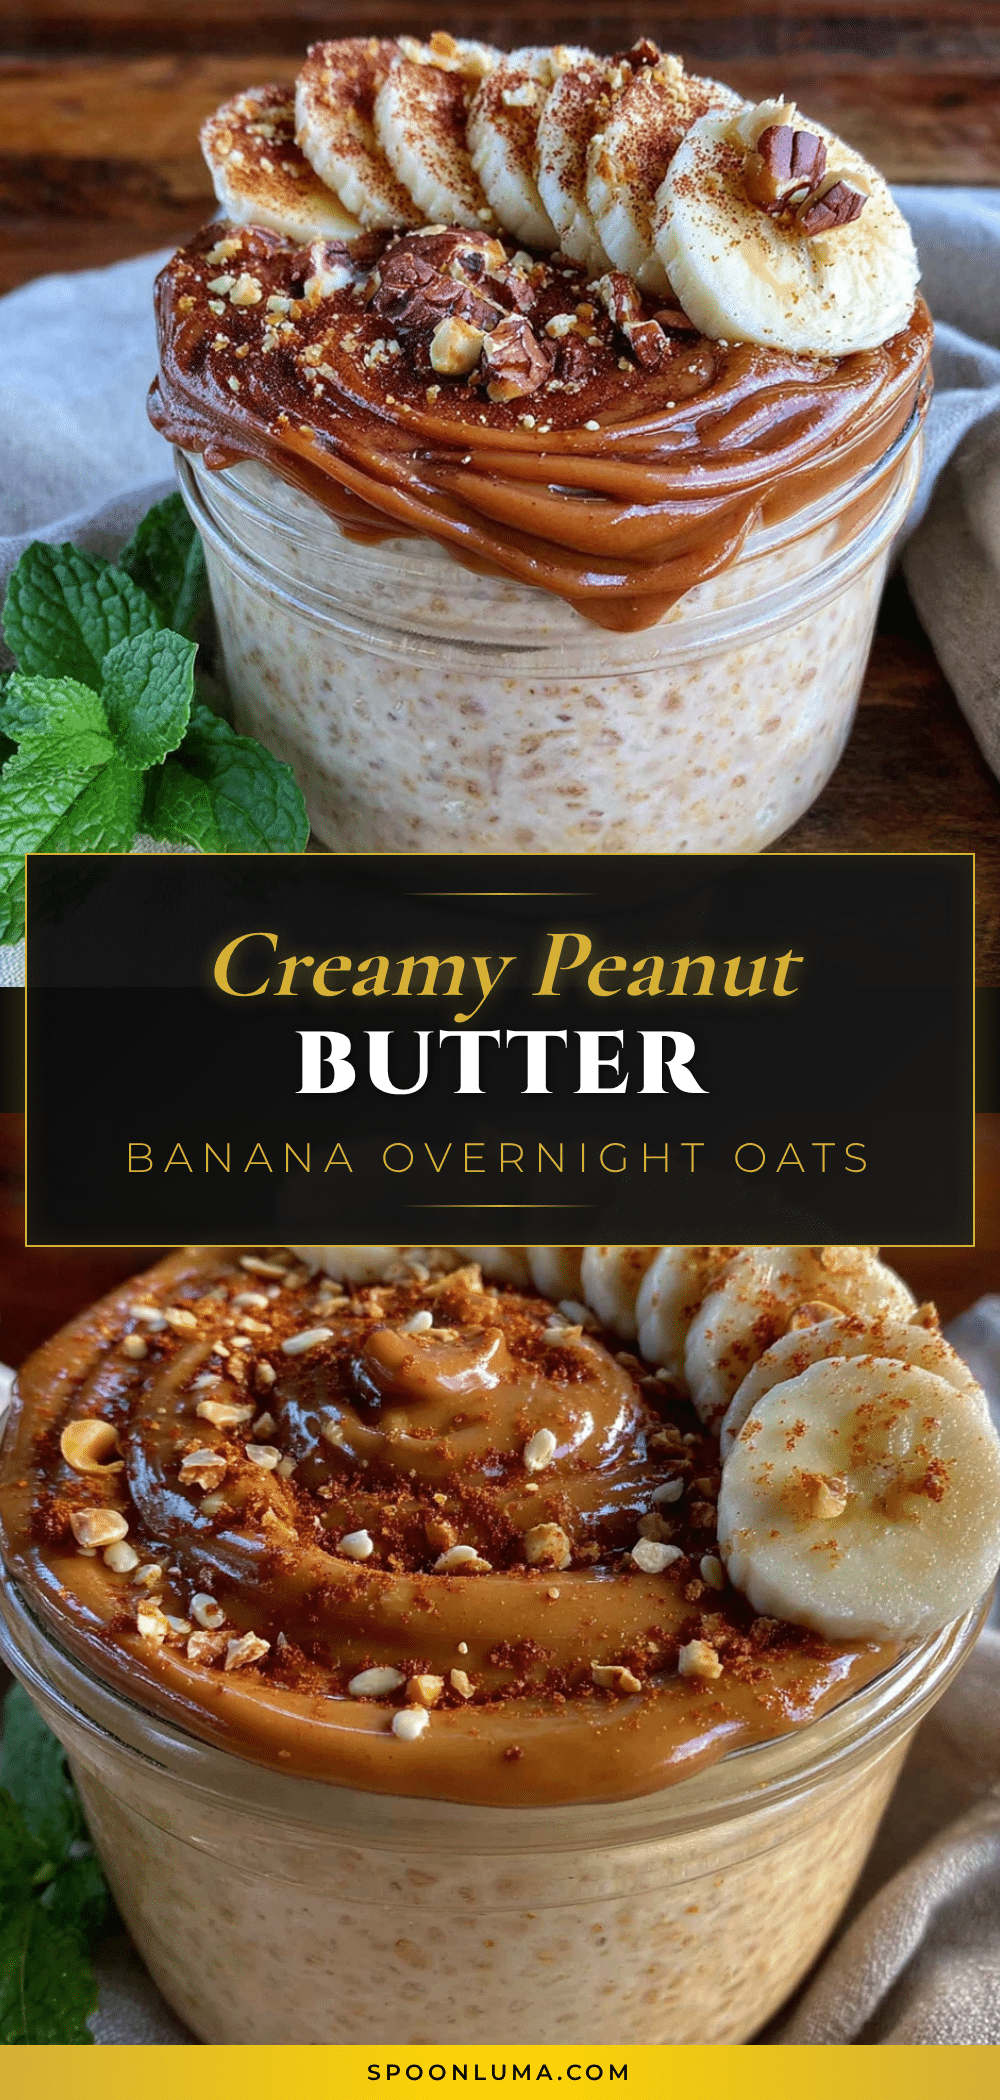
Easy Peanut Butter Banana Overnight Oats Lunchbox Idea
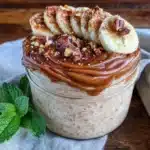
These peanut butter banana overnight oats are a kid-approved, parent-approved breakfast that can be made ahead for the week. Perfect for lunchboxes, they feature creamy oats, fresh banana, and peanut butter in a convenient jar format.
- Prep Time: 10 minutes
- Cook Time: 0 minutes
- Total Time: 4 hours 10 minutes (including chilling)
- Yield: 1 serving 1x
- Category: Breakfast
- Cuisine: American
Ingredients
- 1/2 cup (45g) rolled oats
- 1/2 cup (120ml) milk (whole, 2%, or dairy-free)
- 1/4 cup (60g) plain Greek yogurt
- 2 tablespoons (32g) creamy peanut butter
- 1 medium ripe banana, sliced
- 1 tablespoon (15ml) honey or maple syrup
- 1 tablespoon (12g) chia seeds (optional)
- 1/2 teaspoon vanilla extract
- Pinch of salt
Instructions
- In a small bowl, whisk together the milk, Greek yogurt, honey or maple syrup, and vanilla extract until smooth.
- If peanut butter is thick, microwave for about 10 seconds to soften.
- In a clean mason jar, add 1/4 cup of the rolled oats to the bottom.
- Sprinkle chia seeds (if using) over the oats.
- Pour about half the milk-yogurt mixture over the oats. Tap the jar gently to settle.
- Arrange about half the sliced banana in a single layer over the oats.
- Spoon about 1 tablespoon of peanut butter over the banana.
- Add the remaining 1/4 cup oats, then pour the rest of the liquid mixture over the top. Tap again.
- Layer the remaining banana slices and finish with the remaining tablespoon of peanut butter on top.
- Optionally, gently swirl the top layer of peanut butter into the top oats with a knife or skewer.
- Screw the lid on tightly and refrigerate for at least 4 hours, preferably overnight.
Notes
Use room-temperature ingredients for better absorption. Don’t overmix to keep layers distinct. Slice bananas right before layering to prevent browning. For thinner oats, add an extra tablespoon of milk. Jars keep in the fridge for up to 5 days. Not recommended for freezing.
Nutrition
- Serving Size: 1 jar
- Calories: 380
- Sugar: 18
- Sodium: 200
- Fat: 16
- Saturated Fat: 4
- Carbohydrates: 45
- Fiber: 8
- Protein: 18
Keywords: overnight oats, peanut butter, banana, lunchbox, kid-friendly, make-ahead, healthy breakfast