My son did not trust the word “copycat” when it came to his beloved lunchbox treat. He stood there, arms crossed, watching me pull out the bread and peanut butter like I was about to commit some kind of kitchen crime. “It won’t be the same, Mom,” he said with that flat certainty only a seven-year-old can pull off. Honestly, I wasn’t sure he was wrong. Those store-bought pockets have a specific texture—that soft, slightly squished bread sealed around a perfect swirl of filling. Recreating that at home felt ambitious, maybe even a little foolish.
But here’s the thing about being a recipe developer—you learn to trust the process even when the process looks a little ridiculous. I had a loaf of sandwich bread going stale on the counter, a jar of peanut butter that was almost empty (you know, the kind where you start scraping the sides), and a kid who needed convincing. So I grabbed a glass, dusted off a little kitchen confidence, and started pressing circles into bread like I was making giant cookies. The first few were messy. The crimping? Let’s just say my edges looked more like a zigzag than a seal. But somewhere around pocket number three, something clicked.
The bread flattened just right. The peanut butter stayed put. And when I pulled that first golden, toasted pocket out of the skillet, I knew we had something. My son took one bite, chewed slowly, and gave me that tiny nod kids do when they’re impressed but don’t want to admit it. That’s the moment this recipe became a staple. It’s not fancy. It’s not complicated. But these Quick Copycat Uncrustables Peanut Butter Pockets are exactly what lunchbox dreams are made of—minus the plastic wrapper and the trip to the store.
Why You’ll Love This Recipe
Let me tell you why these little pockets have completely taken over our kitchen. I’ve tested this recipe about a dozen times now, tweaking the bread thickness, the peanut butter ratio, and the sealing method until it felt just right. Here’s what makes them worth your time:
- Quick & Easy: From start to finish, you’re looking at about 15 minutes. Seriously. That’s faster than a drive-thru run and way more satisfying.
- Simple Ingredients: Bread, peanut butter, and maybe a little butter for toasting. That’s it. No weird preservatives or ingredients you can’t pronounce.
- Perfect for Lunchboxes: These freeze beautifully, which means you can make a batch on Sunday and grab them all week long.
- Crowd-Pleaser: Kids love them, adults sneak them, and honestly? They’re perfect for snack time, breakfast, or even a late-night craving.
- Unbelievably Delicious: The outside gets slightly crisp from the skillet, while the inside stays soft and gooey. It’s next-level comfort food in pocket form.
What makes this version different from every other copycat recipe out there? It’s the technique. I figured out that using slightly stale bread (or giving fresh bread a quick toast) prevents sogginess. And instead of just sealing the edges with a fork, I use a light egg wash to create that perfect crimp that actually holds together. This isn’t just another version of a frozen classic—it’s the version that actually works every single time.
There’s something about that first bite, you know? The way the bread gives way to that creamy, slightly salty peanut butter. It’s the kind of simple joy that makes you close your eyes for a second. Perfect for busy mornings when you need something fast, for lunchboxes that come back empty, or for those afternoons when you just need a little comfort food without the fuss.
What Ingredients You Will Need
This recipe uses incredibly simple, pantry-friendly ingredients to deliver that classic lunchbox flavor without any of the mystery ingredients. Here’s what you’ll need:
- 8 slices white sandwich bread (soft, fresh bread works best—I prefer a standard loaf, not artisan or crusty bread)
- 1/2 cup creamy peanut butter (I recommend Skippy or Jif for that classic taste; natural peanut butter works but may separate or make the pockets greasier)
- 2 tablespoons unsalted butter, softened (for toasting the pockets; adds that golden, slightly crisp exterior)
- 1 large egg (for the egg wash; helps seal the edges so the filling stays inside)
- 1 tablespoon water (to thin the egg wash)
Ingredient Tips & Substitutions:
- Bread choice matters: White bread gives the softest, most authentic texture. Whole wheat works too, but the pockets will be slightly denser. Avoid bread with large air holes—you want a tight crumb for proper sealing.
- Peanut butter options: Creamy is classic, but crunchy peanut butter adds a nice texture if you’re into that. For a nut-free version, use sunflower seed butter or WowButter—just note the texture may be slightly different.
- Butter alternatives: You can skip the butter for toasting and just use a non-stick skillet, but the butter gives that beautiful golden color and extra flavor. Use vegan butter if needed.
- Egg wash substitute: If you’re avoiding eggs, brush the edges with milk or water and press firmly. The seal won’t be as strong, but it still works for same-day eating.
- Add-ins (optional): A sprinkle of cinnamon, a drizzle of honey, or a few chocolate chips inside the pocket before sealing takes these to another level.
Equipment Needed
You don’t need any fancy gadgets for this recipe, which is part of its charm. Here’s what you’ll want to have on hand:
- 3-inch round cookie cutter or biscuit cutter (a drinking glass with a thin rim works in a pinch, but a sharp cutter gives cleaner edges)
- Rolling pin (to flatten the bread slightly; a wine bottle or even your hands work if you don’t have one)
- Small bowl (for the egg wash)
- Pastry brush (for applying the egg wash; a small silicone brush is my favorite, but a paper towel works too)
- Non-stick skillet or griddle (a cast iron skillet works beautifully if you have one—it gives even heat and a nice crust)
- Spatula (thin metal or flexible silicone for flipping without breaking the seal)
- Cutting board (for assembling the pockets)
- Parchment paper (for freezing; optional but helpful if you’re making a batch)
I’ve made these with just a glass and a fork before, and they turned out fine. But investing in a sharp 3-inch round cutter makes the process so much smoother—no ragged edges, no struggling to cut through the bread. A good non-stick skillet is also worth its weight in gold here. I use my old cast iron pan, and it gives the pockets that perfect golden crust every time.
Preparation Method
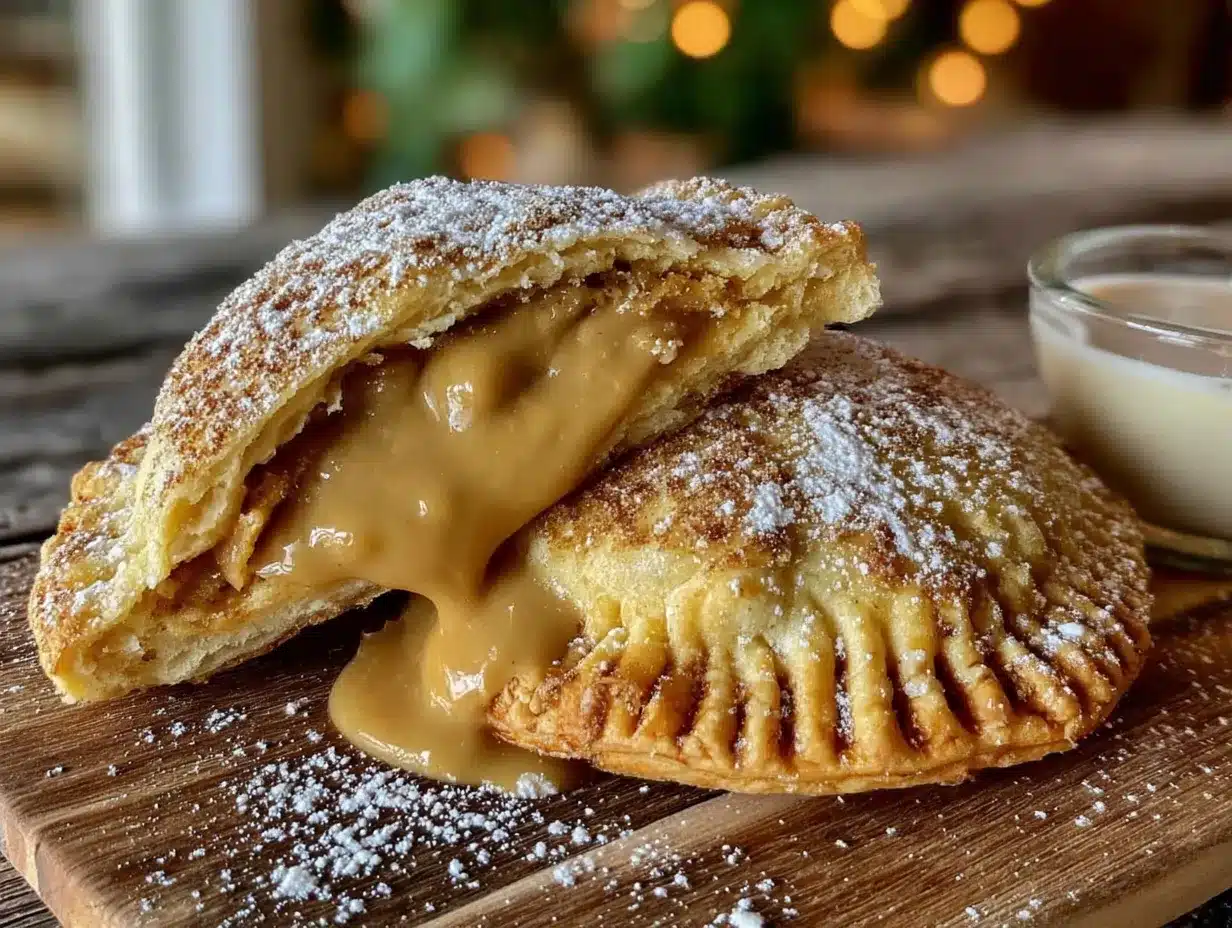
Alright, let’s make these pockets. I’ve broken this down step by step so you get perfect results every time, even on your first try.
- Prepare your work surface: Clear a space on your counter and lay out your bread slices, peanut butter, egg wash, and cutter. Having everything within reach makes the process go quickly.
- Flatten the bread: Take each slice of bread and gently roll over it with a rolling pin until it’s about 1/4 inch thick. You’re not trying to make it paper-thin—just enough to flatten the air pockets so the bread compresses evenly. If you don’t have a rolling pin, press down firmly with the bottom of a glass or your palm. This step is crucial because flattened bread seals better and creates that signature Uncrustables texture.
- Cut the circles: Using your 3-inch round cutter, press down firmly on each flattened bread slice to cut out a circle. You should get one circle per slice of bread. Save the bread scraps for breadcrumbs or croutons—don’t throw them away!
- Make the egg wash: In your small bowl, whisk together the egg and water until well combined. Set it near your assembly station.
- Assemble the pockets: Lay out half of your bread circles on your cutting board. Spoon about 1 tablespoon of peanut butter into the center of each circle. Don’t overfill—too much peanut butter will squeeze out when you seal the pocket. Leave about a 1/2-inch border around the edges.
- Seal the edges: Using your pastry brush, lightly paint the egg wash around the edge of each filled bread circle. Place a second bread circle on top and press the edges together firmly with your fingers. The egg wash acts like glue, helping the bread stick together.
- Crimp the edges: Here’s the trick—use the tines of a fork to press down around the entire edge of each pocket. This creates that classic crimped seal and ensures nothing leaks out during cooking. Press firmly but don’t tear through the bread. Go around each pocket twice for a secure seal.
- Chill if needed: If your peanut butter is very soft or your kitchen is warm, pop the assembled pockets in the fridge for 10 minutes. This firms up the filling and makes them easier to handle during cooking.
- Heat the skillet: Place your non-stick skillet or griddle over medium heat. Add a thin layer of butter—about 1/2 tablespoon—and let it melt and sizzle gently. You don’t want the pan too hot, or the bread will brown before the inside warms through.
- Cook the pockets: Place 2-3 pockets in the skillet, leaving space between them. Cook for 2-3 minutes per side, until golden brown and slightly crispy. You’ll see the bread puff up slightly as the peanut butter warms. Flip carefully using your spatula, making sure the seal doesn’t break.
- Cool slightly: Transfer the cooked pockets to a wire rack or plate. Let them rest for 2-3 minutes before serving. The filling will be very hot right out of the pan—trust me, I’ve burned my tongue more than once rushing into these.
- Repeat: Continue with the remaining pockets, adding more butter to the skillet as needed. Keep cooked pockets warm in a 200°F oven if you’re making a large batch.
Pro tip for freezing: If you’re making these for later, stop after step 7 (before cooking). Place the sealed, uncooked pockets on a parchment-lined baking sheet and freeze for 1-2 hours until solid. Transfer to a freezer bag and store for up to 3 months. To cook from frozen, add 1-2 minutes to each side and use slightly lower heat so the center warms through without burning the outside.
Cooking Tips & Techniques
Over the course of testing these pockets, I learned a few things the hard way. Let me save you some trouble.
The bread matters more than you think. Fresh, soft bread is ideal, but if your bread is too fresh and fluffy, it can get gummy when pressed. I actually prefer bread that’s a day or two old—it holds its shape better and seals more cleanly. If you only have fresh bread, leave the slices out on the counter for 10-15 minutes before flattening.
Don’t skip the egg wash. I tried making these without it, thinking the moisture from the peanut butter would be enough to seal the edges. It wasn’t. The pockets came apart in the pan, and I ended up with a mess of peanut butter and bread crumbs. The egg wash creates a protein bond that holds everything together, especially when crimped.
Watch your heat. Medium heat is your friend here. Too high, and the bread burns before the peanut butter melts. Too low, and the bread dries out before it browns. If you see the pockets browning too quickly, turn the heat down slightly and give them more time. The goal is a golden exterior with a warm, gooey center.
My biggest failure: I once tried to make these with whole wheat bread and natural peanut butter at the same time. The whole wheat bread didn’t compress as well, and the natural peanut butter (which separates) leaked out during cooking. The pockets were a disaster—soggy, uneven, and not worth eating. Lesson learned: stick with white bread and processed peanut butter for the best results, or adjust one variable at a time.
Multitasking tip: While the first batch is cooking, assemble the next batch. This keeps the workflow smooth and prevents you from standing around waiting. Just make sure you don’t rush the sealing process—each pocket needs proper attention to hold together.
Variations & Adaptations
Once you’ve mastered the basic recipe, there’s so much room to play around. Here are some variations I’ve tried and loved:
- Nutella Pockets: Swap the peanut butter for 2 tablespoons of Nutella per pocket. Add a few sliced strawberries inside for a chocolate-covered strawberry vibe. These are dangerously good.
- Fluffernutter Style: Spread 1 tablespoon peanut butter and 1 tablespoon marshmallow fluff inside each pocket. The fluff gets warm and stretchy when cooked—pure childhood nostalgia.
- Banana Peanut Butter: Add 2-3 thin slices of banana on top of the peanut butter before sealing. The banana softens as it cooks and adds natural sweetness. Just don’t overfill, or the pocket won’t seal properly.
- Gluten-Free Option: Use your favorite gluten-free sandwich bread. Look for one with a soft, pliable texture—some gluten-free breads are too crumbly and won’t hold together. Schar or Canyon Bakehouse work well.
- Vegan Version: Use vegan butter and replace the egg wash with a mixture of 1 tablespoon flaxseed meal and 3 tablespoons water (let it sit for 5 minutes to thicken). The seal won’t be as strong, but it still works for same-day eating.
- Savory Pockets: This one’s unexpected but amazing—fill the pockets with cream cheese and a sprinkle of everything bagel seasoning. Cook the same way and serve with soup or salad. My husband was skeptical until he tried one.
Personally, I’m obsessed with the banana peanut butter version. There’s something about the warm, soft banana against the creamy peanut butter that feels like a fancy dessert, even though it takes five minutes to make.
Serving & Storage Suggestions
These pockets are versatile, so how you serve them depends on the occasion.
Serving temperature: Serve warm, straight from the skillet. The contrast between the slightly crisp exterior and the warm, gooey interior is what makes these special. If you’re packing them for lunch, let them cool completely first—they’re still delicious at room temperature.
Presentation ideas: For a fun breakfast or brunch, arrange the pockets on a platter with fresh fruit, a drizzle of honey, and a dusting of powdered sugar. For lunchboxes, wrap each pocket in parchment paper and tie with kitchen twine for a cute, eco-friendly presentation.
What to serve with them: These pair beautifully with fresh berries, apple slices, or a simple fruit salad. For a more substantial meal, serve alongside a smoothie or a bowl of yogurt. And honestly? A glass of cold milk is the classic companion—it just works.
Storage instructions:
- Refrigerator: Store cooked pockets in an airtight container for up to 3 days. They’ll lose some crispness but still taste great.
- Freezer: As mentioned earlier, freeze uncooked, sealed pockets on a baking sheet, then transfer to a freezer bag. Cook directly from frozen, adding 1-2 minutes per side.
- Reheating: For best results, reheat cooked pockets in a skillet over medium-low heat for 1-2 minutes per side. The microwave works in a pinch (30 seconds), but the bread will be soft rather than crisp. Toaster ovens also do a nice job—3-4 minutes at 350°F.
Flavor development: These are best fresh, but I’ve noticed the flavors meld nicely after a day in the fridge. The peanut butter seeps into the bread slightly, creating a more uniform texture. Not better, just different—and still delicious.
Nutritional Information & Benefits
Here’s a rough estimate per pocket (based on 8 pockets using white bread and creamy peanut butter):
- Calories: Approximately 180-200
- Protein: 7-8g
- Carbohydrates: 18-20g
- Fat: 10-12g
- Fiber: 2-3g
- Sugar: 3-5g
Health benefits: Peanut butter is a great source of plant-based protein, healthy fats, and vitamin E. When paired with whole grain bread, these pockets can be part of a balanced lunch or snack. The protein and fat content also helps keep you full longer—perfect for busy mornings or active kids.
Dietary considerations: This recipe is naturally vegetarian. For a nut-free version, use sunflower seed butter or WowButter. For a lower-sugar option, choose a natural peanut butter without added sugar (just note the texture may vary). These pockets are also easy to make gluten-free with the right bread choice.
Potential allergens: This recipe contains peanuts, wheat/gluten, eggs, and dairy (butter). Adjust as needed for your dietary needs.
I personally love that these pockets feel like a treat but aren’t loaded with the preservatives and additives found in store-bought versions. It’s a small win for homemade eating, and every little bit counts.
Conclusion
These Quick Copycat Uncrustables Peanut Butter Pockets have become a staple in our house for good reason. They’re fast, simple, and endlessly customizable—everything a good recipe should be. Whether you’re packing lunchboxes, looking for a quick breakfast, or just want a nostalgic snack that tastes like childhood, these pockets deliver every single time.
I love that I can make a batch on Sunday and have lunches sorted for the week. I love that my son actually eats them without complaint. And honestly? I love that I get to sneak one for myself when no one’s looking. The best recipes are the ones that make life a little easier and a little more delicious, and these pockets do exactly that.
So grab your bread, your peanut butter, and that round cutter you forgot you had. Give these a try, and then come back and tell me how they turned out. Did you add chocolate chips? Try the Nutella version? Burn the first one like I did? I want to hear it all. Drop a comment below, share your photos, and let’s keep this pocket party going. Happy cooking, friends!
Frequently Asked Questions
Can I use natural peanut butter for these pockets?
You can, but it’s not ideal. Natural peanut butter tends to separate and has a looser texture, which can make the pockets greasy and harder to seal. If you do use it, stir it very well before spreading, and consider chilling the assembled pockets for 15 minutes before cooking to firm up the filling.
How do I keep the pockets from opening while cooking?
The key is a good seal. Make sure you use the egg wash around the edges, press firmly with your fingers first, then crimp with a fork. Don’t overfill the pockets, and make sure your bread is flattened evenly. If your pockets are still opening, try chilling them for 10 minutes before cooking—it helps the seal set.
Can I make these in an air fryer?
Absolutely! Preheat your air fryer to 350°F. Lightly brush the pockets with melted butter and place them in a single layer in the basket. Cook for 4-5 minutes, flipping halfway through, until golden and crisp. Air fryer versions come out slightly crunchier than skillet versions, which some people prefer.
How long do these pockets last in the freezer?
Uncooked, properly sealed pockets will keep in the freezer for up to 3 months. Just make sure they’re in a freezer-safe bag with as much air removed as possible. Cook directly from frozen—no need to thaw. Cooked pockets can also be frozen, but the texture won’t be quite as good when reheated.
Can I use other fillings besides peanut butter?
Definitely! The technique works with any spreadable filling. Try Nutella, cookie butter, cream cheese and jam, or even savory options like cheese and ham (just adjust cooking time to ensure the filling heats through). Just keep the filling to about 1-2 tablespoons per pocket to avoid overflow.
Pin This Recipe!
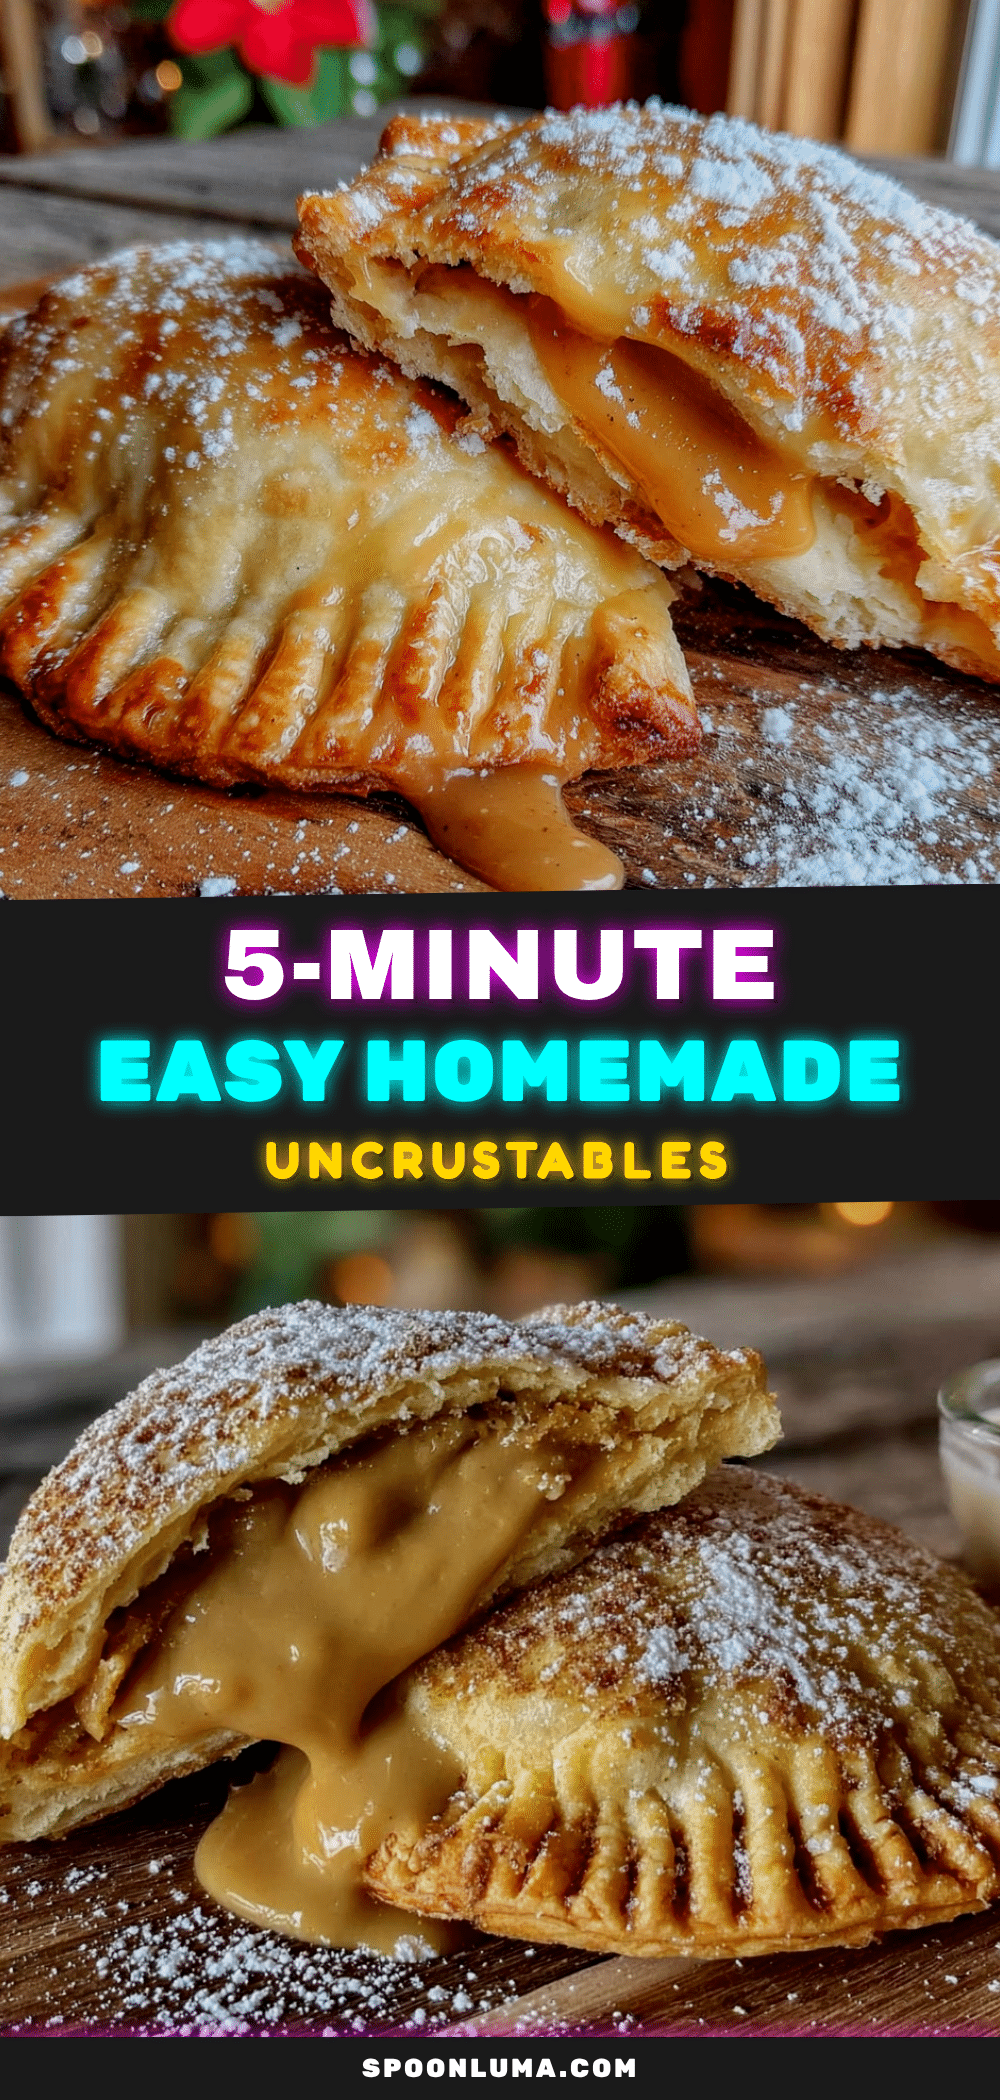
Quick Copycat Uncrustables Peanut Butter Pockets
These Quick Copycat Uncrustables Peanut Butter Pockets are a fast, easy, and delicious homemade version of the classic lunchbox treat. Made with simple ingredients like bread, peanut butter, and butter, they come together in about 15 minutes and freeze beautifully for grab-and-go lunches or snacks.
- Prep Time: 10 minutes
- Cook Time: 6 minutes
- Total Time: 16 minutes
- Yield: 8 servings 1x
- Category: Snack
- Cuisine: American
Ingredients
- 8 slices white sandwich bread
- 1/2 cup creamy peanut butter (recommended: Skippy or Jif)
- 2 tablespoons unsalted butter, softened
- 1 large egg
- 1 tablespoon water
Instructions
- Prepare your work surface: Clear a space on your counter and lay out your bread slices, peanut butter, egg wash, and cutter.
- Flatten the bread: Take each slice of bread and gently roll over it with a rolling pin until it’s about 1/4 inch thick. If you don’t have a rolling pin, press down firmly with the bottom of a glass or your palm.
- Cut the circles: Using a 3-inch round cutter, press down firmly on each flattened bread slice to cut out a circle. Save the bread scraps for breadcrumbs or croutons.
- Make the egg wash: In a small bowl, whisk together the egg and water until well combined.
- Assemble the pockets: Lay out half of your bread circles on a cutting board. Spoon about 1 tablespoon of peanut butter into the center of each circle, leaving about a 1/2-inch border around the edges.
- Seal the edges: Using a pastry brush, lightly paint the egg wash around the edge of each filled bread circle. Place a second bread circle on top and press the edges together firmly with your fingers.
- Crimp the edges: Use the tines of a fork to press down around the entire edge of each pocket. Go around each pocket twice for a secure seal.
- Chill if needed: If your peanut butter is very soft or your kitchen is warm, pop the assembled pockets in the fridge for 10 minutes.
- Heat the skillet: Place a non-stick skillet or griddle over medium heat. Add a thin layer of butter—about 1/2 tablespoon—and let it melt and sizzle gently.
- Cook the pockets: Place 2-3 pockets in the skillet, leaving space between them. Cook for 2-3 minutes per side, until golden brown and slightly crispy. Flip carefully using a spatula.
- Cool slightly: Transfer the cooked pockets to a wire rack or plate. Let them rest for 2-3 minutes before serving.
- Repeat: Continue with the remaining pockets, adding more butter to the skillet as needed. Keep cooked pockets warm in a 200°F oven if making a large batch.
Notes
For freezing: After step 7 (before cooking), place sealed uncooked pockets on a parchment-lined baking sheet and freeze for 1-2 hours until solid. Transfer to a freezer bag and store for up to 3 months. To cook from frozen, add 1-2 minutes per side and use slightly lower heat. For best results, use slightly stale bread (1-2 days old) and do not skip the egg wash. Medium heat is key to avoid burning.
Nutrition
- Serving Size: 1 pocket
- Calories: 190
- Sugar: 4
- Sodium: 200
- Fat: 11
- Saturated Fat: 3.5
- Carbohydrates: 19
- Fiber: 2
- Protein: 7
Keywords: copycat uncrustables, peanut butter pockets, homemade uncrustables, lunchbox snack, easy peanut butter recipe


